How to Set Up Your Camera for Multiple Exposure Photography: My Essential Settings
Introduction
I always get asked what settings I use when I’m creating multiple exposure photography, and my usual answer is: whatever settings you would normally use for the subject you’re photographing. That might sound like I’m avoiding the question, but that’s honestly the heart of it. The foundations still matter: aperture, shutter speed, ISO, focal length and focus, however, cameras today give us more creative tools than ever before. On top of those basics, we can now adjust multiple exposure blend modes, colour profiles, white balance, exposure compensation and more. Every camera brand labels these differently, which can add to the overwhelm. So instead of offering the settings, this blog focuses on some of my favourite settings and why I use them, especially at this time of year when the light shifts, softens and becomes something beautiful to play with.
My hope is that this helps you feel confident not just copying settings, but choosing them intentionally for your own multiple exposure images.

A multiple exposure photography image of St Pauls Cathedral in London.
Aperture
Aperture is the setting that controls how wide the lens opens when you take a photograph. A wide aperture (represented by a small number like f/2.8) lets in more light and gives a shallower depth of field, meaning only a small part of the image is in sharp focus. A narrow aperture (represented by a bigger number like f/11) lets in less light but brings more of the scene into focus. Aperture has a huge impact not just on exposure, but also on the overall feel and emotional quality of a photograph.
When I’m making in-camera multiple exposure work, I use f/2.8 (or as low as possible) most of the time. Because of the blend of exposures, it’s unlikely you’ll achieve something tack sharp in your final image. For me, that’s the point. I’m not aiming for clinical clarity. I’m aiming to create impressionistic photographs that feel soft, layered and a bit dreamlike. At this time of year, dawn and dusk arrive at very reasonable times of day, so the softer seasonal light works beautifully with a wider aperture. I am absolutely prepared to get up at 4am when needed, but it’s always nicer when you don’t have to!
That said, I will sometimes move to a smaller aperture when I know I’ll be using the images later in out-of-camera blends. When I know I’ll need more detail in the layers, I’ll close the aperture down to hold shape and texture. For more tuition on out of camera multiple exposure why not join in the Academy’s Exploring Multiple Exposure course.
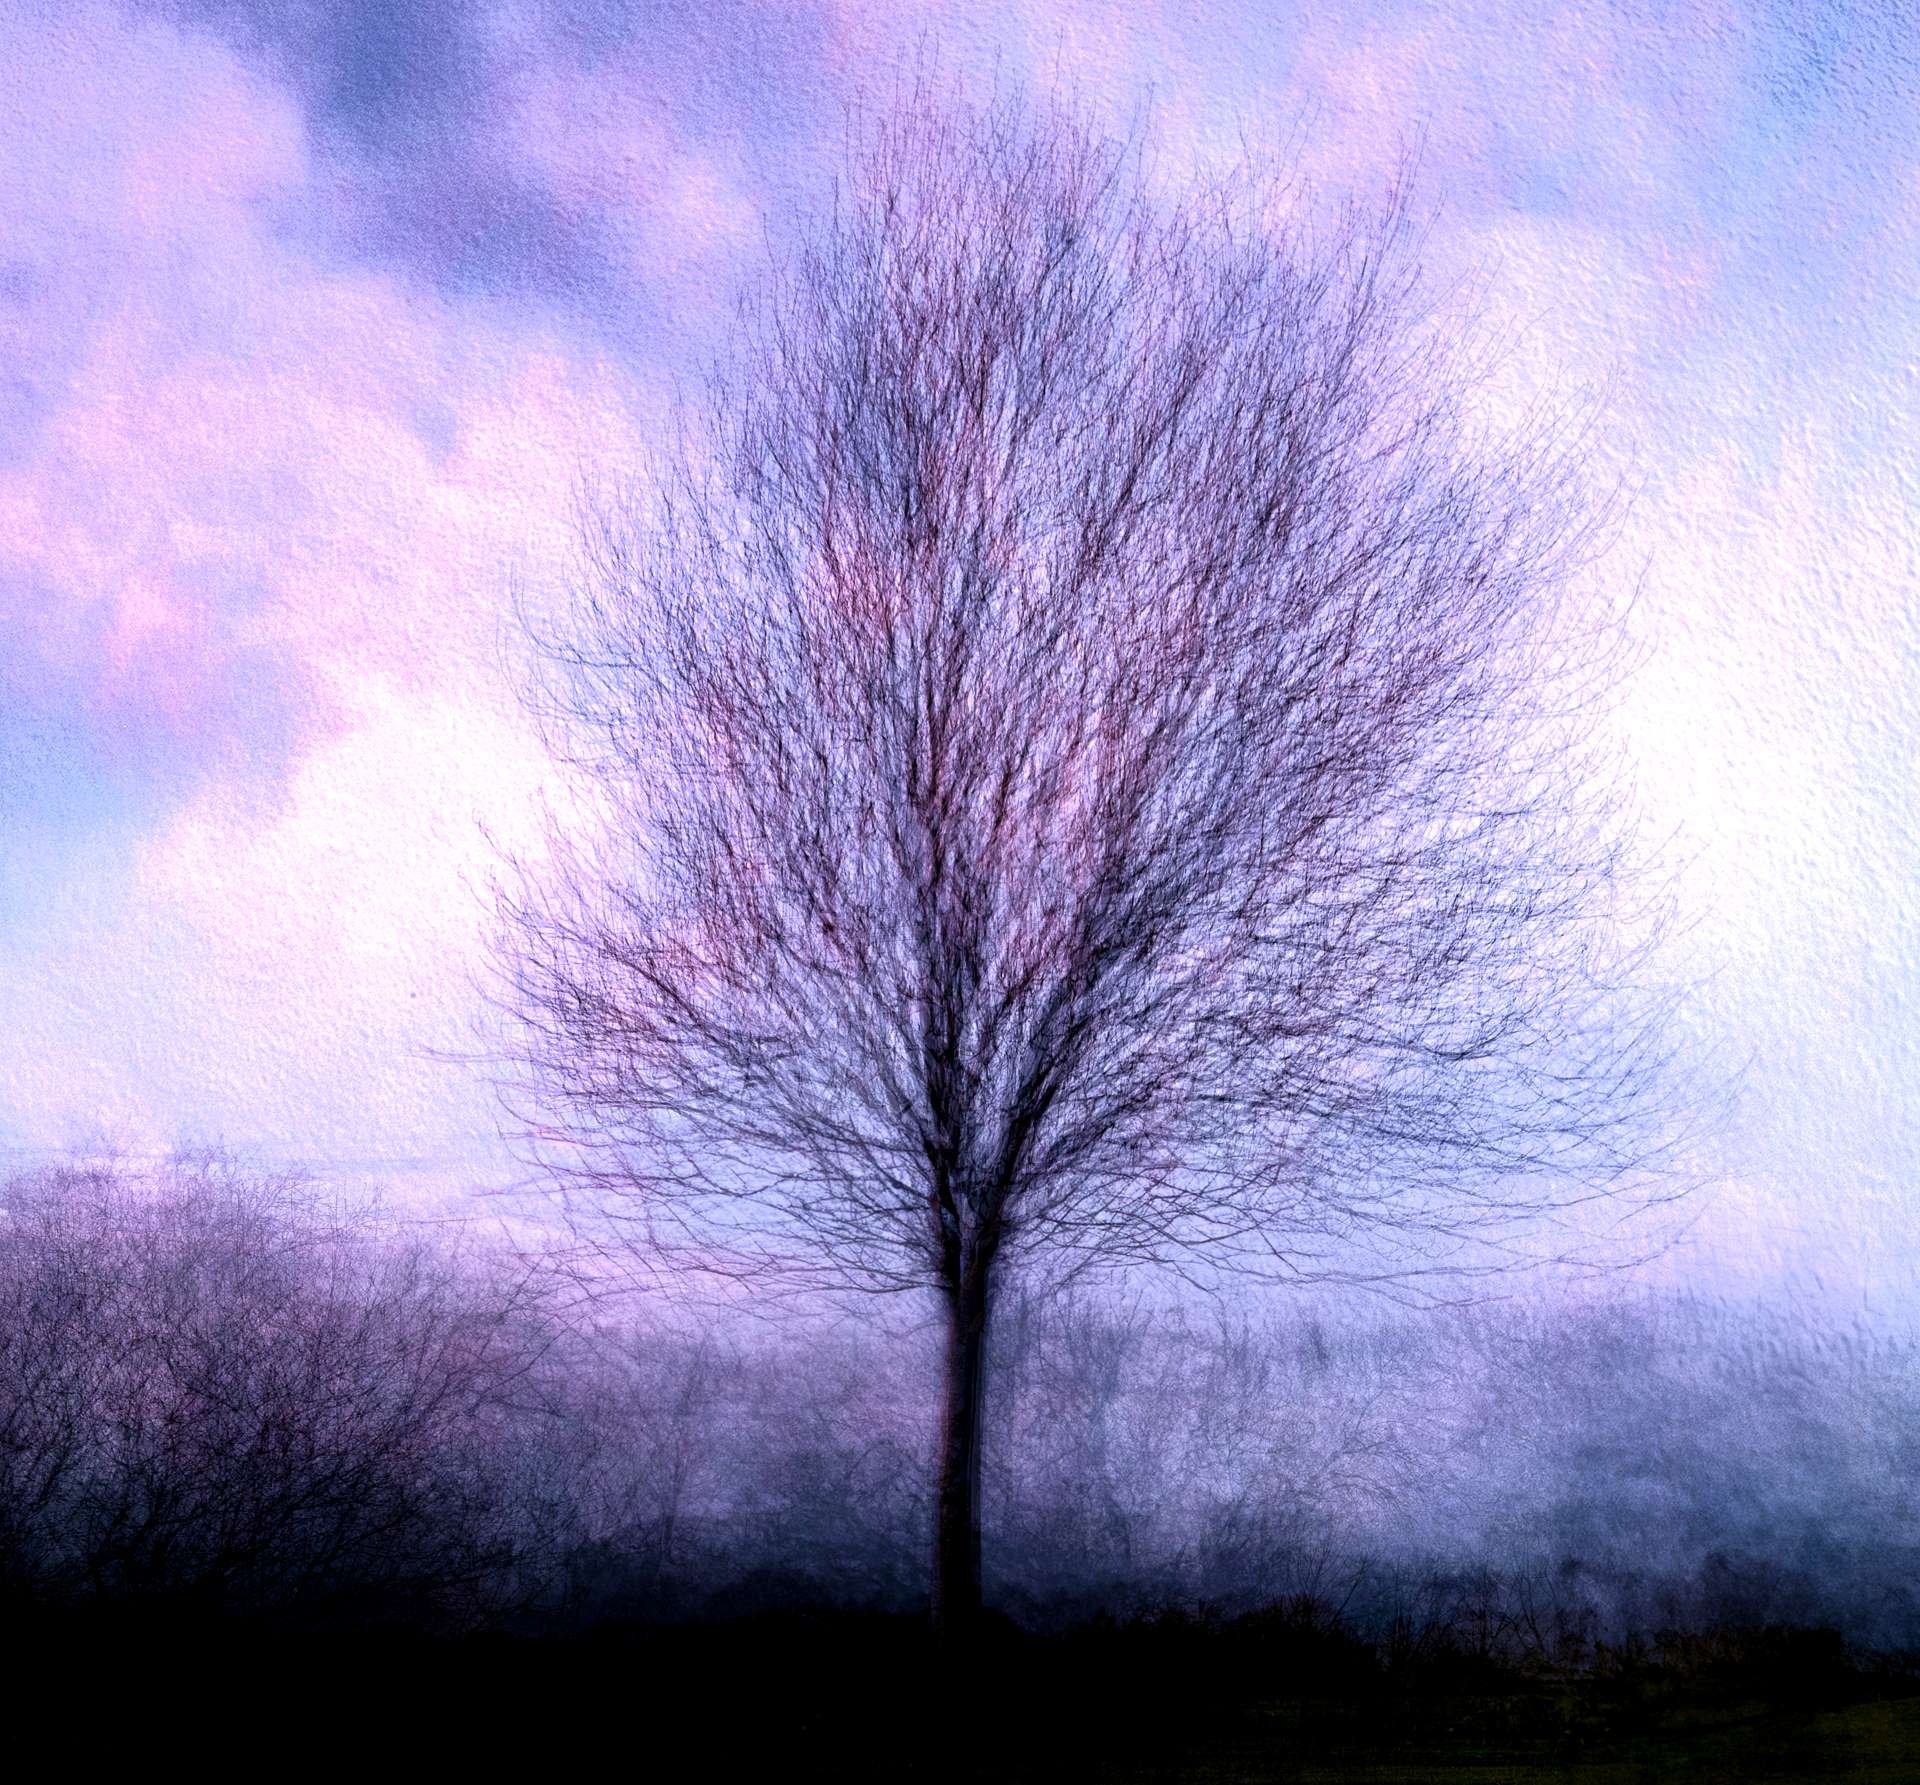
A Multiple Exposure Photography Image of a tree, images taken at f2.8 with extra layers added in post processing
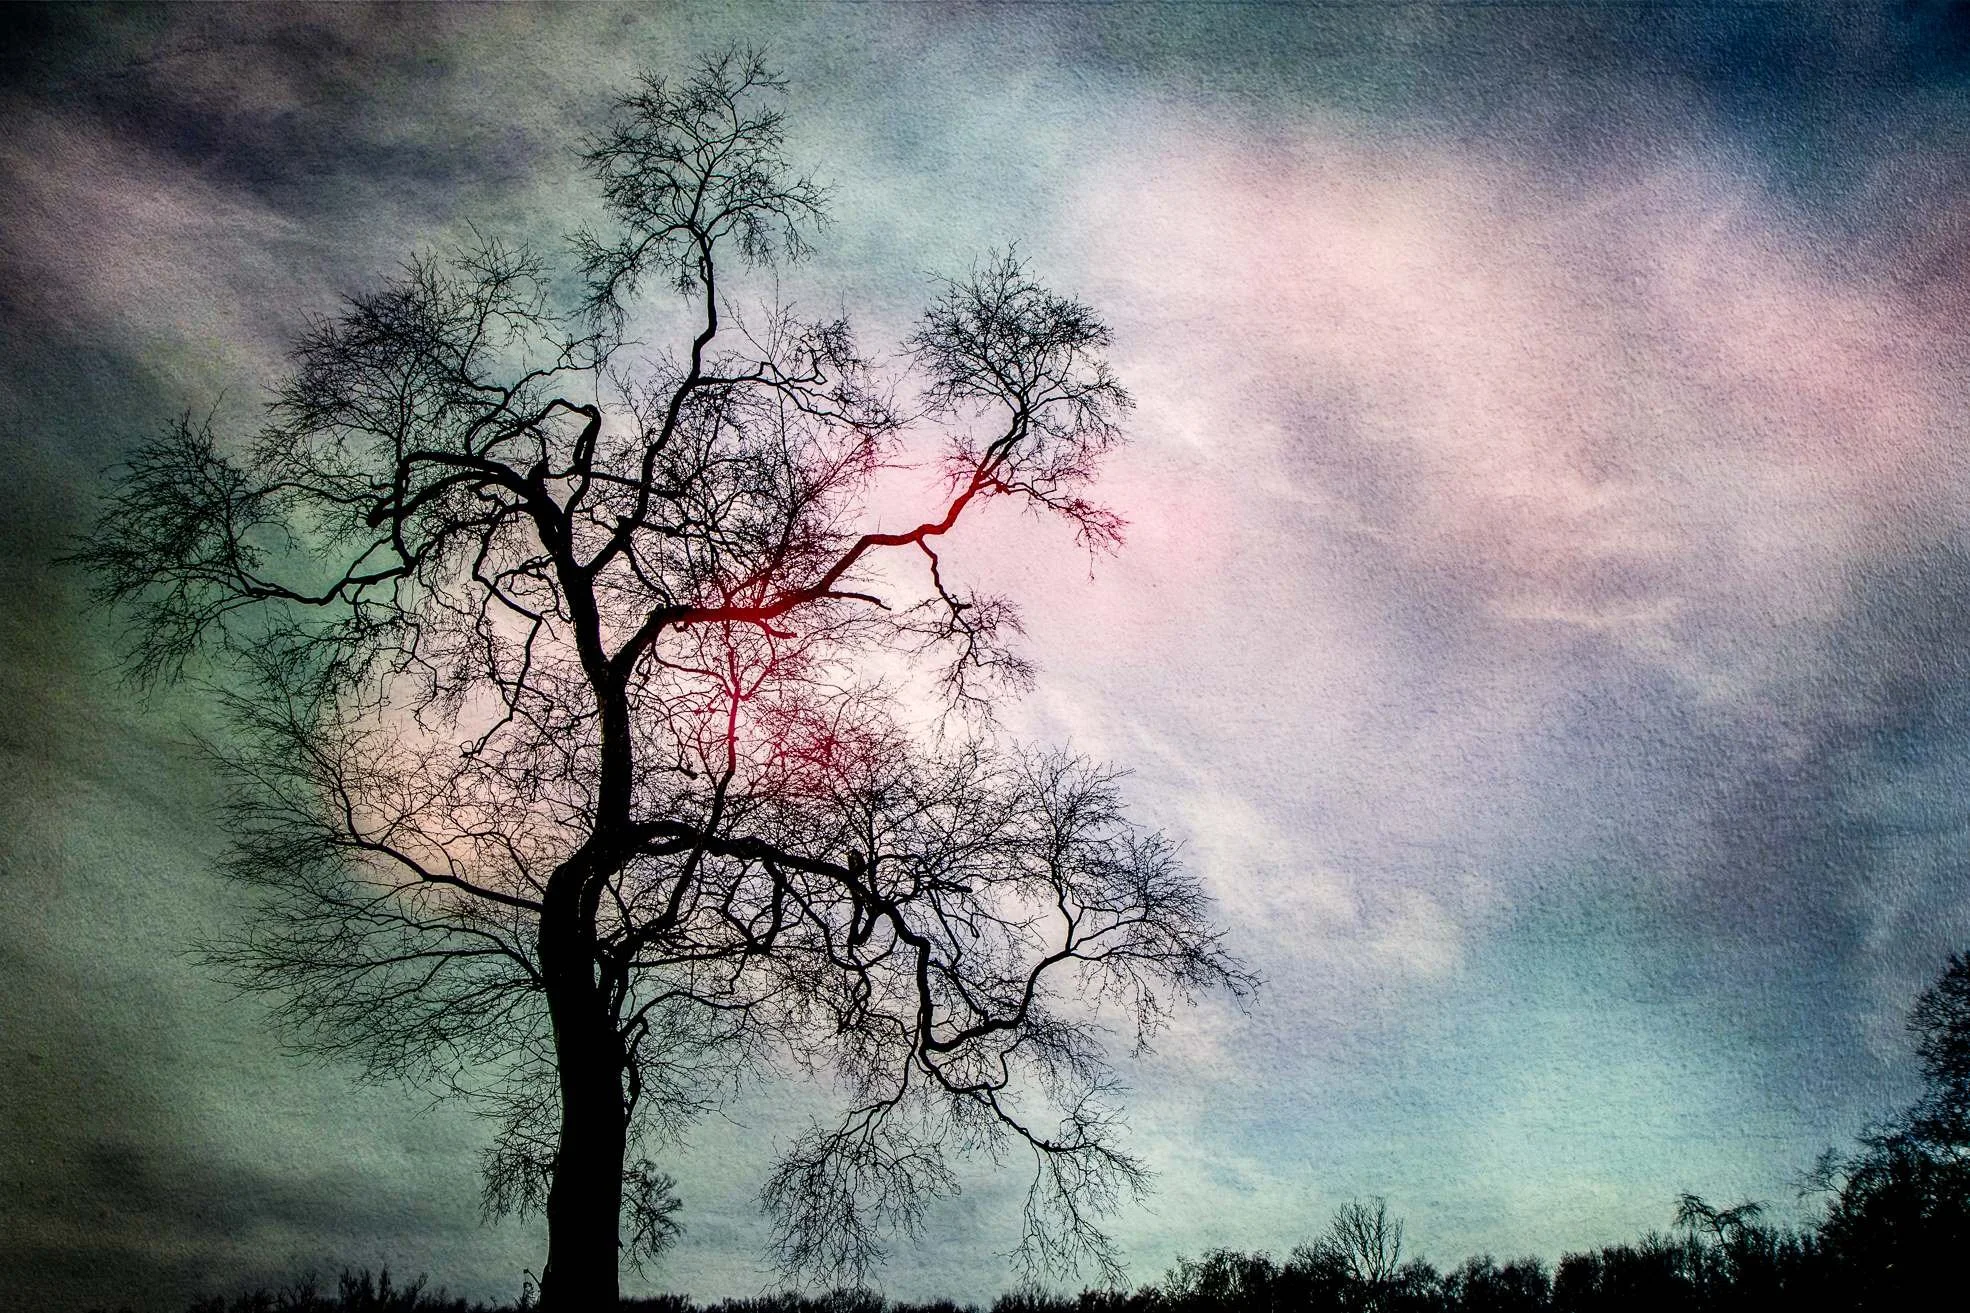
A Multiple Exposure Photography Image made using Photoshop camera with the original subject taken at f/7.1
Shutter Speed
Shutter speed controls how long the camera’s shutter stays open. A fast shutter speed, like 1/500, freezes a moment in time. A slower shutter speed, like 1/8, captures motion and movement, allowing intentional blur.
My shutter speed changes depending on the type of multiple exposure image I’m creating. Right now, I tend to move between aperture priority (letting the camera choose the shutter speed) and setting it deliberately to around 1/8 of a second. When I’m creating in focus and out of focus multiple exposures, or a 180-degree rotation multiple exposure, or even when I want something that shows just a hint of movement, a faster shutter speed helps freeze certain elements so they hold structure.
However, if I’m by the sea or river, I’ll often slow the shutter speed to 1/15, sometimes 1/8 when the light drops. This gives a softer, more atmospheric effect. It reduces hard lines, melts shapes into one another and allows the image to feel like a memory instead of a recording. I will also use this setting if I am using one of my fave techniques: cross hatching (one exposure with upward camera movement and another tracking left to right) - have a look at the My Top 5 In-Camera Multiple Exposure Techniques blog for how that works.
Recently, though, I’ve been experimenting with something far more dramatic: fully manual exposures at 30 seconds, twice. It’s wild, unpredictable, and honestly deserves its own dedicated blog post because the results are entirely different again. Consider this a teaser for what’s coming soon.
A quick mention of ISO here - I tend to allow the camera to choose the ISO setting (using the auto ISO function) unless I am in low light. In low light it is more likely I will switch to Manual mode in order to make sure it is as low as possible. In Multiple Exposure it is better to keep the ISO lower as any grain you get will compound when you are adding these exposures together. This rings true for either in camera or out of creations Unless grainy is the look you are going for……
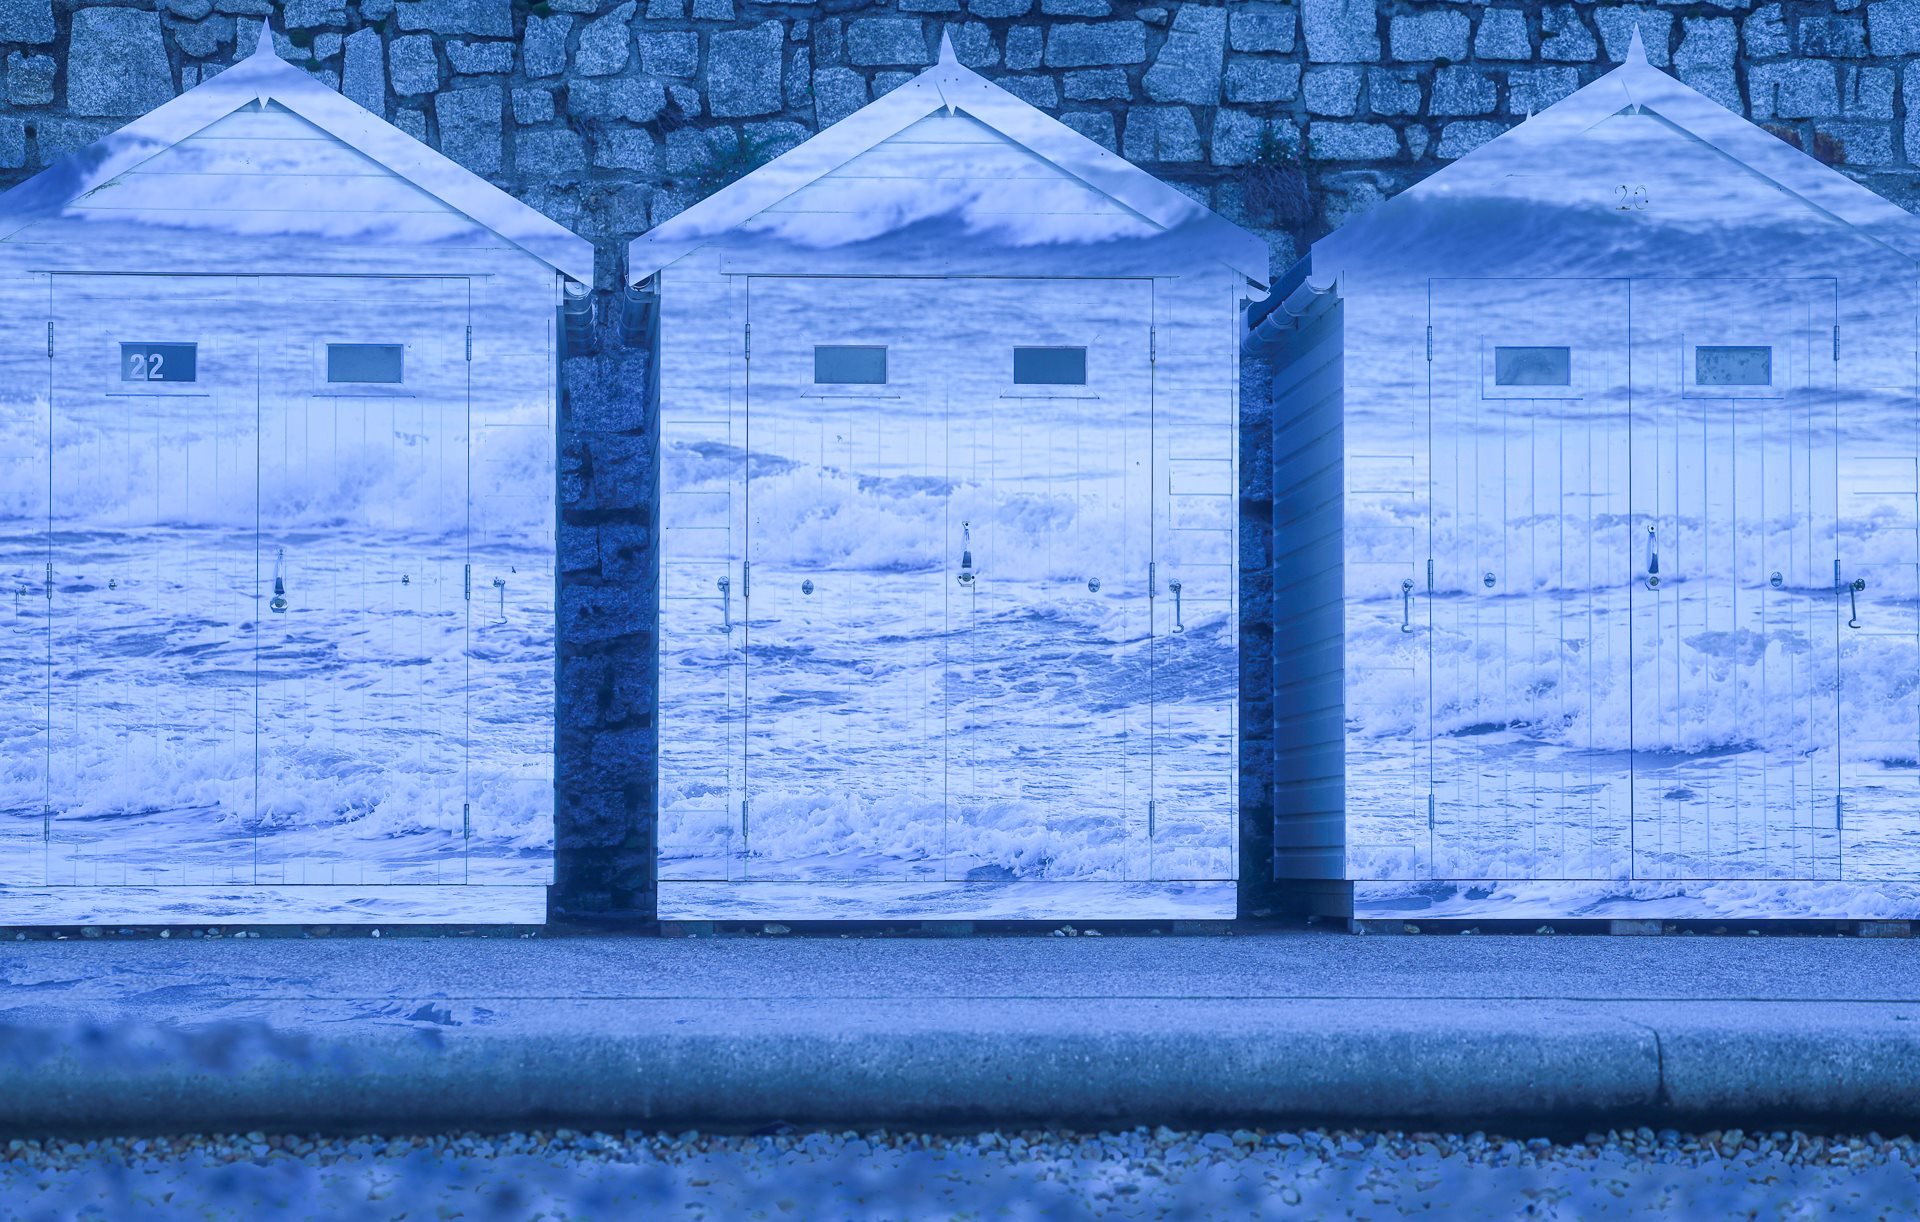
A Multiple Exposure Photography Image from Lyme Regis where the shutter speed was fast in order to get the detail in both exposures.

A Multiple Exposure Image at Seaton where the shutter speed is 1/5 of a second for the softness of the waves.
Colour
As mentioned earlier, the way your camera handles colour depends entirely on the brand. Canon calls this Picture Style and Fujifilm uses Film Simulation. These presets can be helpful when experimenting with black and white multiple exposure photography, as they allow you to pre-visualise tonal relationships. Even if you change your mind later, you can always switch back to colour in post-processing. I’ve shown you some of the settings on the Canon R6 Mark II.
However, the colour setting I use most intentionally isn’t the picture style. It’s white balance.
White balance adjusts the colour temperature of your image and is measured in Kelvin (K). Lower Kelvin numbers produce cooler, bluer tones. Higher numbers create warmer, orange tones. I’ve talked before about my love of being quite extreme with white balance, and that’s still true. I like to push it very cool or very warm because the atmosphere of the image shifts dramatically when you use it this way. But white balance only affects the colours that already exist in the scene. For example, if the scene is mainly blue and you push the white balance warm, it won’t suddenly become sunset-orange. However, if you include a layer containing sand, stone, sunrise light, autumn foliage, or streetlamps, those colours can be beautifully enhanced.
A cool white balance (lower Kelvin numbers) works on nearly everything, especially during those rainy, moody winter days. And if you want something playful and unpredictable? Try mixing white balance settings between exposures: one blue, one warm. The results can be magical.


A Multiple Exposure Photography Image of Crosby on a rainy day where white balance = low Kelvins

A Multiple Exposure image of a rainy day in Crosby where one exposure has a white balance of high Kelvins and one with a white balance of low Kelvins
Conclusion
Camera settings aren’t rules. They’re tools. They exist to give you the creative freedom to make images that feel like your own. The key is to allow yourself space to explore. Experiment without pressure. Let curiosity take the lead.
If all of these options feel overwhelming, simplify: choose one setting to play with at a time. Go to a single location and only vary aperture, or only vary shutter speed, or only vary white balance. Get to know how each affects your images.
You’ll notice that I haven’t discussed blend modes in this post. If you’ve read my recent blogs, you’ll know I’m deeply in love with Dark mode at the moment. You can read more about how I use it here: My Top 5 In-Camera Multiple Exposure Techniques blog and for an overview of blend modes keep your eyes peeled for a blog coming your way soon! And lastly don’t forget to play with how sharp your image is - for a detailed overview have a read of How to: Use the In Focus - Out of focus Technique for Multiple Exposure Photography.

A Multiple Exposure Photography image of the parliament building, Budapest.
Join in the Comments
If you’ve enjoyed this blog, I’d love to hear from you. Leave a comment, share your thoughts or tell me which settings you’d like to explore next.
If you try any of the approaches I’ve mentioned here, please tag me on Instagram @janina_wilde1 or share your results in the Multiple Exposure Hub on Facebook.
And if you haven’t already, feel free to sign up to the newsletter or join one of the courses or workshops. I’d love to see what you create.