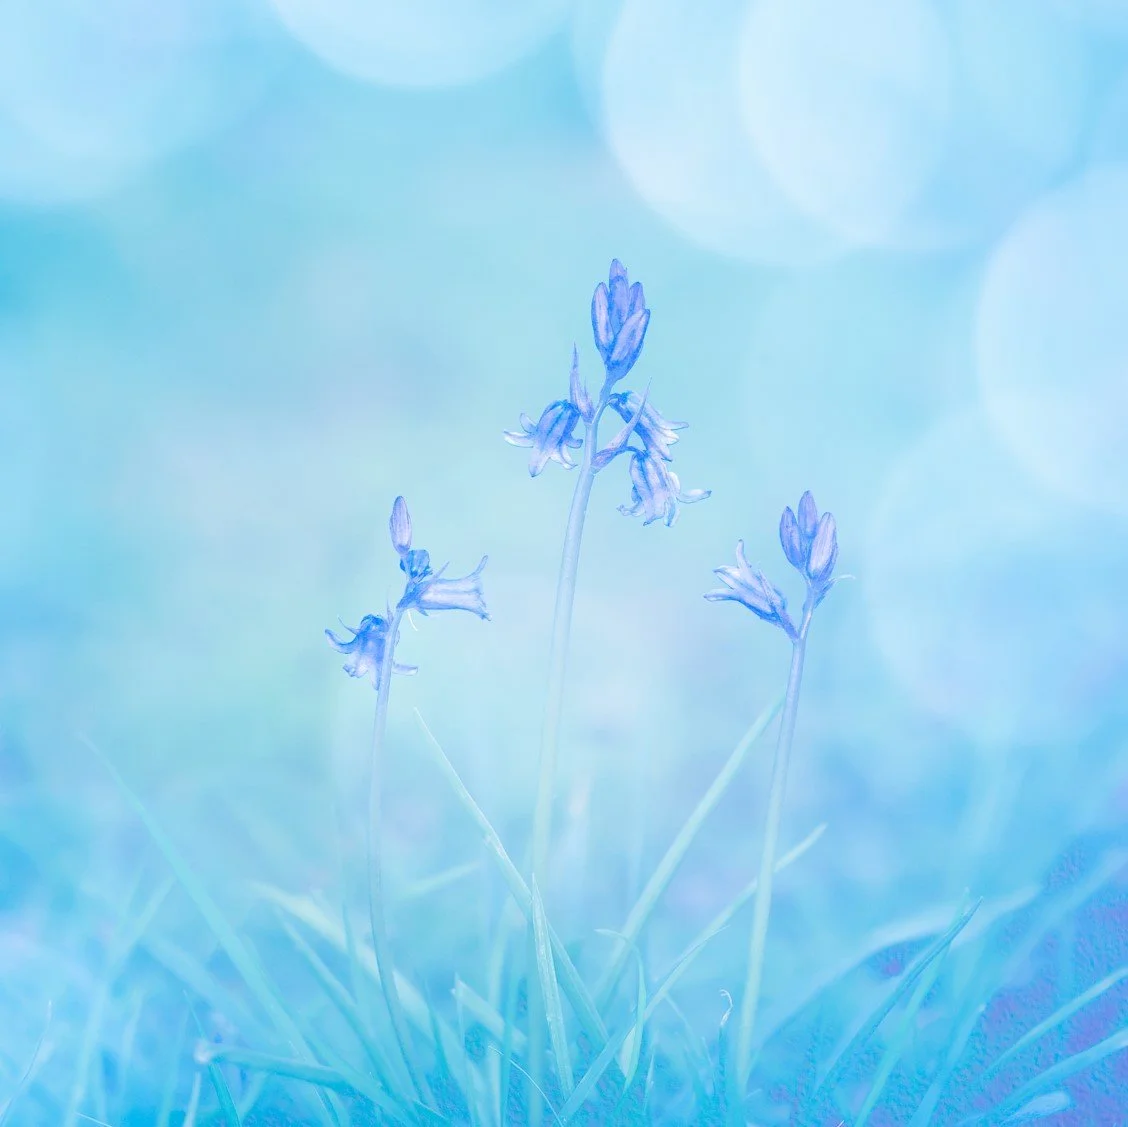
Multiple exposure Image with bluebells and bokeh circles
There is something rather wonderful about a bit of bokeh. Those lovely, soft circles of light can turn an ordinary photograph into something quite magical, and when you start combining them with multiple exposure, the creative possibilities are enormous. And, as you well know, I am rather fond of enormous creative possibilities!
Having recently returned from my London multiple exposure workshops, I had every intention of writing about photographing multiple exposure after dark. However, I realised that I have already covered quite a lot of this in my blogs How to Take Multiple Exposures at Night and Multiple Exposures After Dark. So, rather than repeat myself (although I have been known to do that on occasion!), I thought I would take a slightly different direction.
This week, we're exploring post-processing multiple exposure and the wonderful things we can do with bokeh in Photoshop.
I've previously written about using bokeh in-camera, so do have a read of that blog too. The advantage of post-processing is that we can move our bokeh around more freely, change its size, alter its colour and decide exactly where we would like it to appear. No more hoping those circles of light land in just the right place!
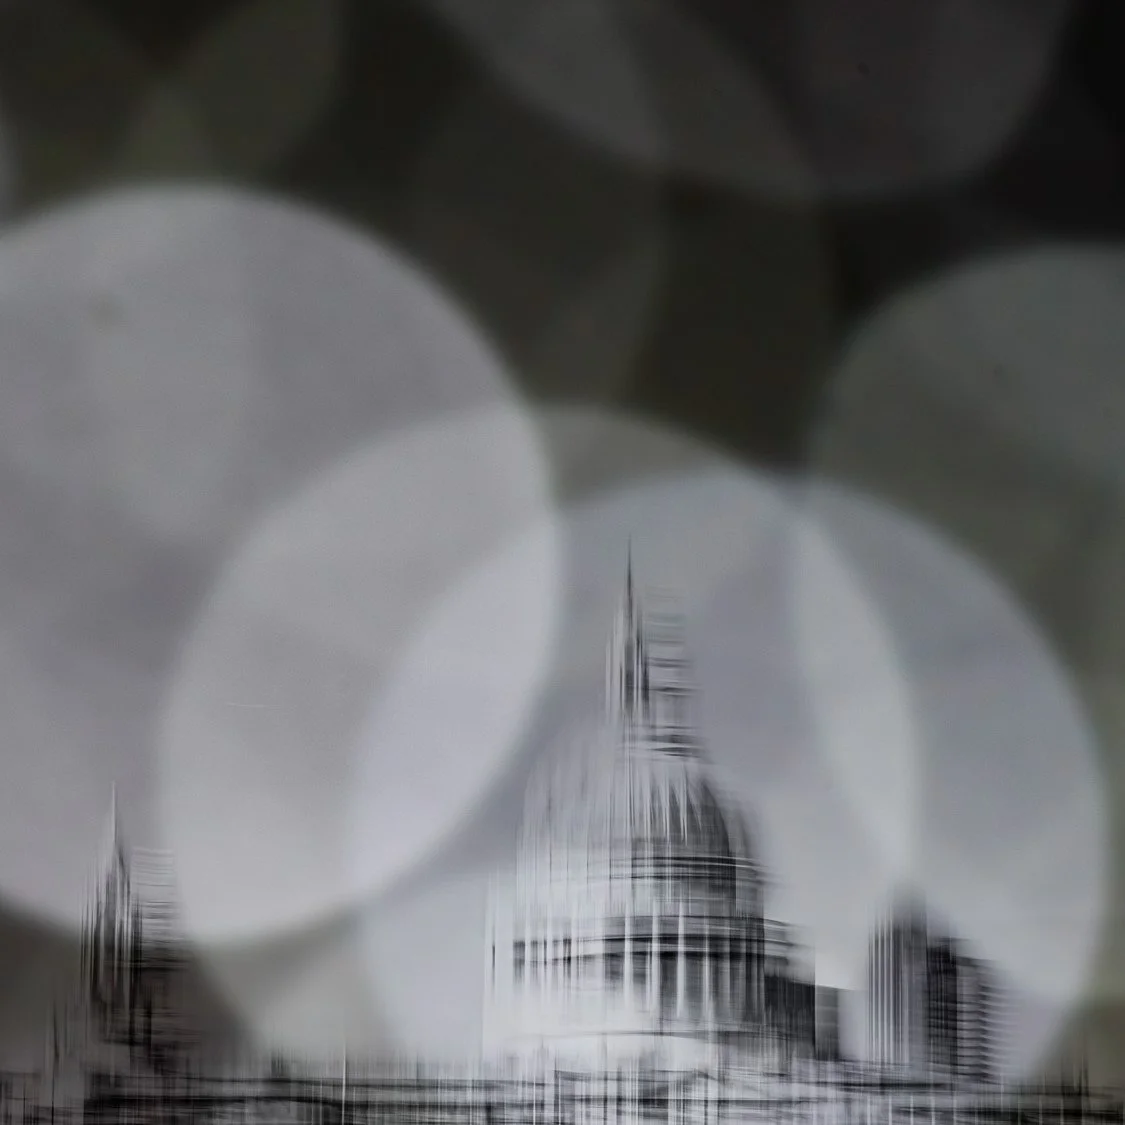
Multiple Exposure image with bokeh around St Paul’s cathedral
First Things First – What Exactly Is Bokeh?
Bokeh describes the aesthetic quality of out-of-focus areas of an image, although we often use the word to describe those beautiful circles of light that appear when bright highlights are deliberately thrown out of focus.
You can find potential bokeh subjects almost anywhere. Sunlight sparkling through leaves, reflections dancing on water, streetlights, fairy lights and illuminated shop windows all provide wonderful opportunities. Essentially, if something is glinting, I'm probably going to point a camera at it!
To create your own bokeh images, find something with plenty of highlights, switch to manual focus and deliberately throw the scene out of focus. Open your aperture as wide as possible – perhaps f/2.8 or wider – and watch those little points of light turn into soft circles.
Experiment with different distances and amounts of defocus to produce circles of varying sizes. The resulting photographs might not look terribly exciting on their own, but they can become rather useful later. As the days draw in and Christmas draws ever closer, there are plenty of opportunities to find different coloured lights and make different sizes of bokeh
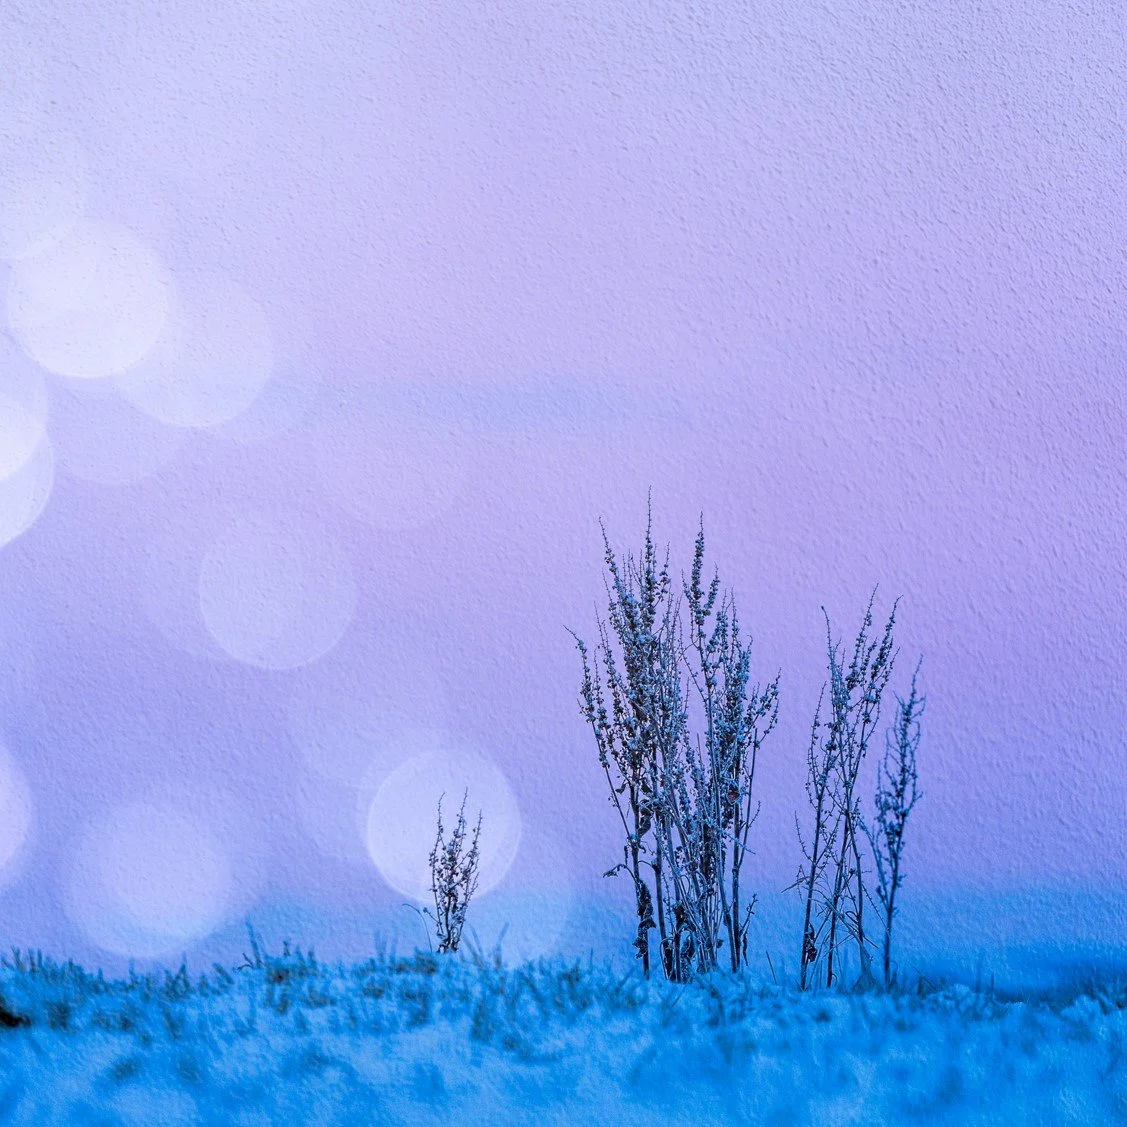
Multiple Exposure with added bokeh atmosphere
Start Collecting Your Bokeh
One of the best things you can do is build yourself a library of bokeh images. I have a growing collection of textures and out-of-focus photographs that I can dip into whenever inspiration strikes, and I would thoroughly recommend doing the same.
Collect warm golden circles, cool blue highlights, colourful city lights or delicate spots of reflected sunlight. Keep them in a folder on your computer or add them to your Photoshop Libraries.
Sometimes a bokeh photograph taken months ago turns out to be exactly what a completely different image needs. It's rather like having a creative sweet shop at your fingertips, although considerably better for your teeth!
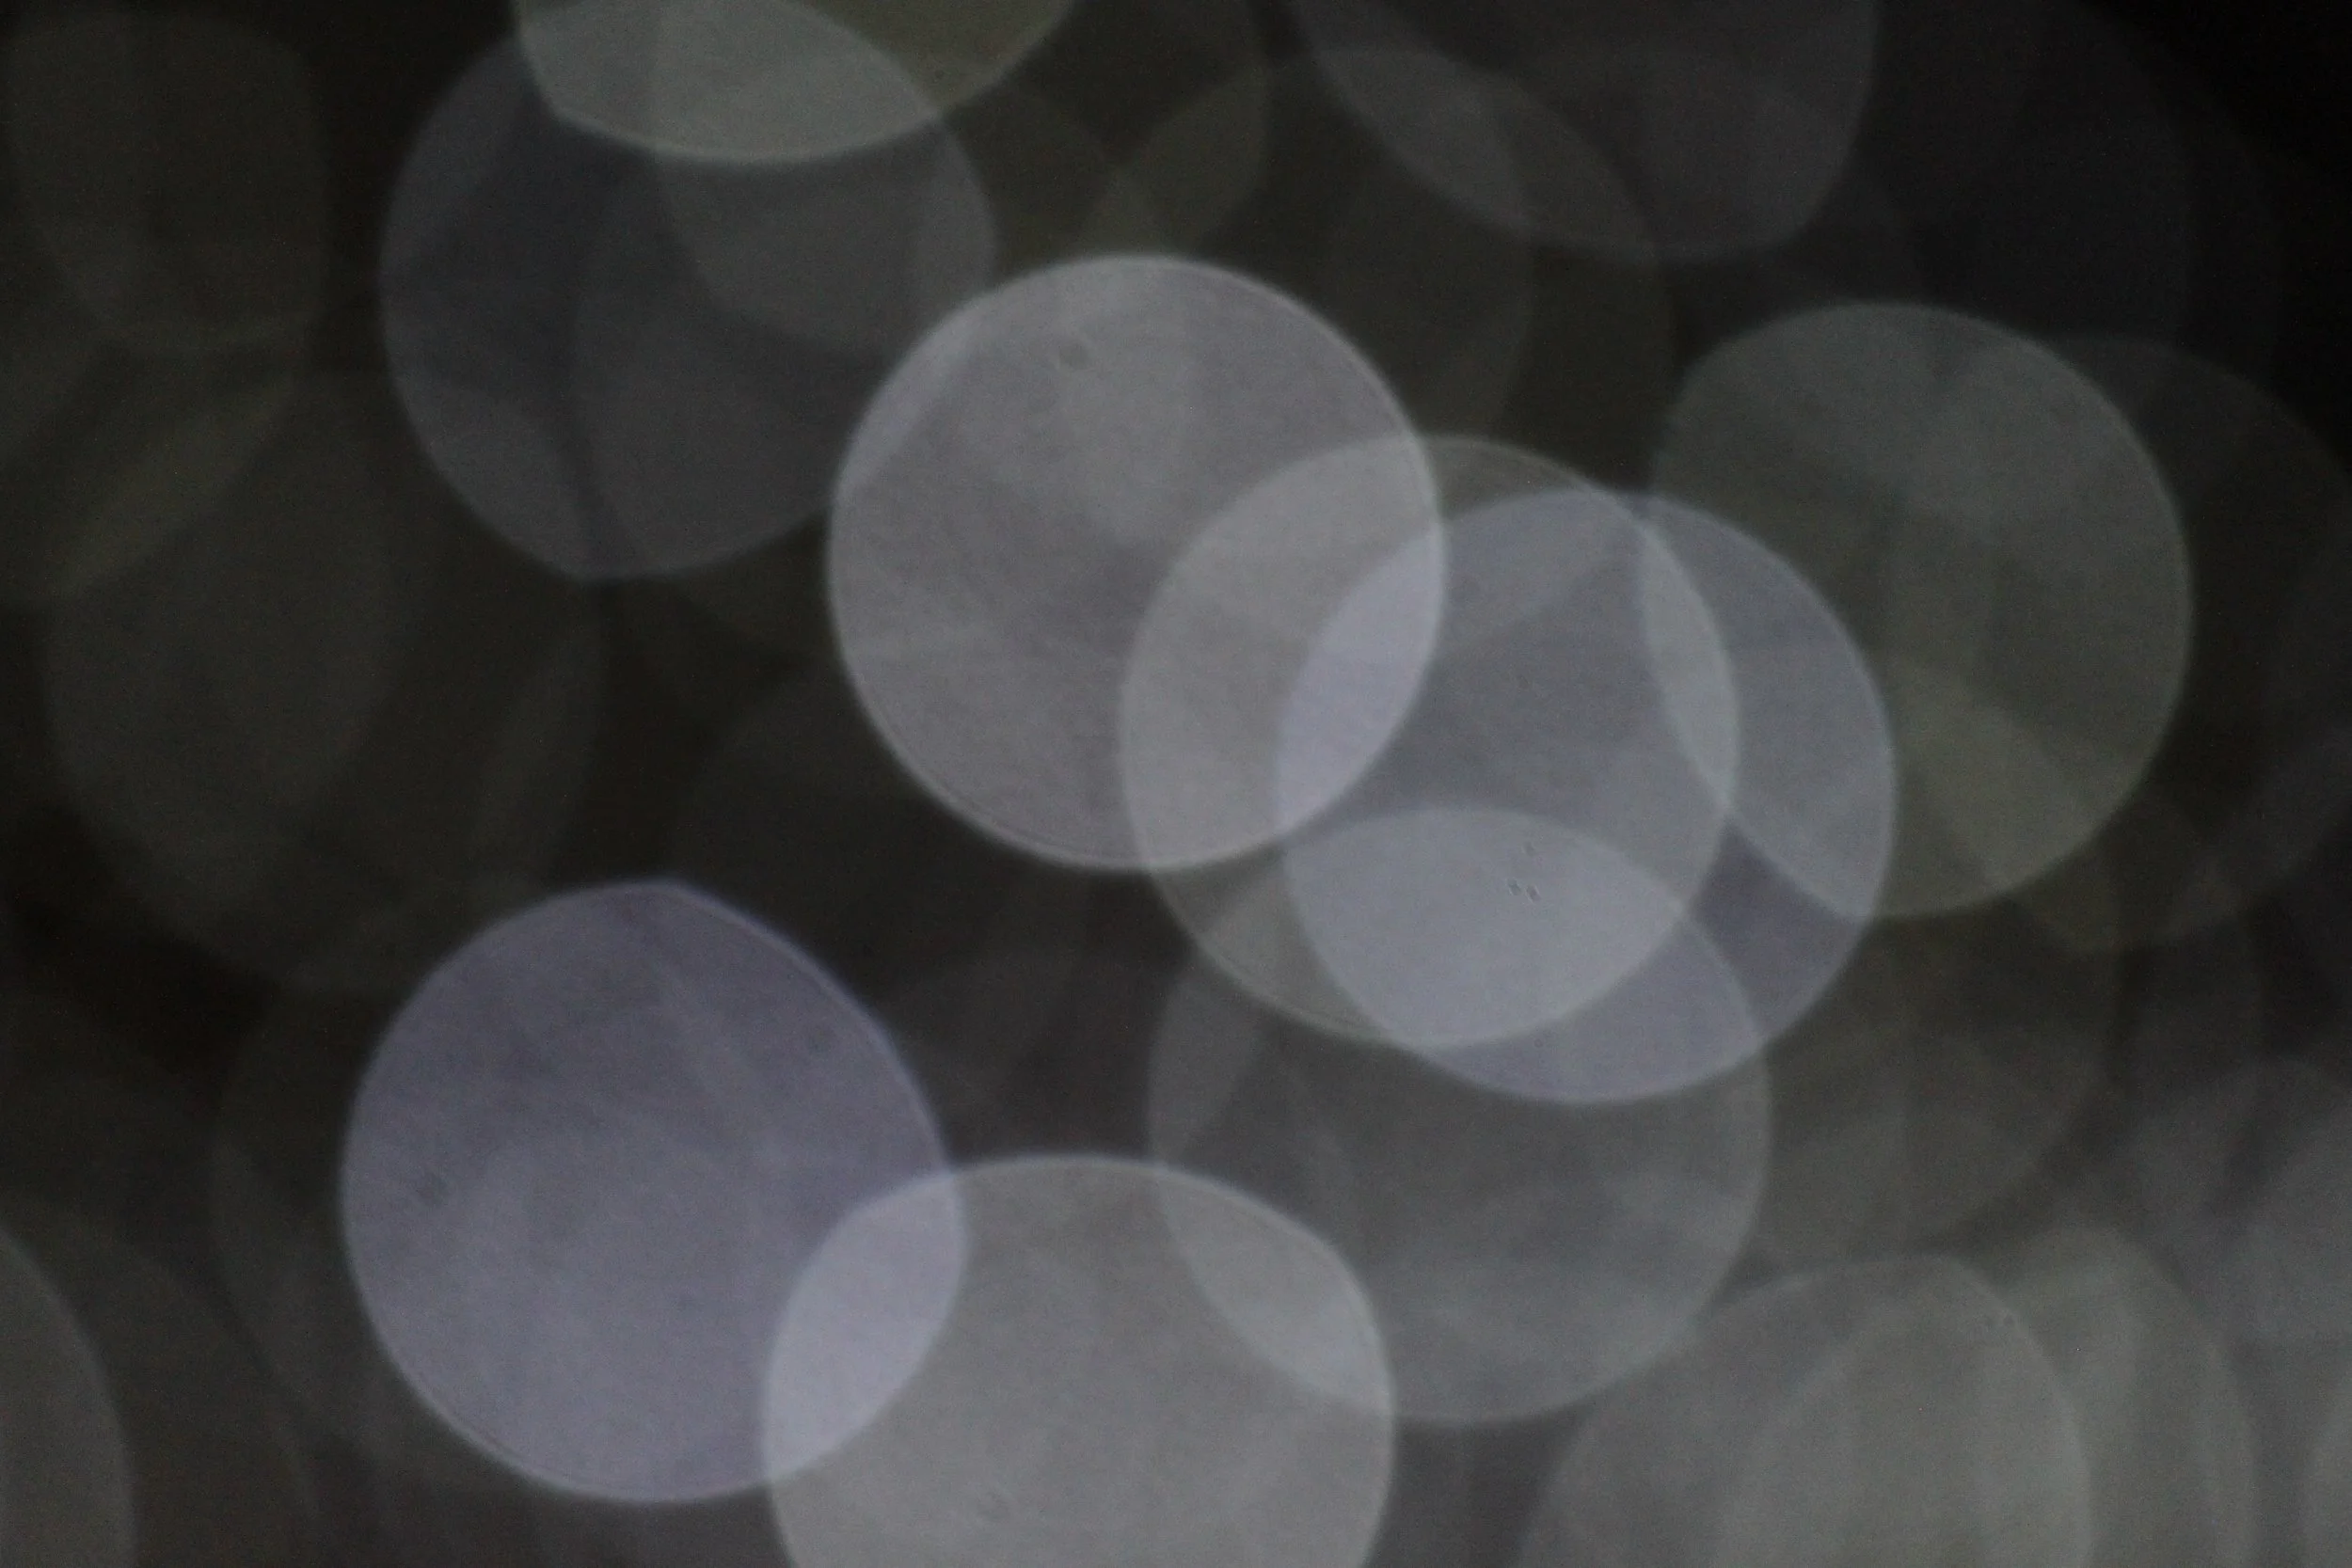
A bokeh layer of defocussed lights that I use a lot!
Combining Your Subject and Bokeh in Photoshop
Now for the fun part!
Start with a photograph of your chosen subject. It might be a flower, building, statue or silhouette. Open it in Photoshop and add one of your bokeh photographs as a new layer above it.
Initially, your lovely subject may disappear beneath a rather blurry collection of coloured circles. Don't panic! This is where blend modes come into their own.
The two blend modes I would suggest experimenting with first are Lighten and Overlay.
Lighten compares the pixels in the two layers and keeps whichever is lighter. This allows bright bokeh circles to appear over your original subject while much of the darker background disappears.
Overlay generally produces more balanced result. The difference between blend modes can be quite dramatic, so don't automatically settle for the first one you try.
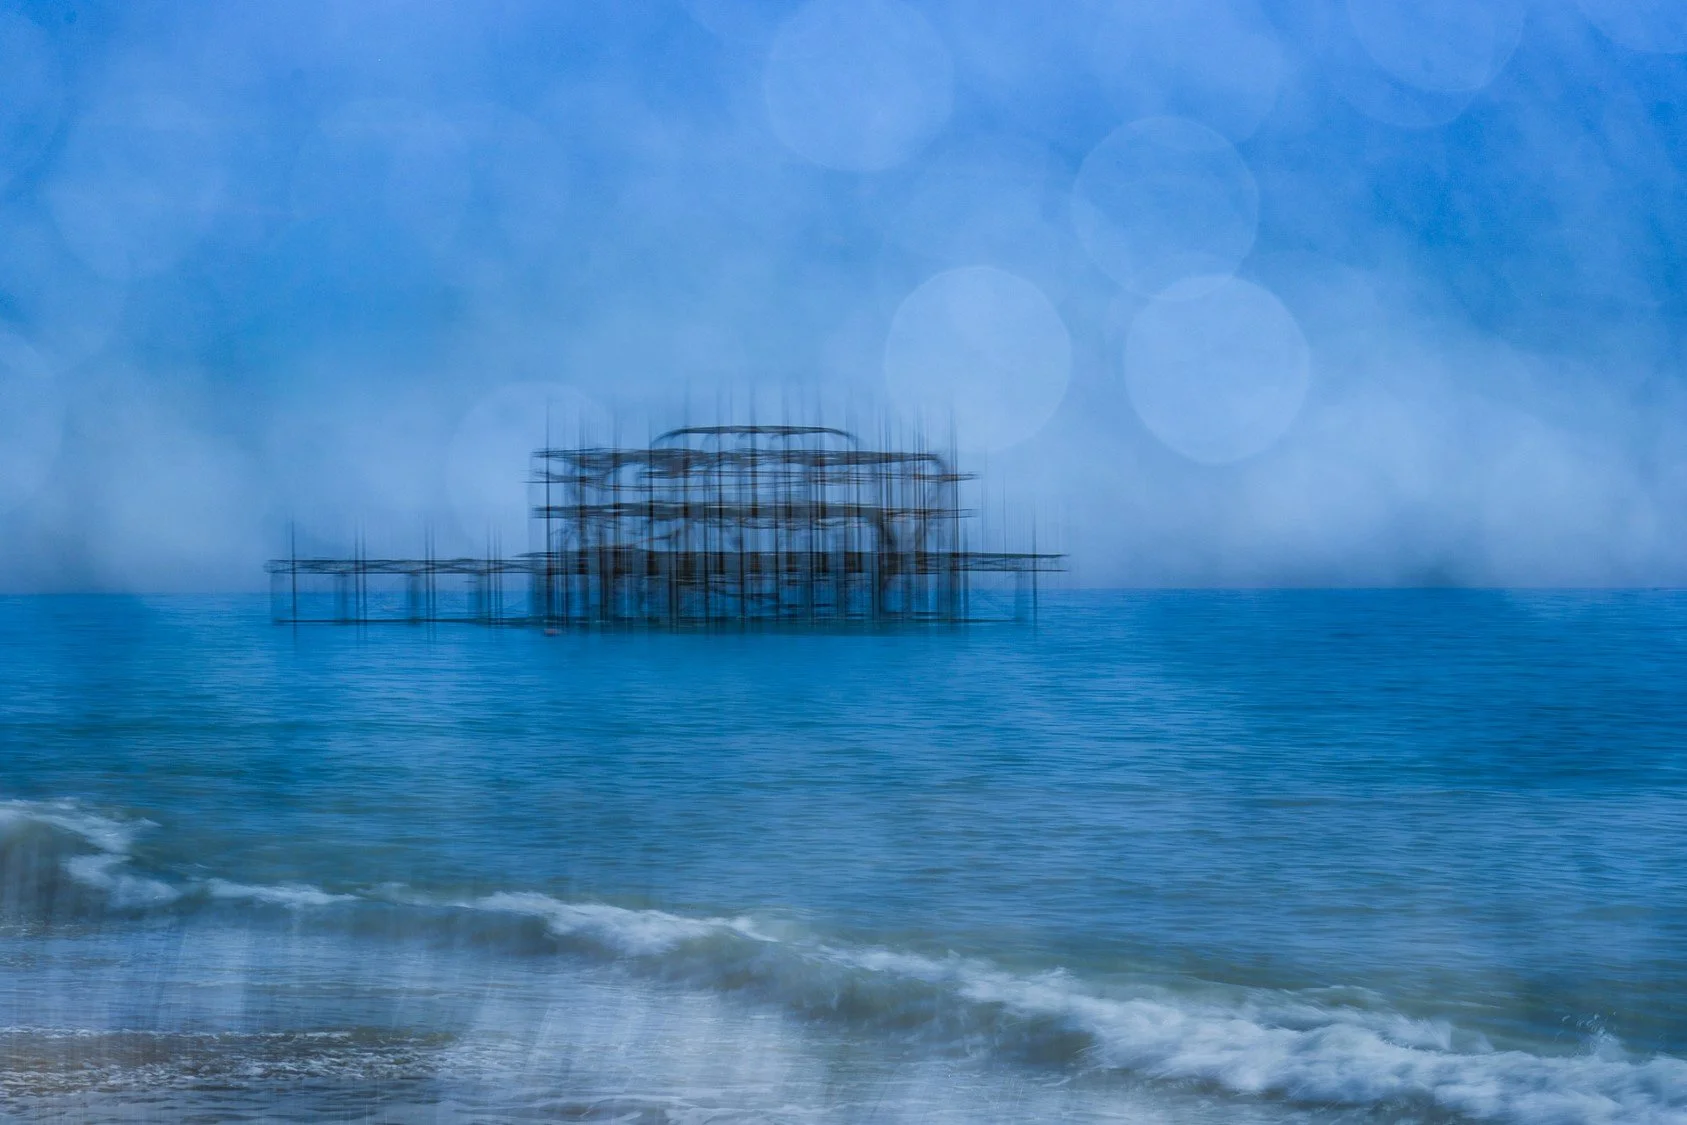
Multiple Exposure image of the West Pier using bokeh
Positioning Your Bokeh – You're in Control!
One of the biggest advantages of post-processing multiple exposure is the freedom to position your bokeh exactly where you want it.
Select your bokeh layer and use the Free Transform tool (Ctrl+T on Windows or Cmd+T on Mac or in the edit drop down menu) to resize, rotate and move it around your image.
Perhaps you want circles around the petals of a flower, sparkling highlights above a building or a soft wash of colour surrounding a silhouette.
Try making your bokeh much larger or smaller than you originally photographed it. You can also reduce the layer opacity if the effect becomes overwhelming. Sometimes the bokeh should be the star of the show, but at other times it works better as a supporting actor.
A layer mask can also help remove distracting areas, allowing your bokeh to enhance rather than compete with your subject.
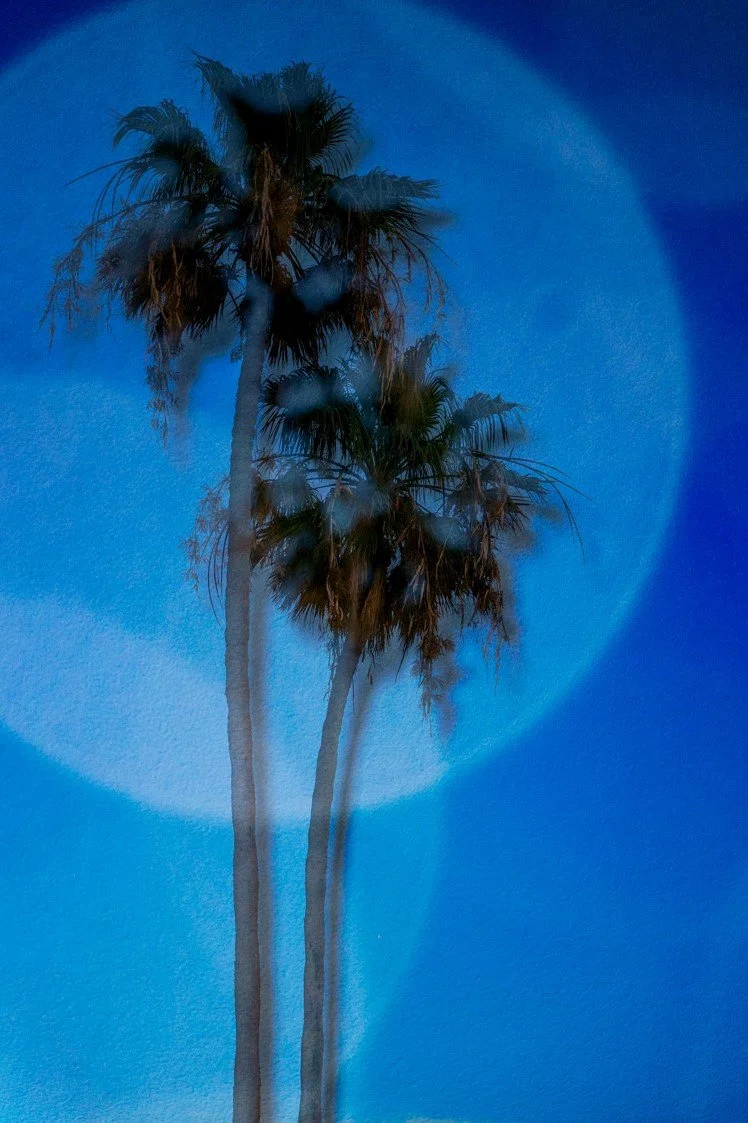
Multiple Exposure image using bokeh positioned just where I want it!
Don't Stop at Lighten and Overlay!
Although Lighten and Overlay are excellent starting points, Photoshop has a whole collection of blend modes waiting to be explored.
For something more dramatic, try Colour Dodge or Linear Dodge (Add). These can create wonderfully vibrant highlights, although you may find yourself reaching for the opacity slider rather quickly!
Multiply and Darken can introduce shadows and depth, while Colour Burn and Linear Burn create stronger darkening effects.
Then there are the unpredictable modes, including Difference, Exclusion and Hard Mix. These can produce wonderfully strange colours and patterns. Are they always attractive? Absolutely not! But occasionally they create something so unexpected that you find yourself heading in a completely new creative direction.
That's one of the things I love about multiple exposure. Sometimes the happy accidents are the best bit.
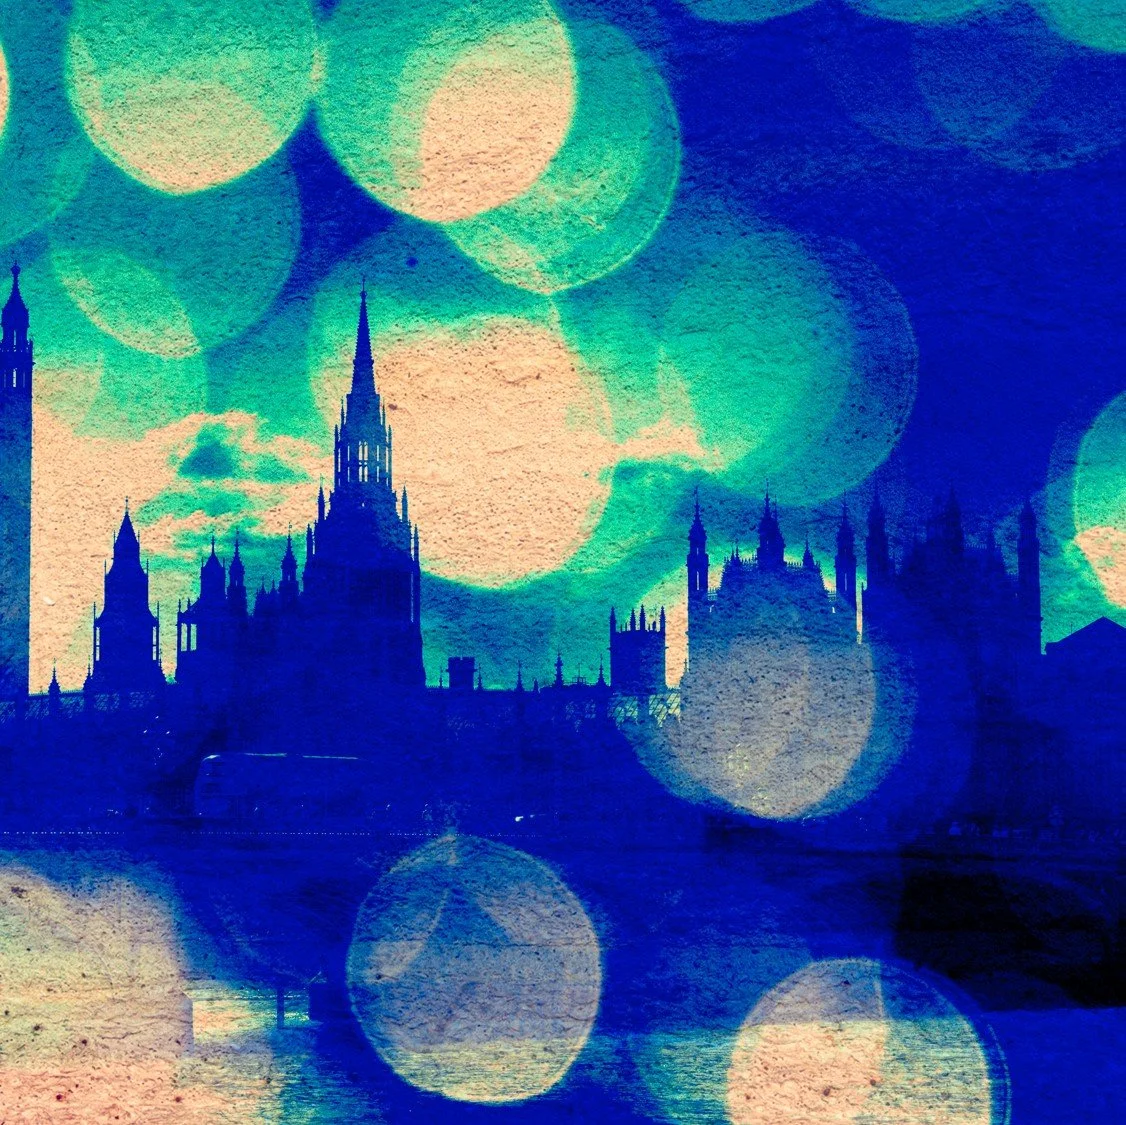
Multiple Exposure of London using more than one layer, and bokeh, with the more extreme blend modes!
Adding More Layers and Creating Something More Complex
Once you're comfortable combining a subject with a single bokeh photograph, why not add another?
You could introduce warm colours with one layer and cooler highlights with another. Perhaps small, delicate circles could sit alongside larger ones to create depth. You might even combine bokeh with textures or different versions of your original subject.
Each layer can have its own blend mode, opacity and position, so the possibilities really are almost endless.
The important thing is to consider what each layer contributes. Does it enhance the composition, introduce atmosphere or add movement? Or is it simply there because you've discovered another exciting blend mode?
Sometimes removing a layer improves an image more than adding another. I know, rather shocking!
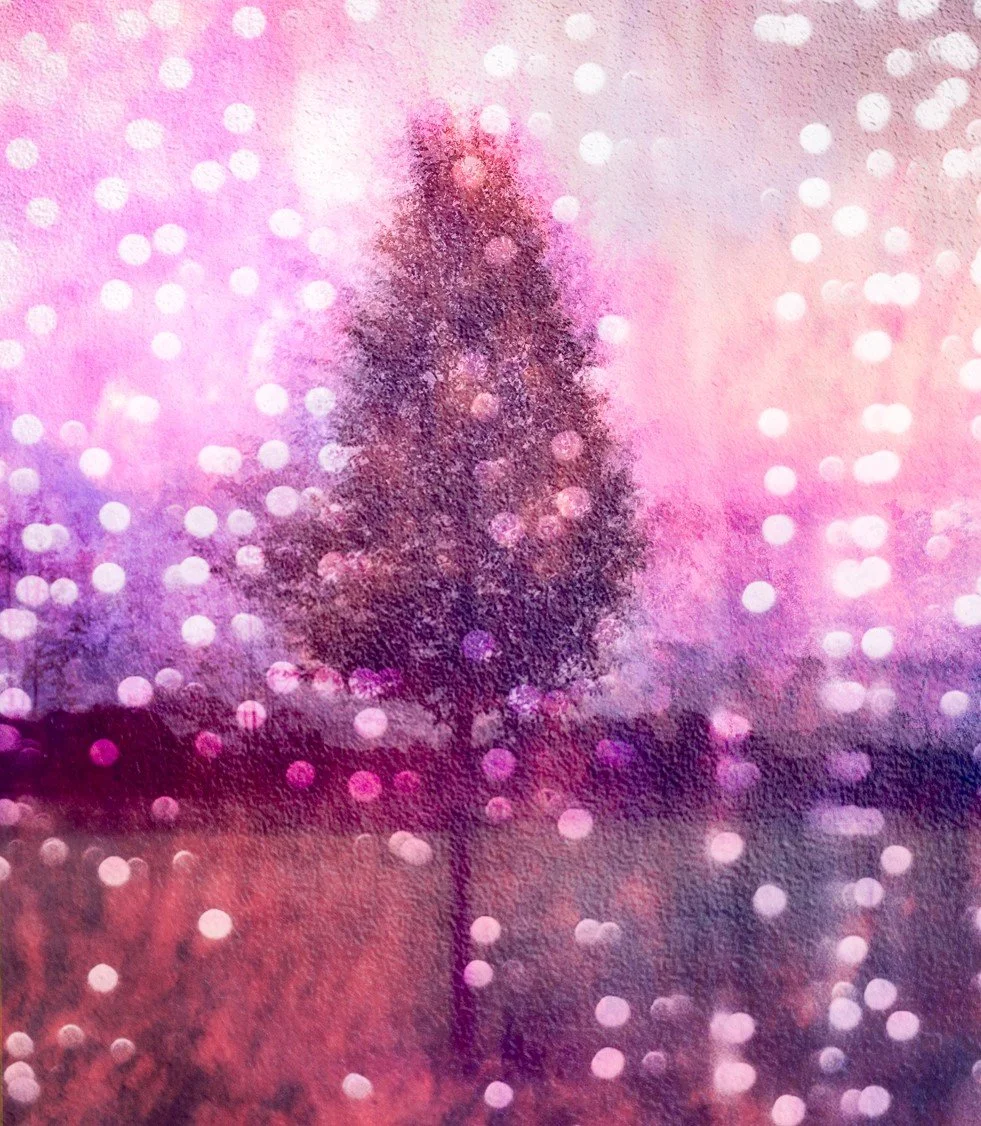
Multiple Exposure of my tree for Christmas!
A Little Creative Challenge
For this week's challenge, I'd love you to choose a subject and photograph some bokeh specifically to combine with it in Photoshop.
Start with two layers, experiment with Lighten or Overlay, and use Free Transform to position your circles exactly where you want them. Once you're happy, introduce another layer or experiment with a different blend mode.
Most importantly, have a play! There is no single correct result, and the joy of this technique is discovering how the same photographs can produce completely different images depending on your choices.
Bokeh is much more than a collection of pretty circles. Used thoughtfully, it can introduce atmosphere, movement, depth and emotion into your photographs.
So, get out there, find something glinty, take a few deliberately blurry photographs and see where they take you. Sometimes being completely out of focus is exactly what you need!