Getting Started with Portrait Photography and Colour in Multiple Exposure
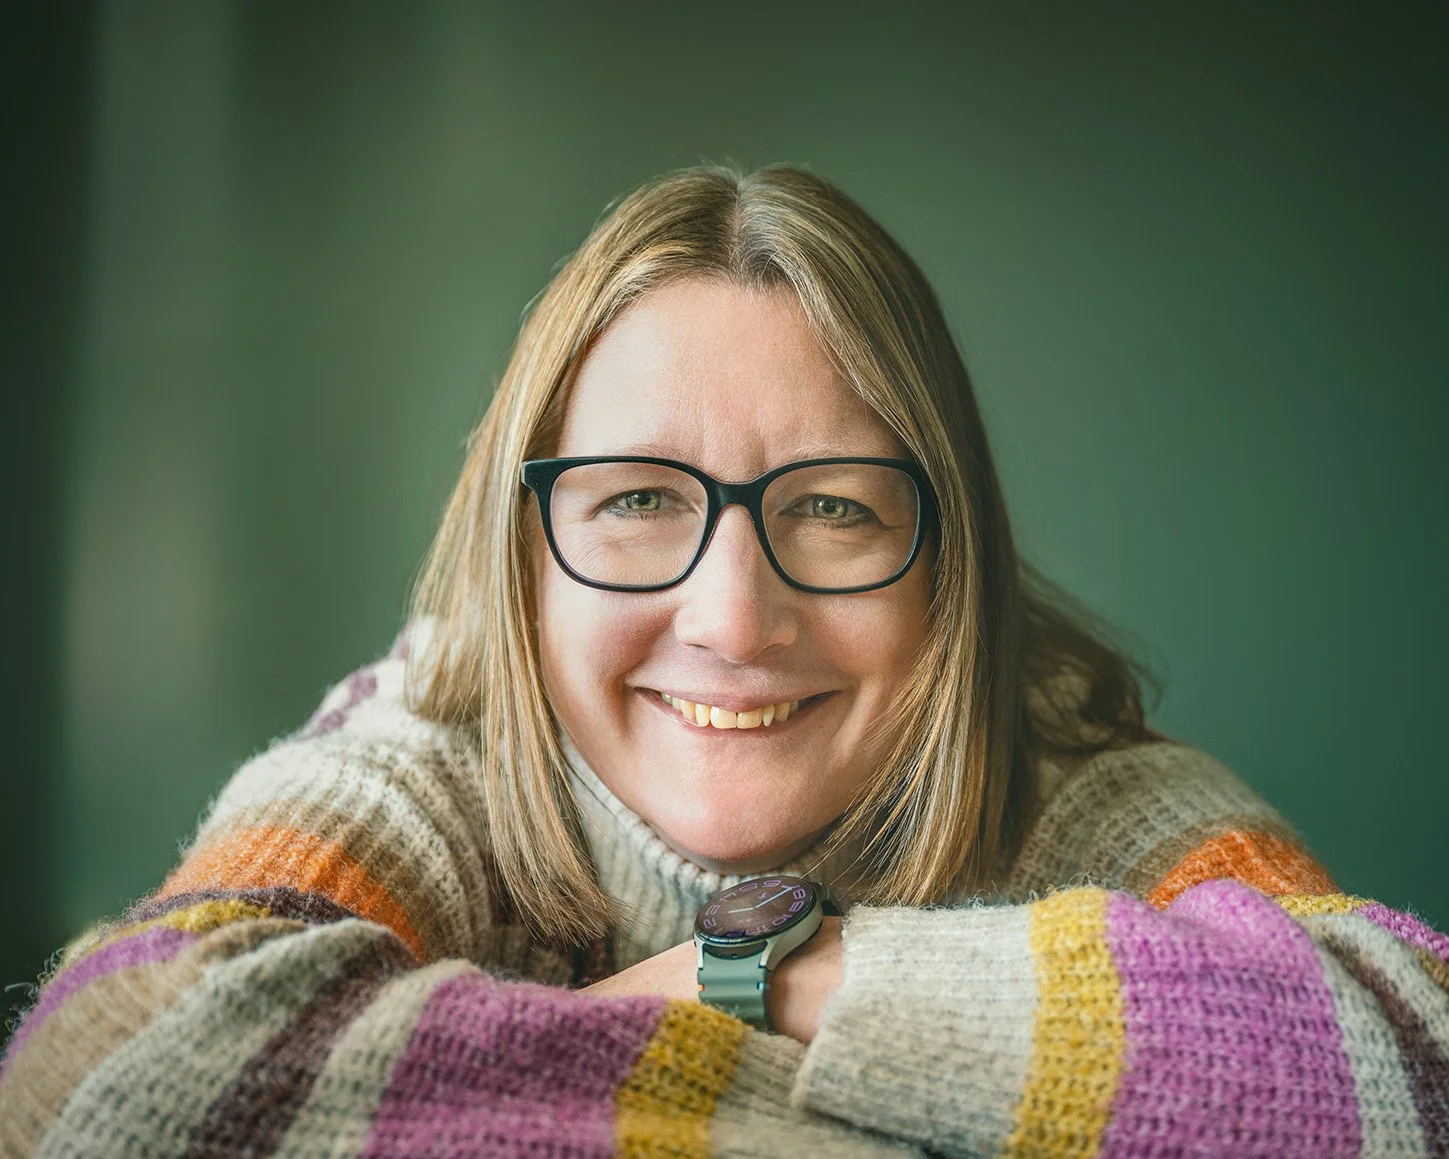
A Multiple Exposure Photography Image of Janina Wilde
Introduction
Many photographers who work with multiple exposure are drawn to landscapes, still life, or abstract imagery. Portraits are often avoided because they can feel more complex, technical, or intimidating to approach. Yet portrait photography offers something unique: the chance to explore emotion, presence, and human connection in a direct and meaningful way.
When combined with multiple exposure techniques, portraits open up even more creative possibilities. Colour, texture, and layered forms can interact with the human face in ways that feel closer to painting than to traditional photography. With just a few carefully chosen layers, a simple portrait can begin to carry atmosphere, mood, and narrative.
For photographers at the beginning of their journey, portraiture can seem demanding or overwhelming. In reality, it doesn’t need to be. You don’t need a professional studio, complicated lighting, or an experienced model. A friend, partner, or family member is more than enough to start. In this blog Janina Wilde agreed to model (she definitely prefers being on the other side of the camera!) What matters most is how you observe light, compose the frame, and respond to the person in front of the camera.
Portrait photography is not about perfection. It’s about attention, patience, and allowing space for expression to emerge. Once that foundation is in place, multiple exposure becomes a powerful tool – not to complicate the image, but to extend it.
Working with Natural Light
For this portrait work, I decided to use natural window light indoors. In many cases, I didn’t use a reflector at all. This was a conscious decision, intended to show that expressive portraits don’t require complex lighting setups or expensive equipment.
Any camera can work. What truly matters is learning to see light – how it falls across the face, how it shapes form, and how small shifts in position can subtly change the mood of an image. Natural light offers a simple, accessible starting point and encourages a slower, more intuitive way of working, which can be especially useful when exploring portraiture through multiple exposure.
So here are some practical tips that will improve your portrait photography.
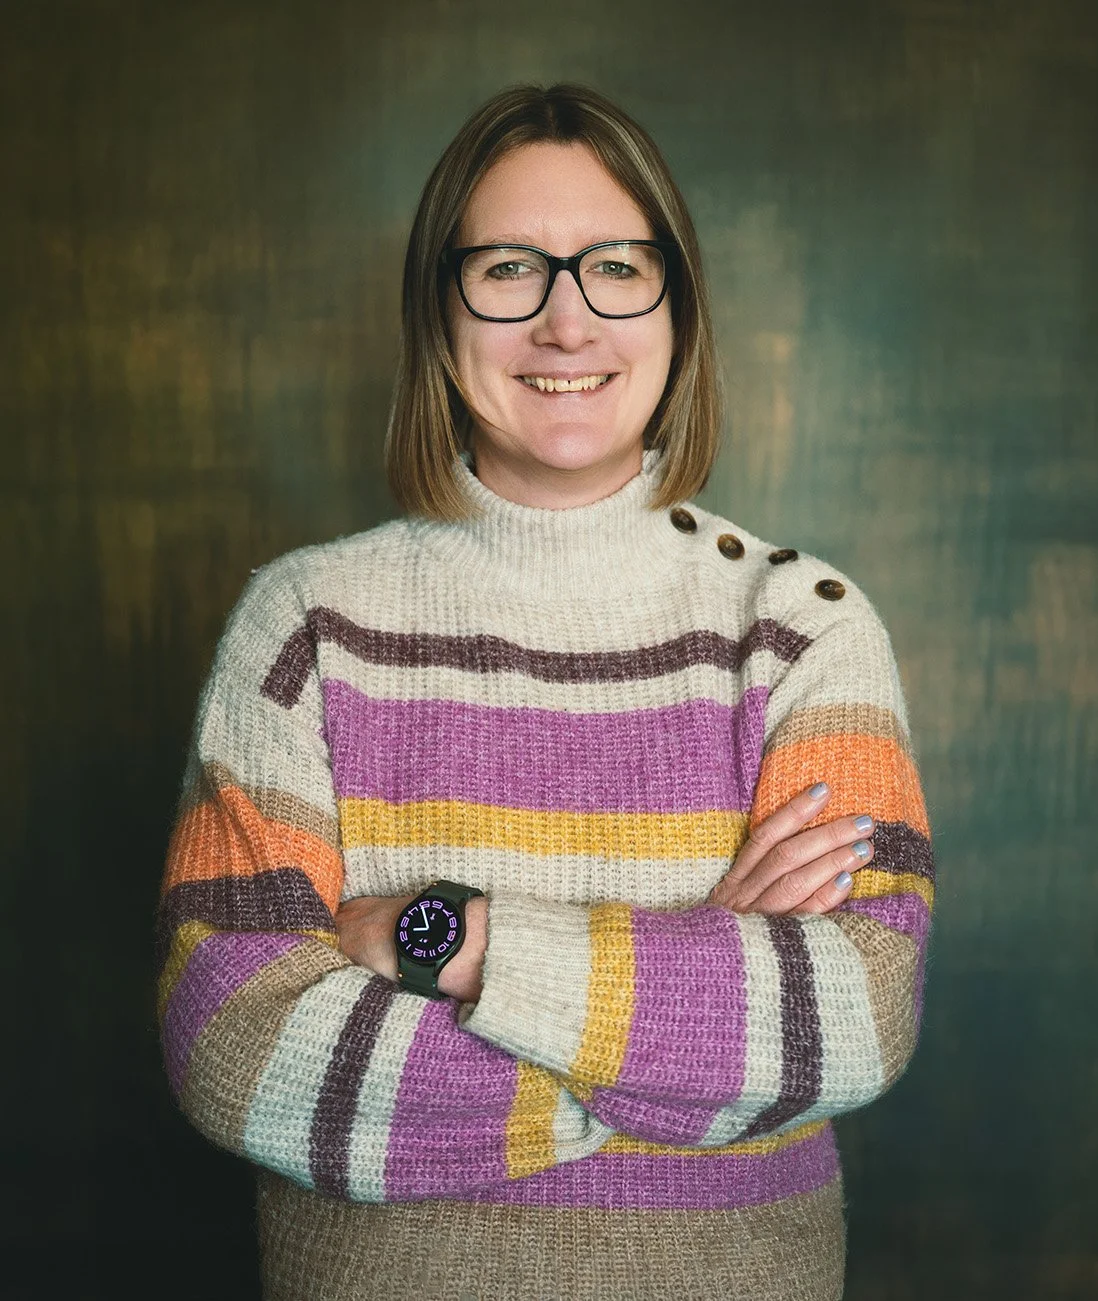
Colour natural light portrait of Janina Wilde with light from a front facing window
1. Make the Most of Natural Light
Light is the foundation of any portrait. Notice:
the quality of light (soft, diffused window light is ideal indoors),
the direction (side light adds dimension, while front light feels gentle and flattering).
Small changes, such as turning your subject slightly or adjusting their distance from the window - can dramatically affect the final image.
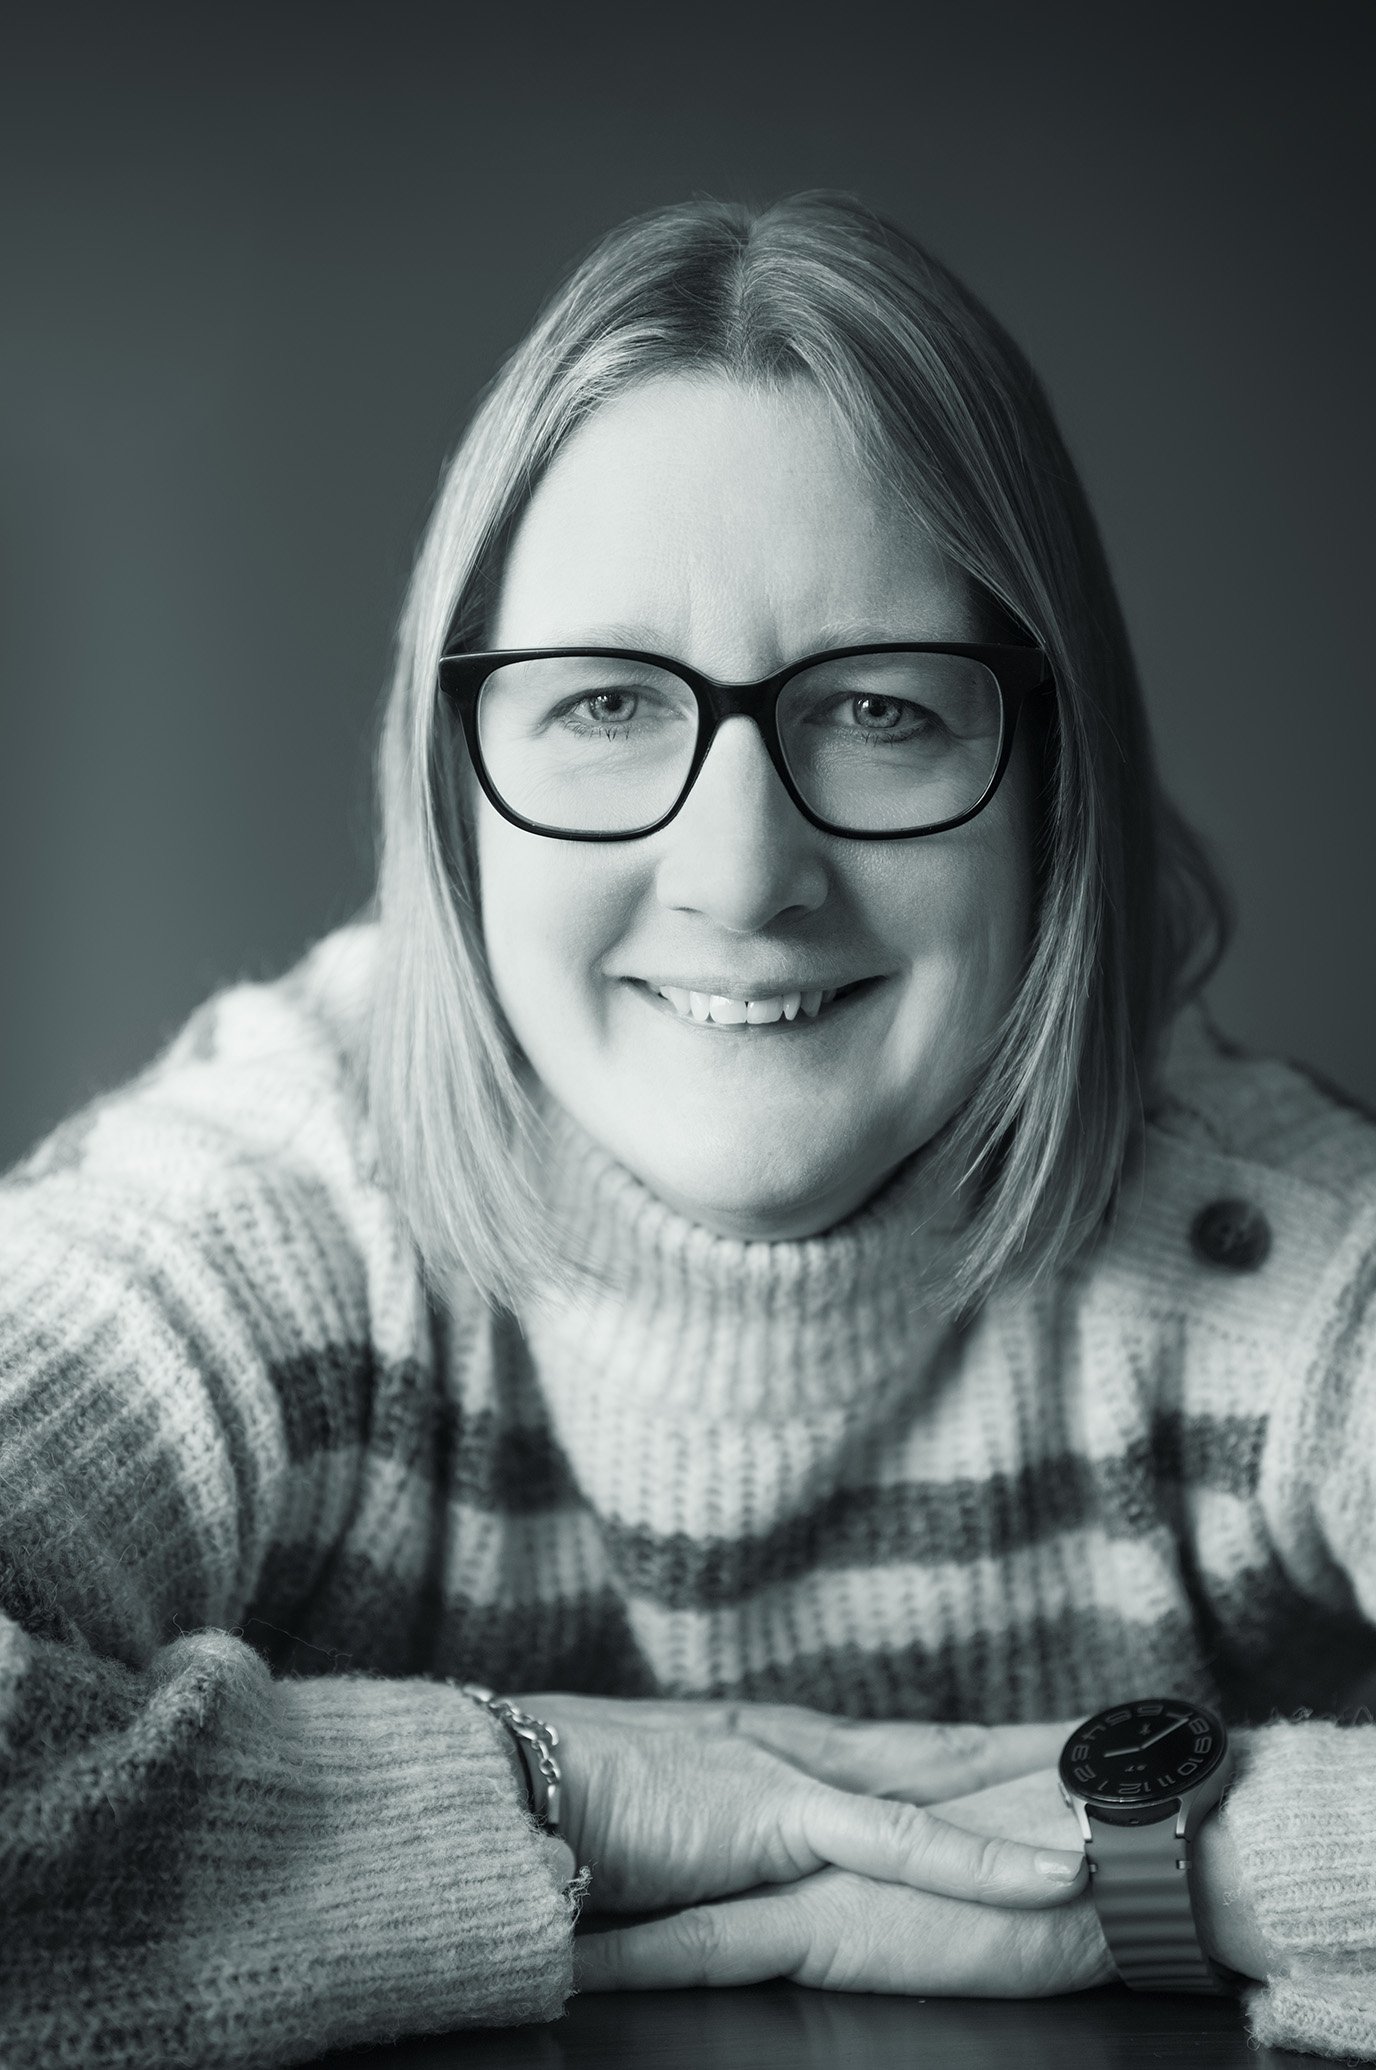
Black and White Natural Light Portrait of Janina Wilde with side window light.
2. Simplify the Background
A cluttered background is one of the most common issues for beginners. When there’s too much happening behind the subject, attention is pulled away from the person.
Look for clean walls, curtains, or calm areas of a room. A simple background helps the subject remain the clear focal point.
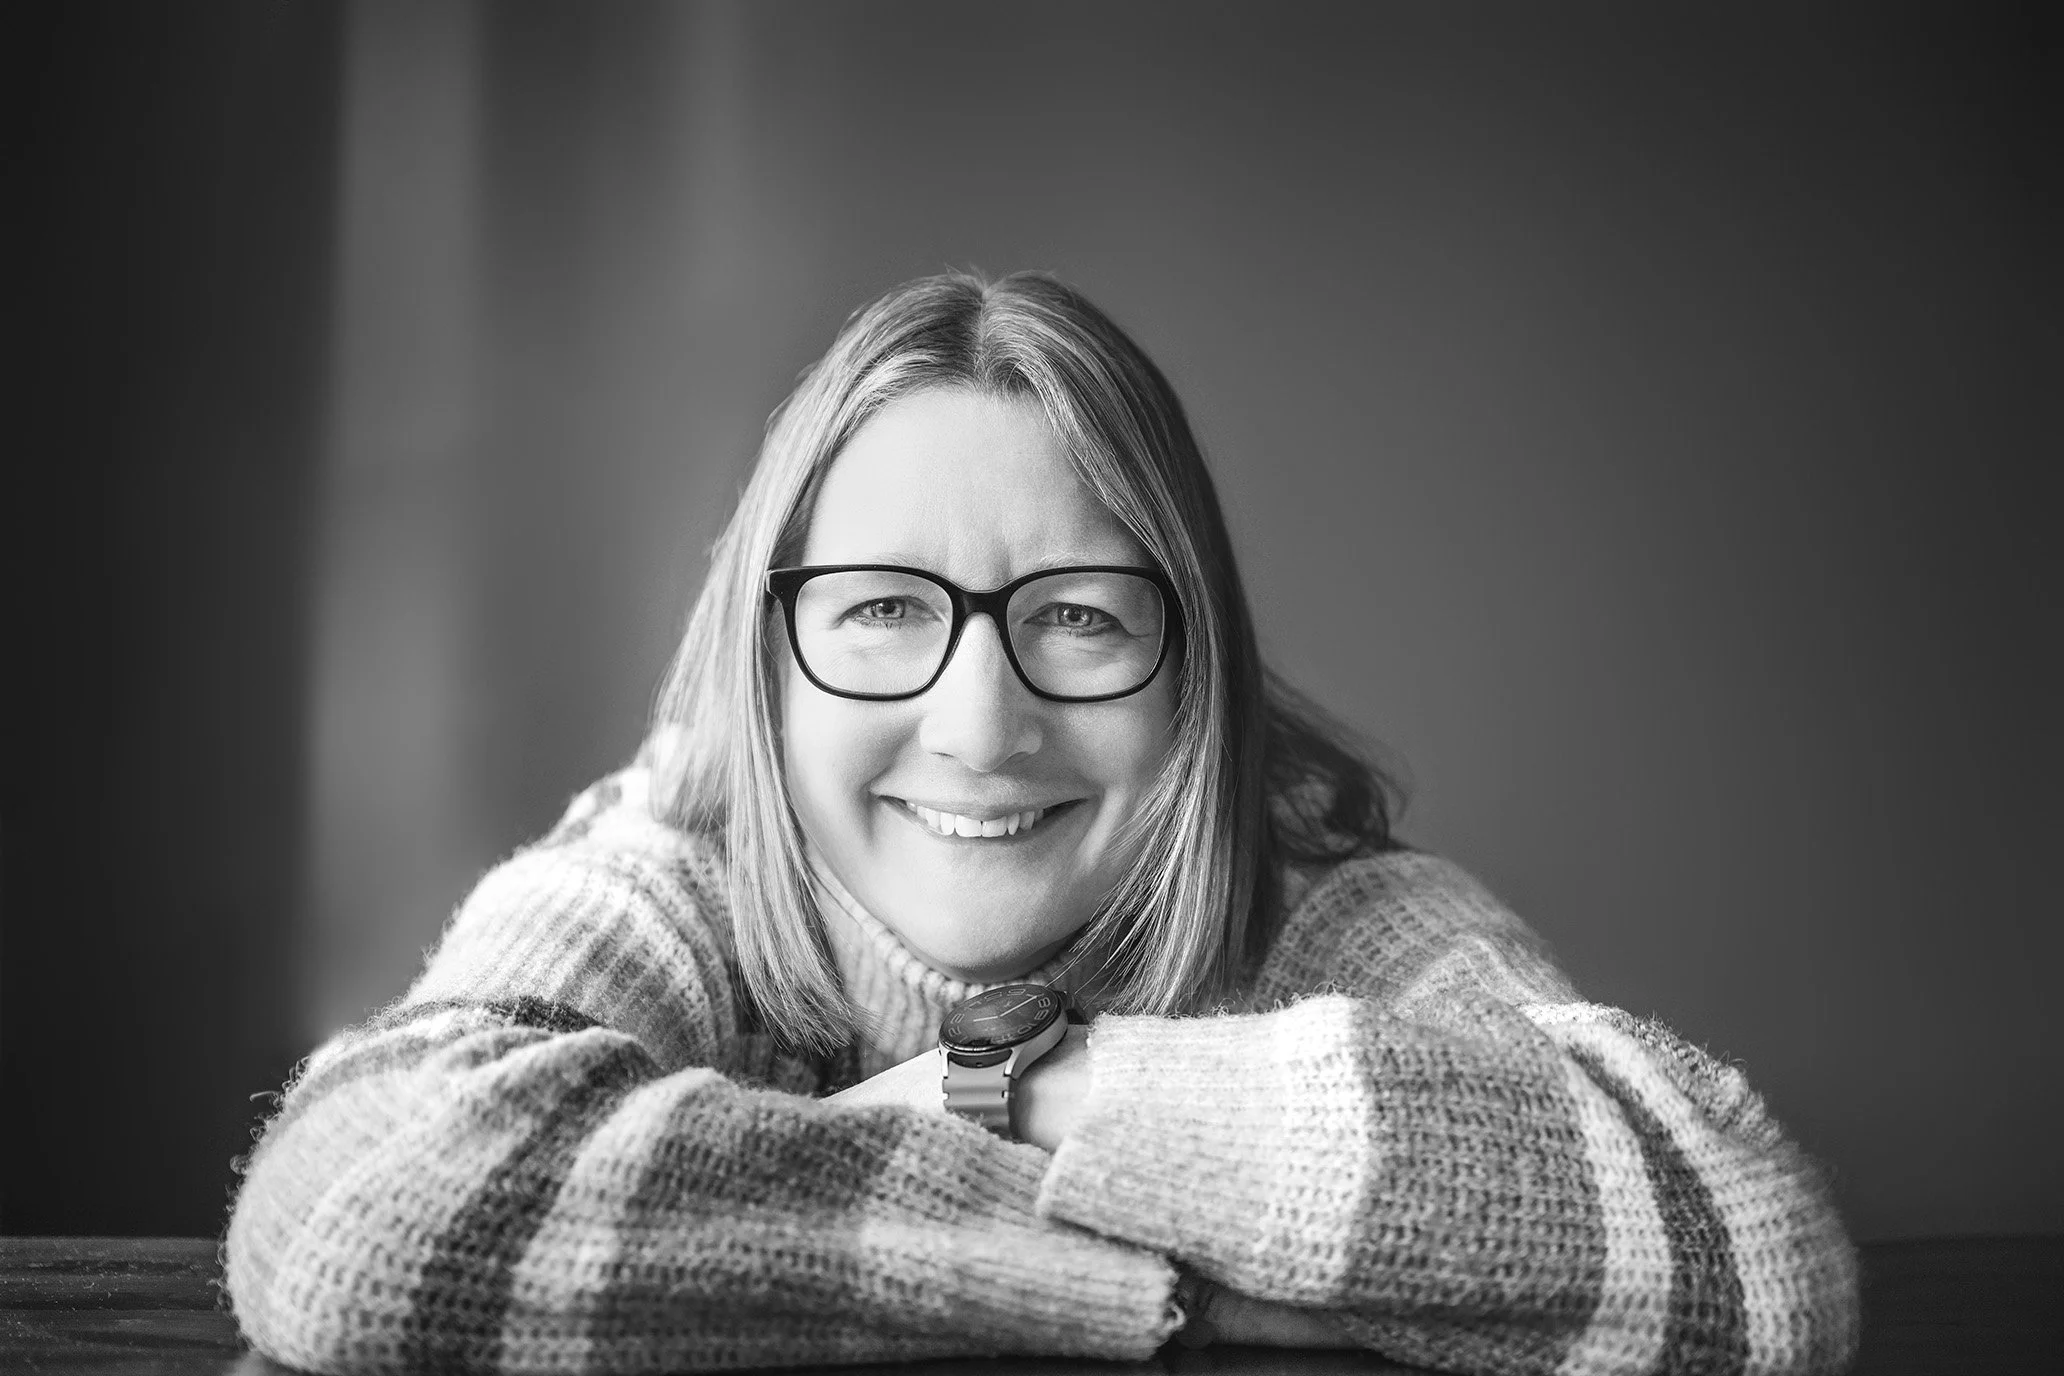
A Black and White Natural Light Portrait of Janina Wilde with side window light.
3. Get Comfortable with Key Camera Settings
You don’t need to master every function on your camera, but a few settings make a big difference:
Aperture: Use a wide aperture (around f/1.8–f/2.8) to achieve a shallow depth of field and softly blurred background.
Shutter speed: Aim for at least 1/125s when shooting handheld to avoid motion blur.
ISO: Keep it as low as the light allows for cleaner images with minimal noise.
Aperture Priority mode: This is a great option for natural-light portraits, letting you control depth of field while the camera manages exposure.
Understanding these basics will immediately make your portraits feel more intentional and refined.
4. Consider Your Focal Length
Lens choice plays a significant role in how a face appears:
Wider lenses (24–35mm) can distort facial features.
Lenses around 50mm, 85mm, or longer provide a more natural, flattering perspective for portraits.
Focus on the eyes - a colour natural light portrait of Janina Wilde with side window light.
5. Connect with the Person You’re Photographing
Eyes are the emotional centre of a portrait. Focus there.
Talk to your subject, offer gentle guidance, and create a relaxed atmosphere. When people feel comfortable and seen, it shows in the image.
6. Slow the Process Down
It’s easy to rush, especially when you feel unsure. But strong portraits come from patience. Take time to observe, adjust, and respond to what’s happening in front of the camera. A slower pace often leads to more meaningful results.
7. Practice Regularly
Portrait photography improves with repetition. Working with the same person or in the same space helps you learn how light behaves, how expressions shift, and how composition evolves.
These principles are explored in more depth in my Multiple Exposure Portraits online course in April, where I guide photographers through building expressive portrait work using both simple and more advanced approaches
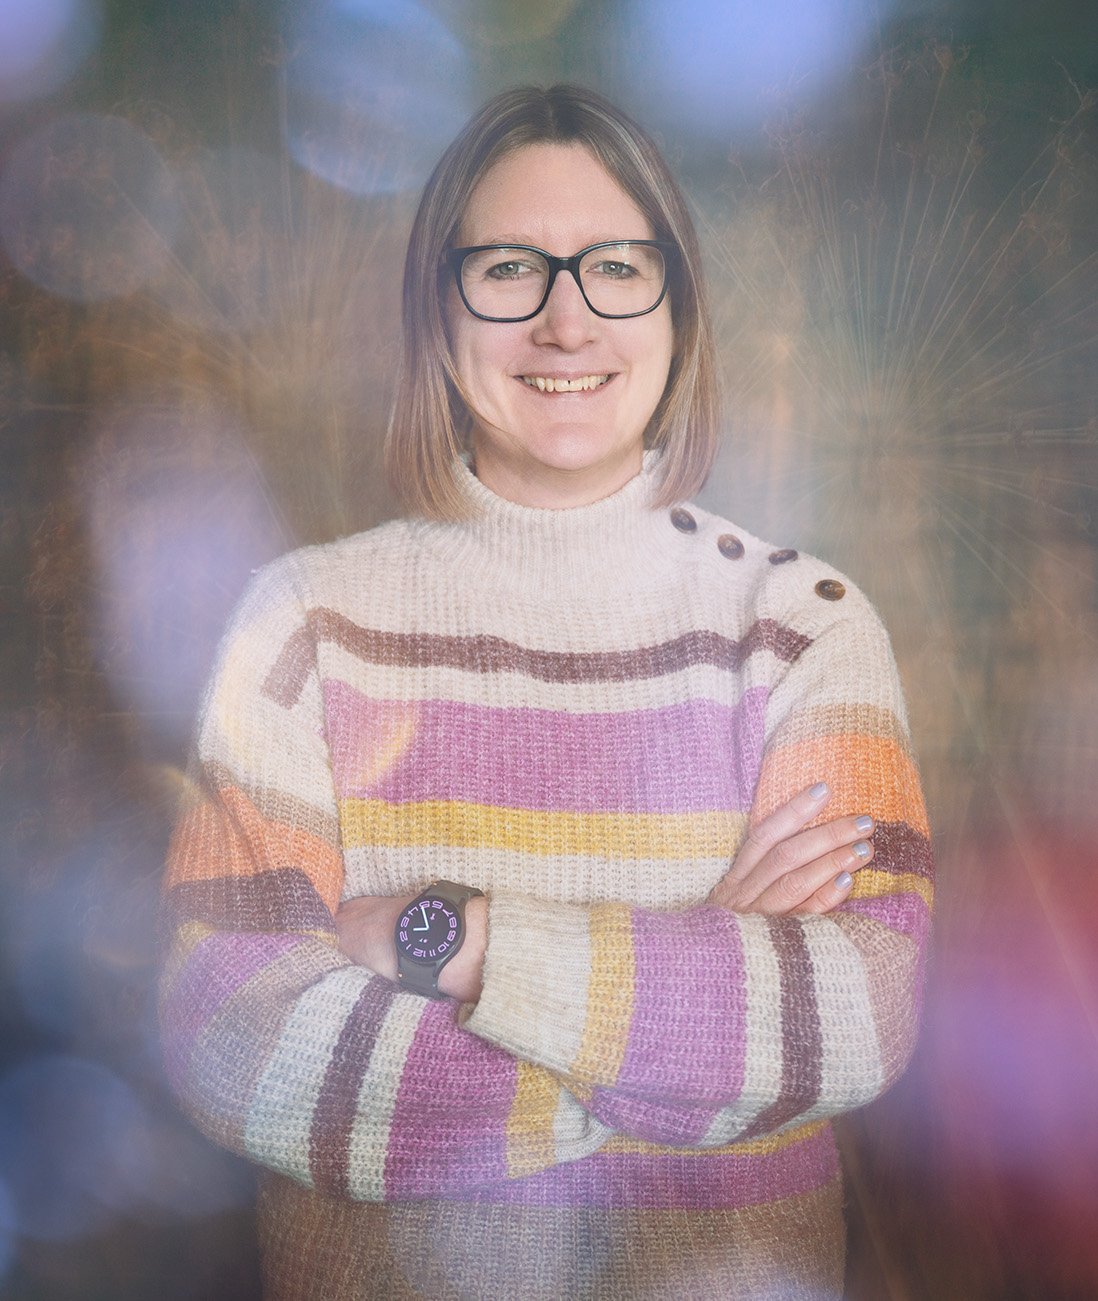
A Multiple Exposure Portrait Image where subtle textures add depth and create a soft and festive mood
Moving into Multiple Exposure
Once you feel confident with clean, simple portraits, multiple exposure opens up endless creative possibilities. Textures, colours, plants, architectural details, and abstract shapes can all be layered into your images, adding depth and atmosphere.
Why Multiple Exposure Works So Well with Portraits
Portraits already carry emotion and presence. When additional elements are layered in—such as abstract textures, organic patterns, or colour washes—a dialogue forms between the inner and outer world. The image becomes more than a likeness; it becomes a visual narrative.
Multiple exposure is especially effective when:
Adding atmosphere or symbolism:
Colour and texture can subtly suggest mood, softness, tension, or complexity.Creating a painterly or dreamlike quality:
Even delicate overlays can transform the image.Expressing ideas beyond a single frame:
Combining different visual elements allows the portrait to hold multiple layers of meaning.
Focusing on Colour in Multiple Exposure Portraits
In this workshop, we focused specifically on colour as a creative tool. Colour has a powerful influence on how an image feels:
Warm tones (reds, oranges, yellows) can suggest warmth, emotion, or nostalgia.
Cool tones (blues and greens) often evoke calm, distance, or introspection.
Muted palettes feel grounded and subtle.
High-contrast colours introduce drama or surreal tension.
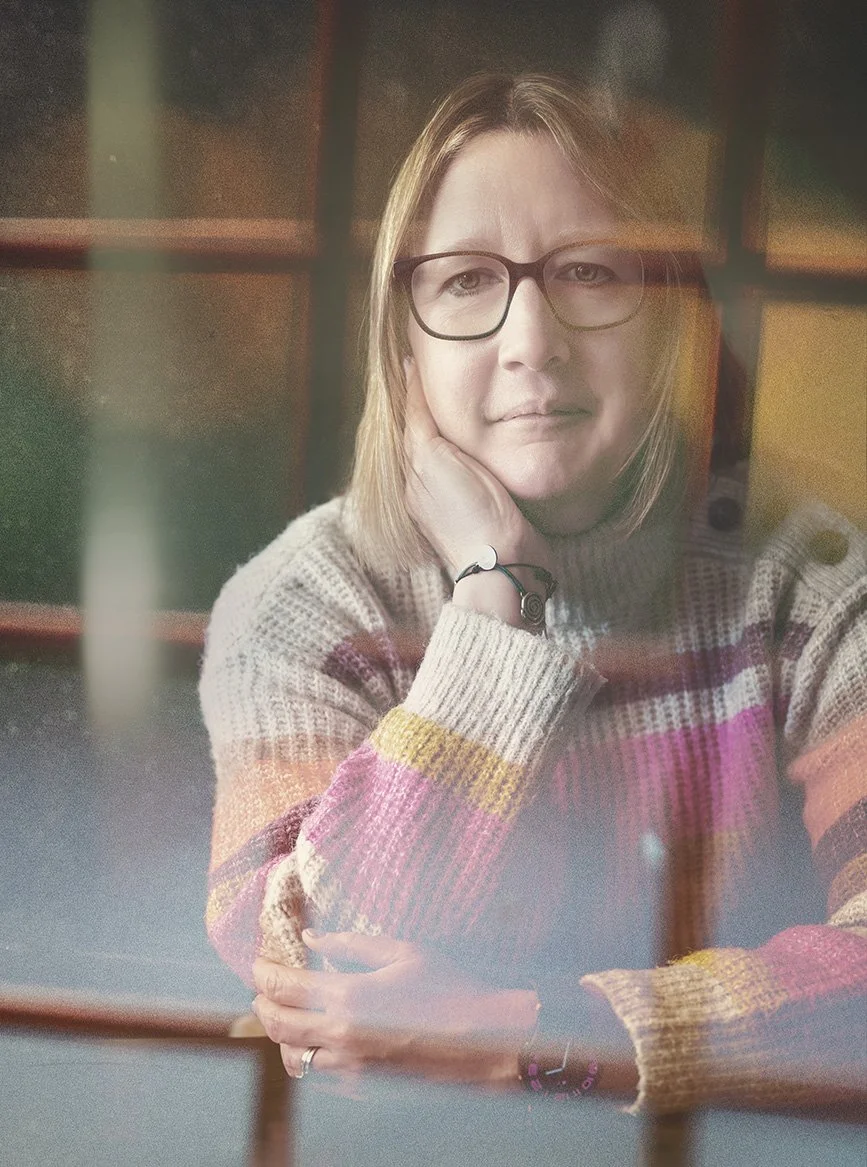
I experimented with both gentle overlays that complemented the natural light, and bolder colour layers that pushed the images toward abstraction. One of the strengths of multiple exposure is this flexibility—you decide how subtle or expressive the final image should be. Just look at the different moods created by different overlays below.
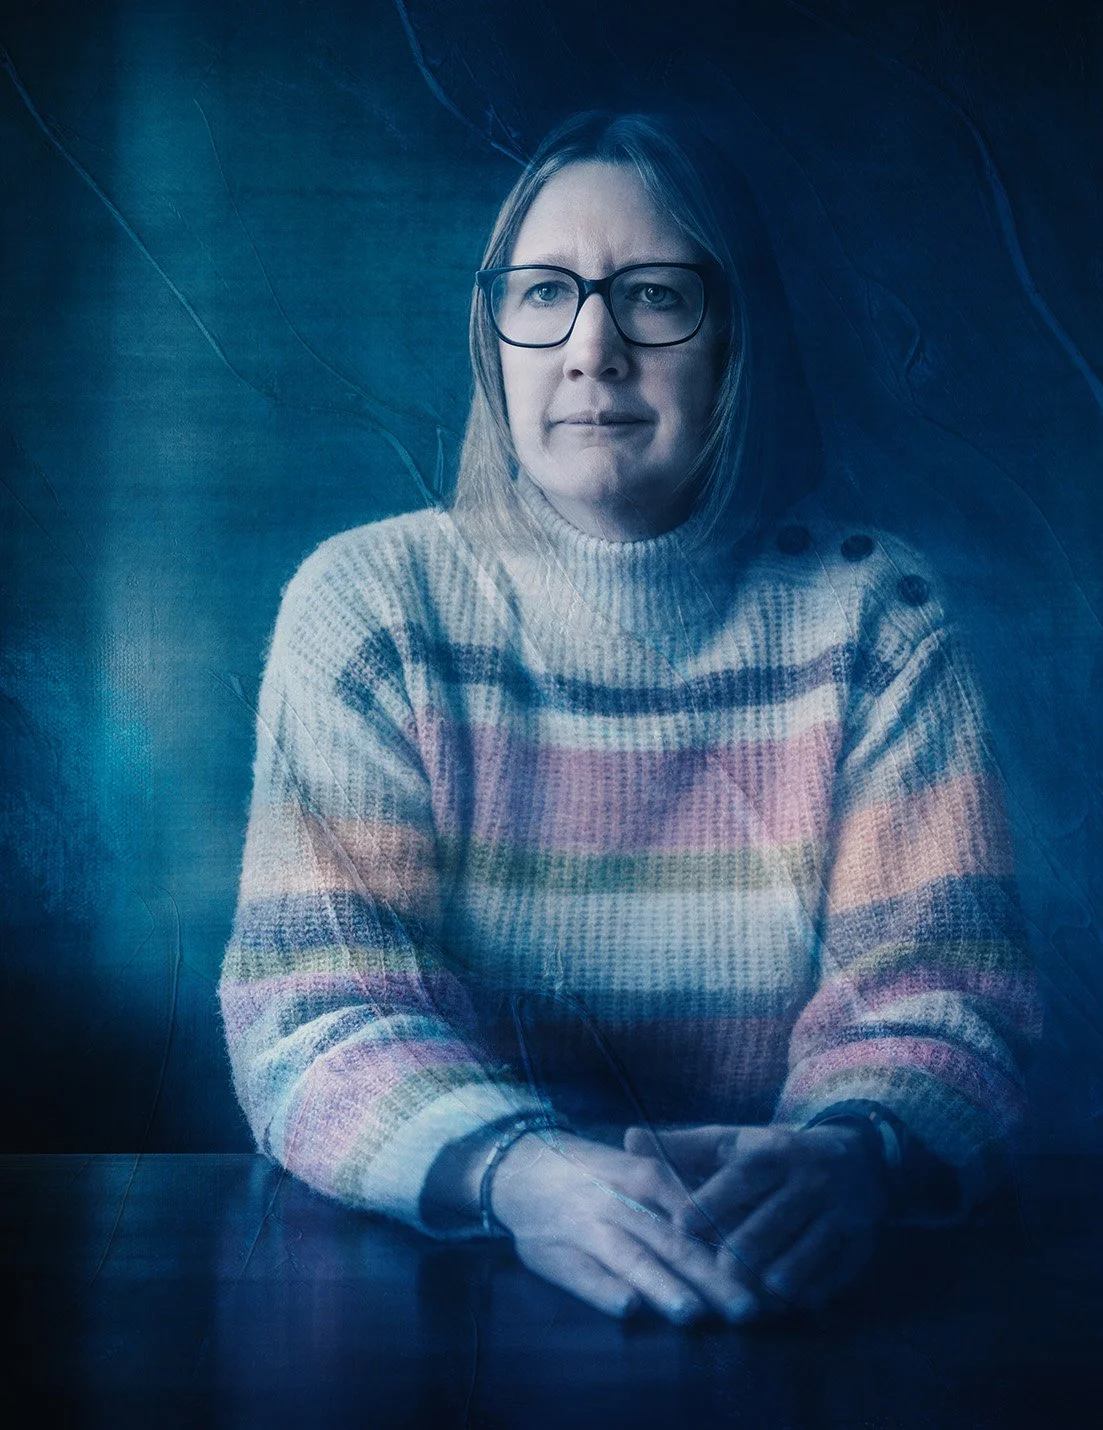
A Multiple Exposure Photography portrait image using textures and blue tones to create a distant and thoughtful mood
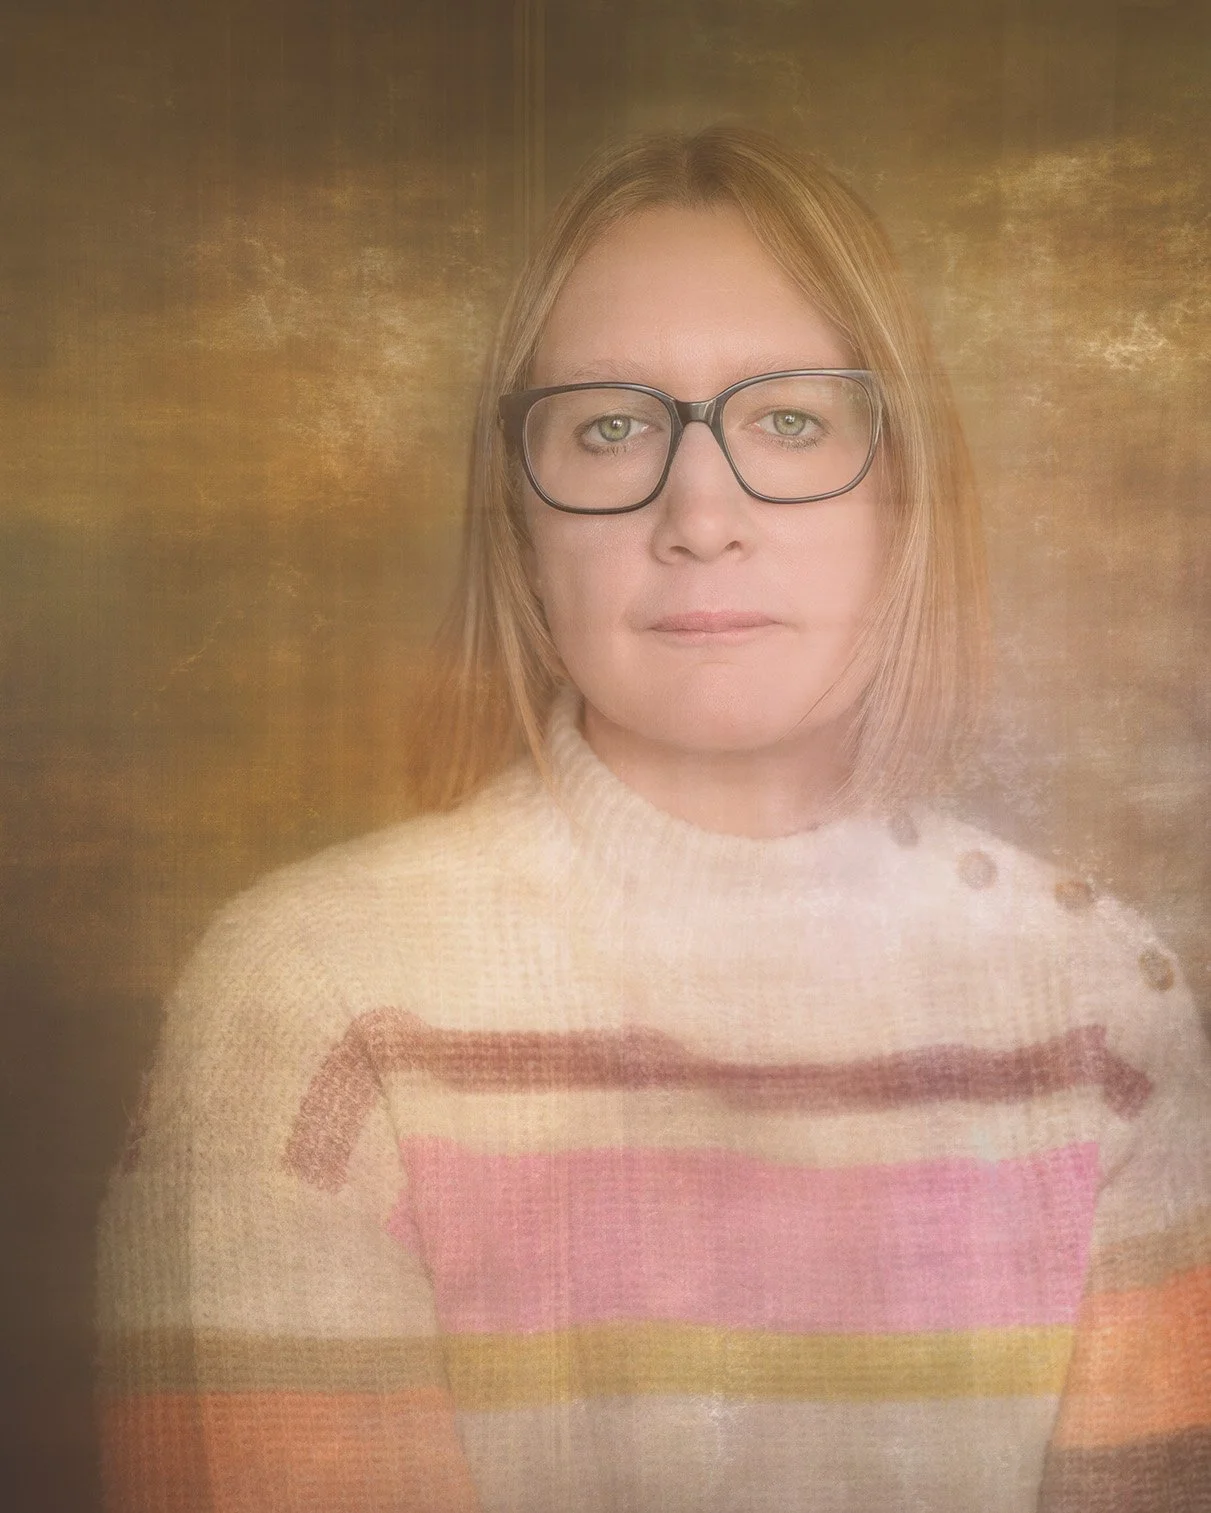
A Multip0le Exposure Photography portrait image using textures and warm tones to create a soft, warm mood,
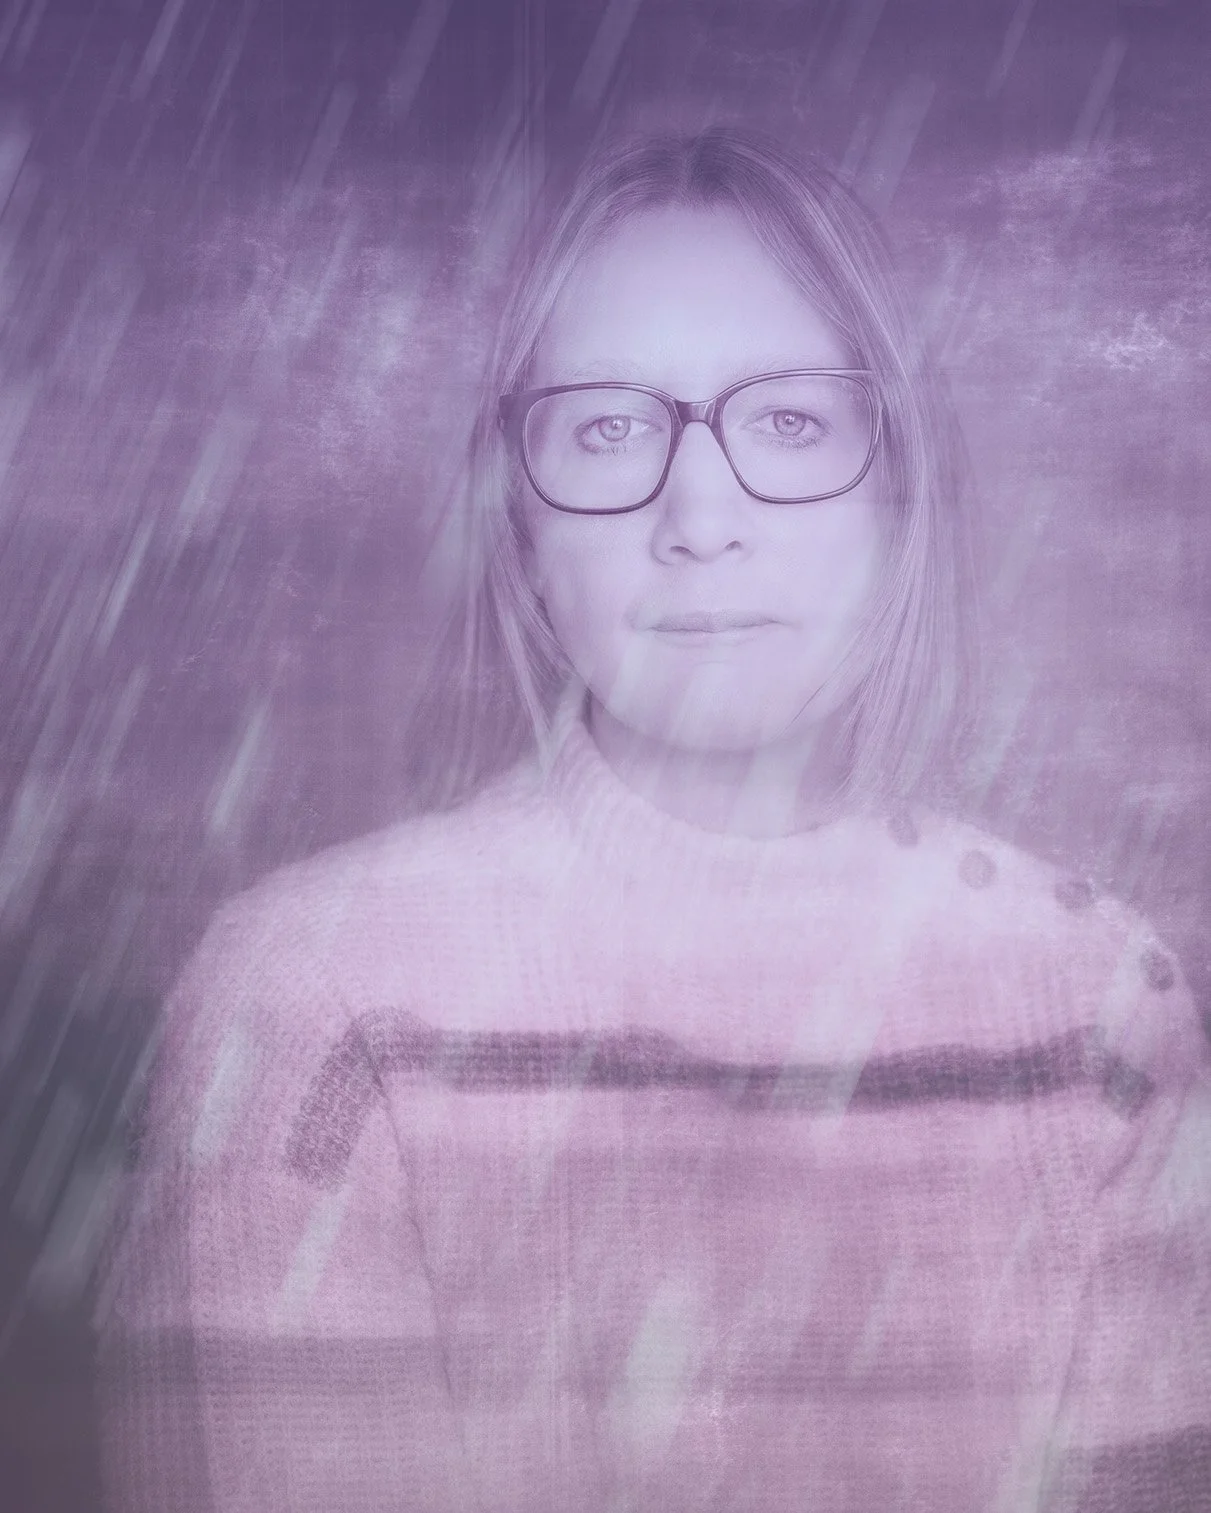
A Multiple Exposure Photography image using cooler tones and subtle textures to create a more distant and dreamy mood.

A Multiple Exposure Photography Image using additional layers and tones evoking a feeling of reminiscence
Thank you for following along and for being part of this creative process.
If you would like to explore these approaches in more depth, my Multiple Exposure Portraits online course offers a practical foundation for working with portraiture, light, and layered imagery, building step by step from the ideas shared here. More of my work can also be found by clicking here.
Olena