Using Textures in Multiple Exposure Photography: Getting Creative in Photoshop
From In-Camera Textures to Photoshop
Recently, I wrote about using textures in-camera to add another creative dimension to multiple exposure photography. But, of course, that's not the only way to use them! So this time, I thought we'd explore the possibilities of adding textures during post-processing, particularly in Photoshop. From subtle layers that add atmosphere to more dramatic effects that completely transform an image, there's an enormous amount of creative fun to be had. And the best bit? You can experiment to your heart's content without having to leave your computer!
One of the things I love about working with textures in post-processing is the amount of control it gives you. When creating multiple exposures in-camera, you need to think about the relationship between your exposures as you take them. In Photoshop, however, you can change your mind as often as you like, swap textures, experiment with blend modes and adjust the strength of individual layers. And believe me, changing my mind is something I am particularly good at!
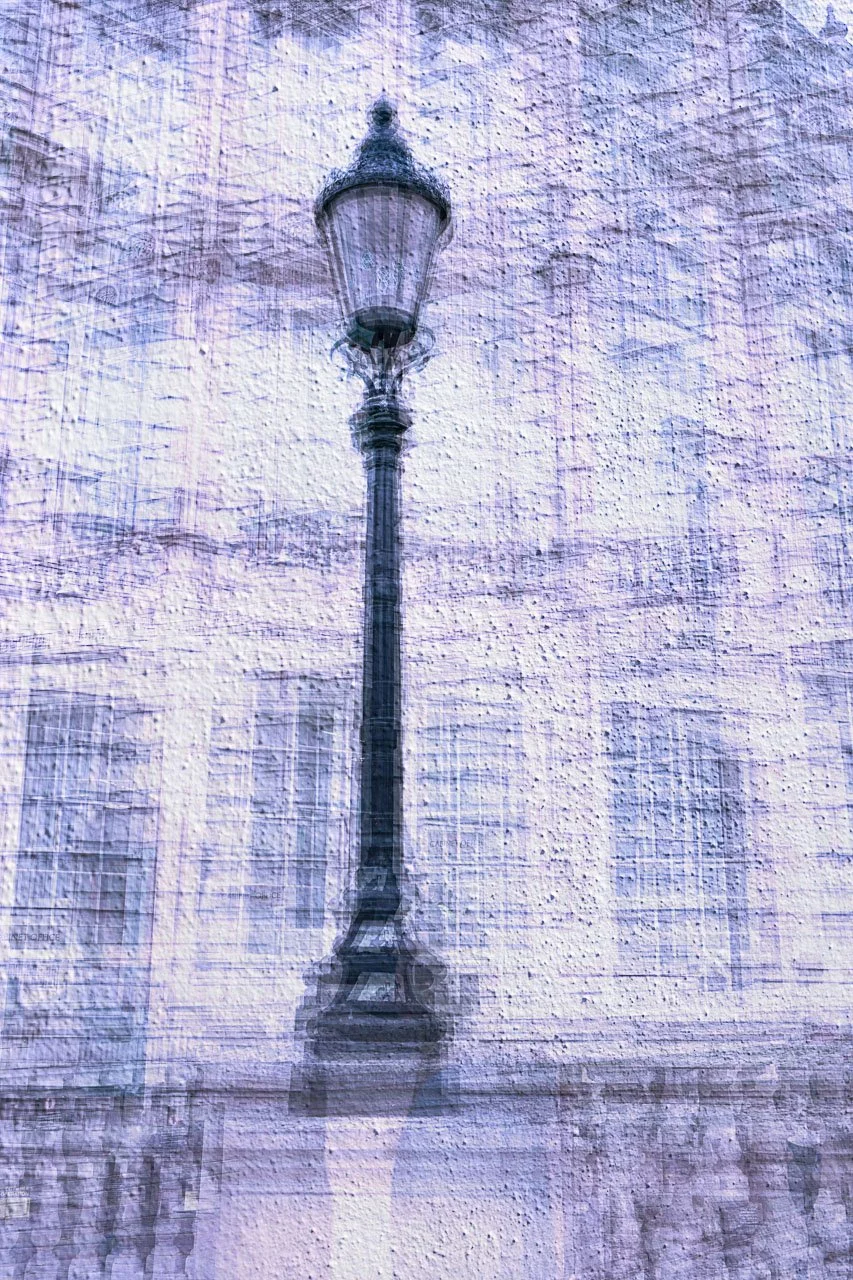
Multiple Exposure image of a London lamp post with a strong texture
Building Your Own Library of Textures
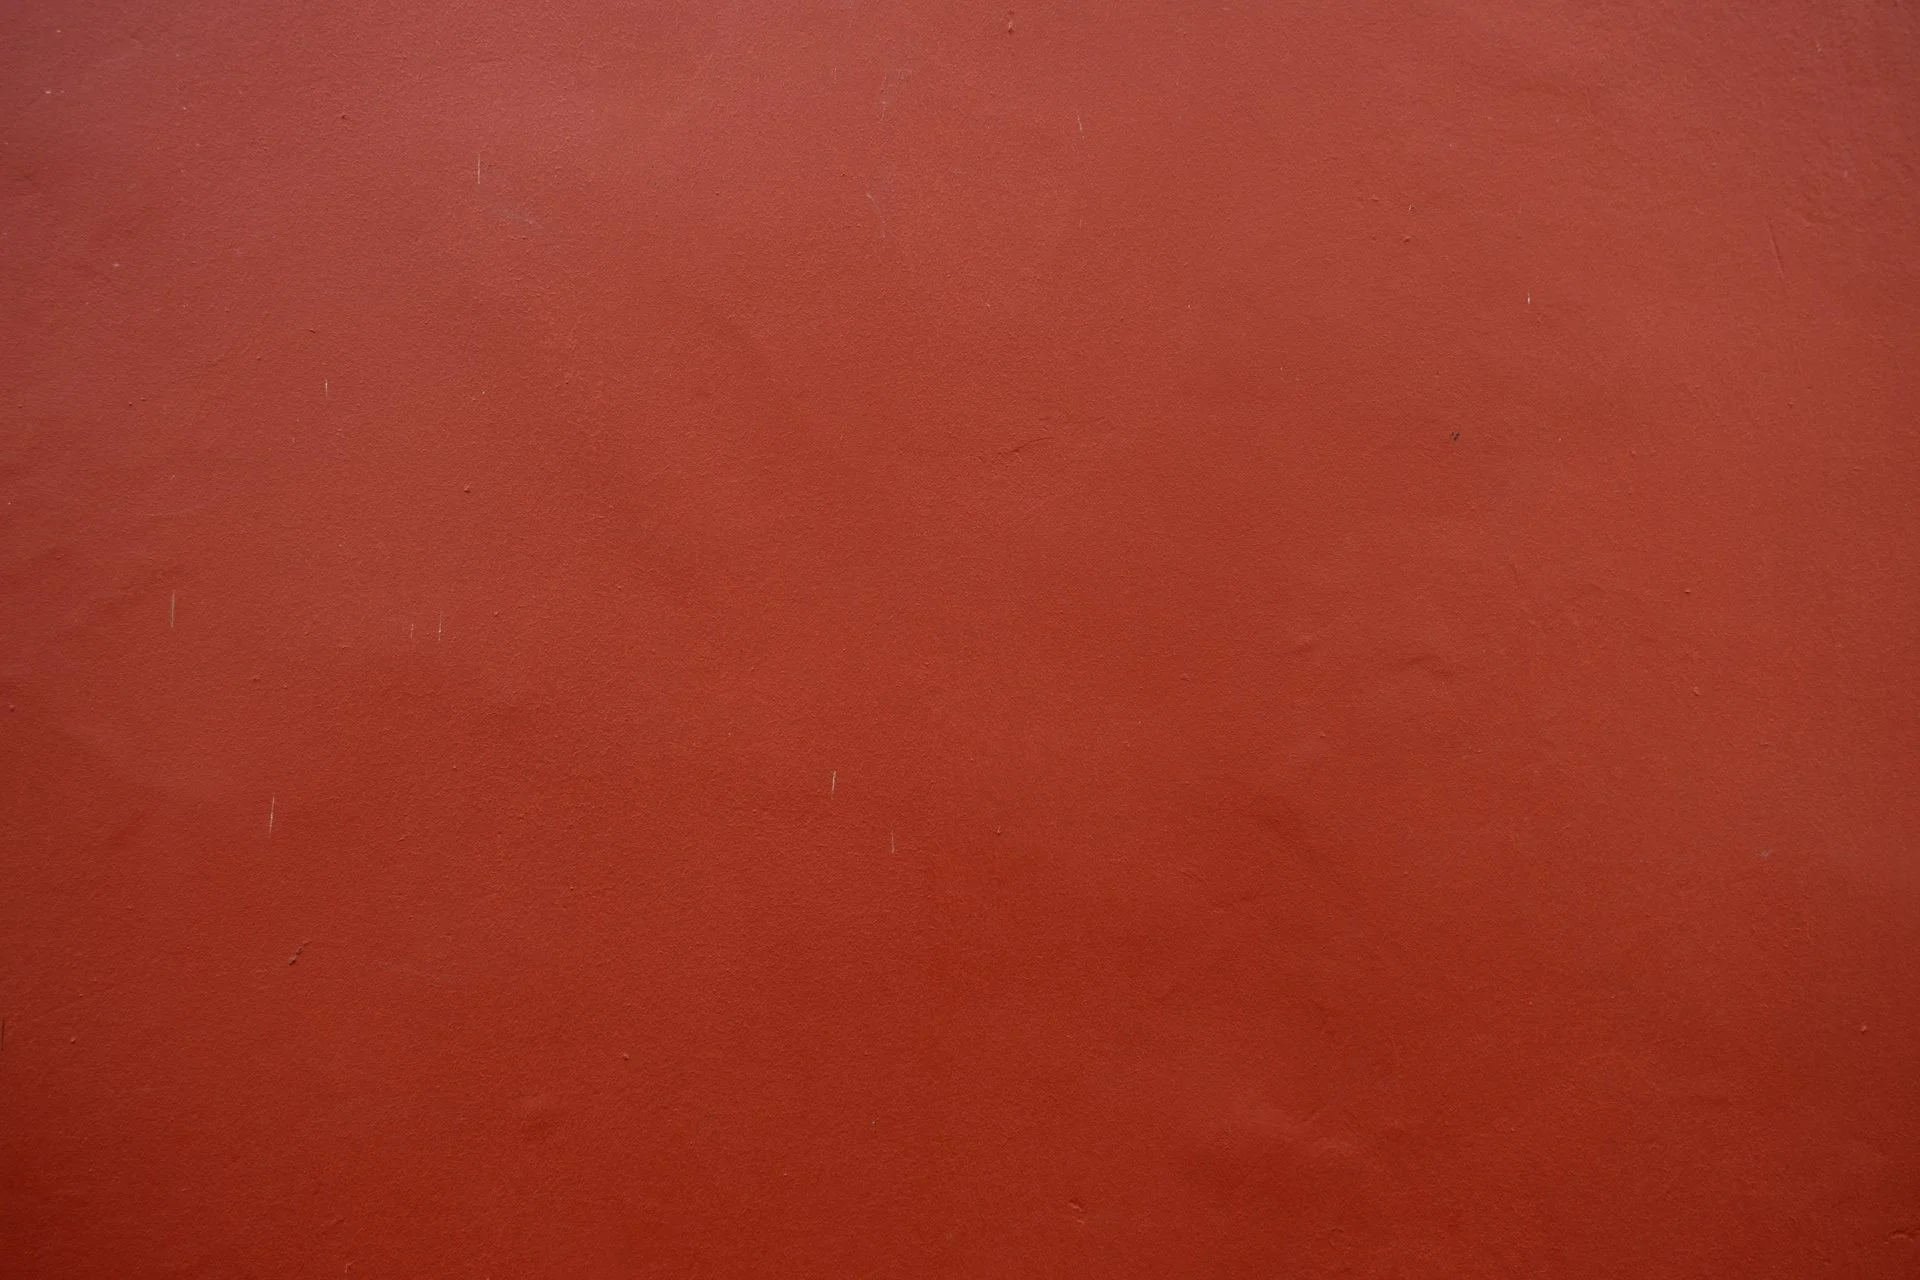
Before we get into the creative possibilities, I want to encourage you to start building your own library of textures. This is something I have developed over time, and it means that whenever I am working on an image, I have a collection of textures ready to call upon. Some are photographs I have taken specifically to use as textures, while others are images that I have collected during my photographic outings because I thought they might come in useful one day.
You can keep your textures in a folder on your desktop, organised into categories such as paint, natural textures, clouds, paper or colour. Alternatively, you can use the Libraries panel in Photoshop, which allows you to store and access creative assets directly within the programme. Adobe has a useful guide to creating and organising libraries in Photoshop if you haven't explored this feature before. Either way, having everything in one place makes experimenting so much easier, particularly when you want to try several different textures with the same photograph.
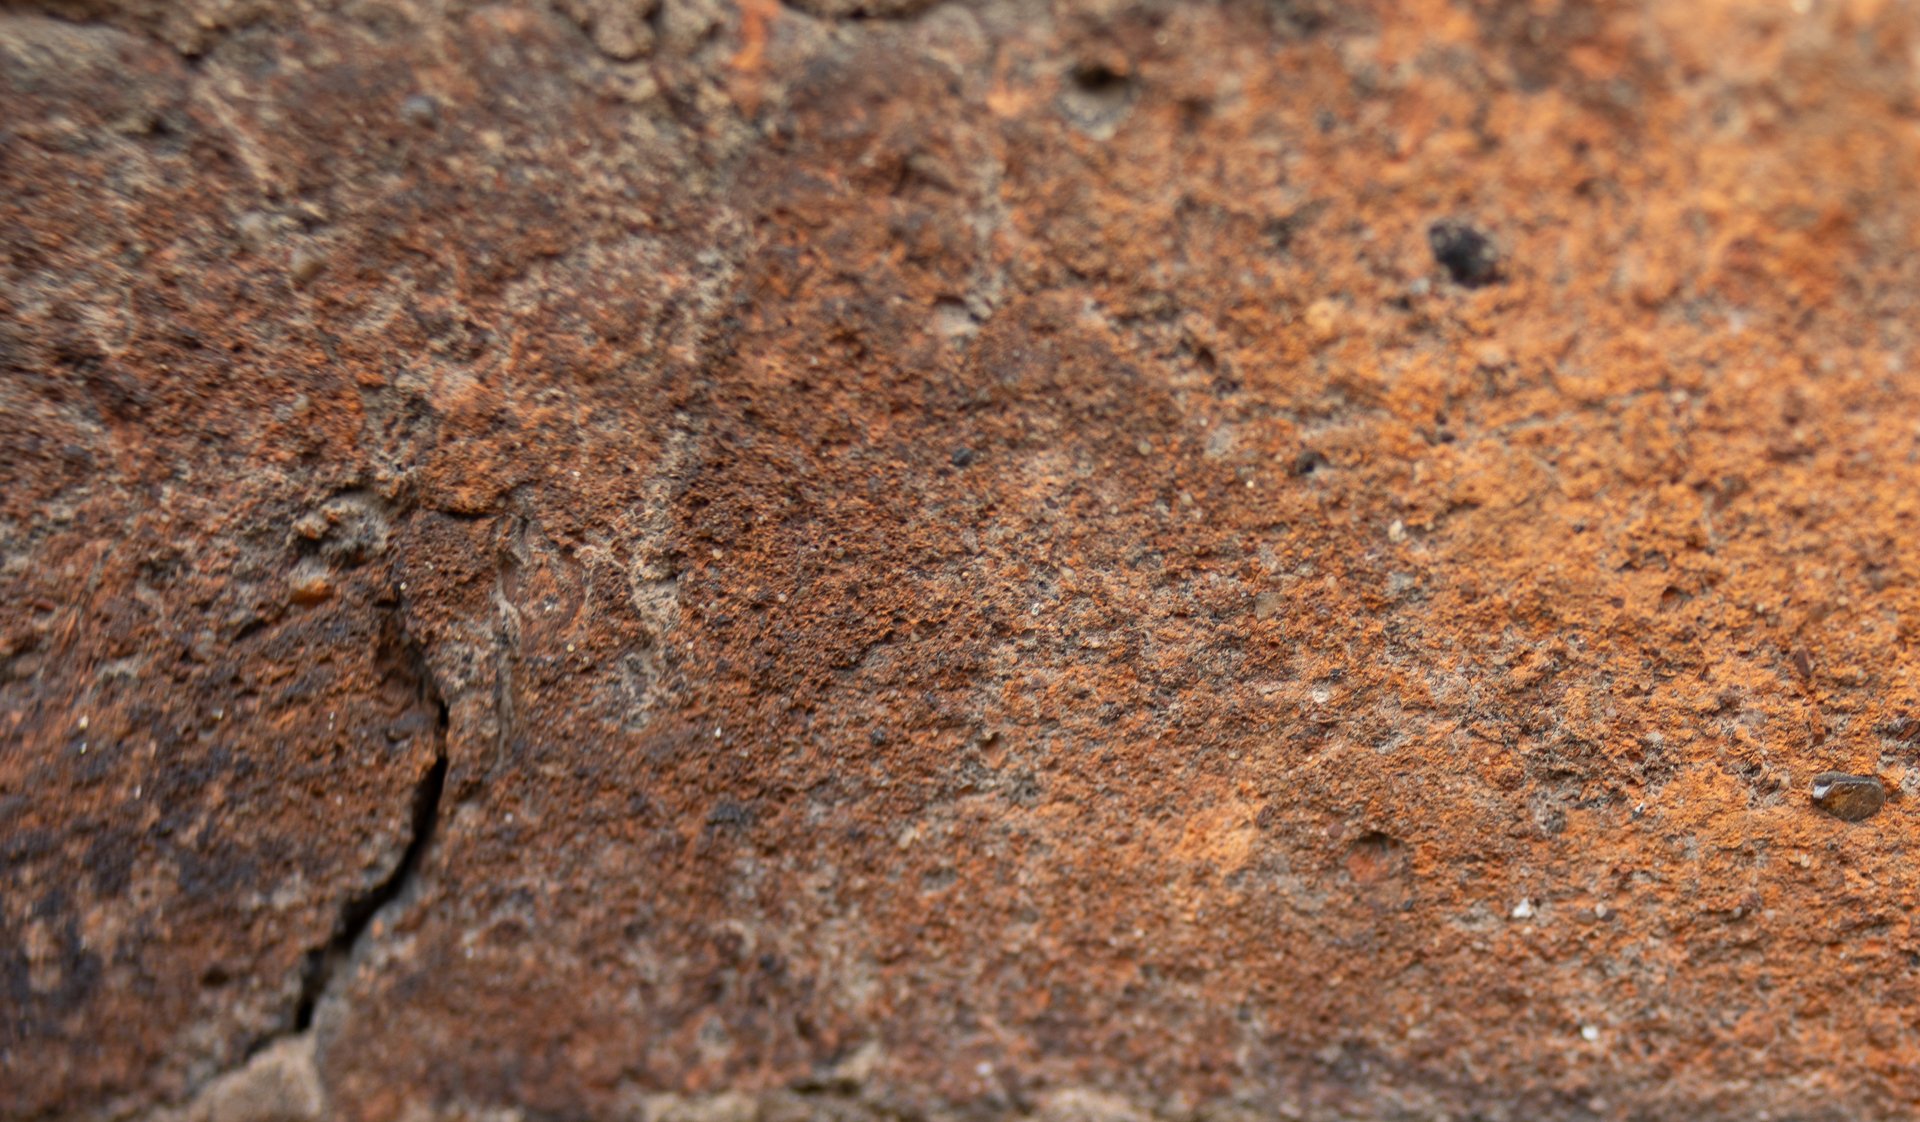
And don't feel that you need to create an enormous collection overnight. Start looking for interesting surfaces and patterns whenever you are out with your camera. Peeling paint, concrete walls, sand, clouds, scratched surfaces and even the occasional rather grubby window can all be useful. You may find yourself photographing things that other people walk straight past without a second glance. Actually, if you are already a multiple exposure photographer, you're probably quite used to that!
So do start collecting. You never know when that photograph of a slightly battered wall might turn out to be exactly what an image needs.


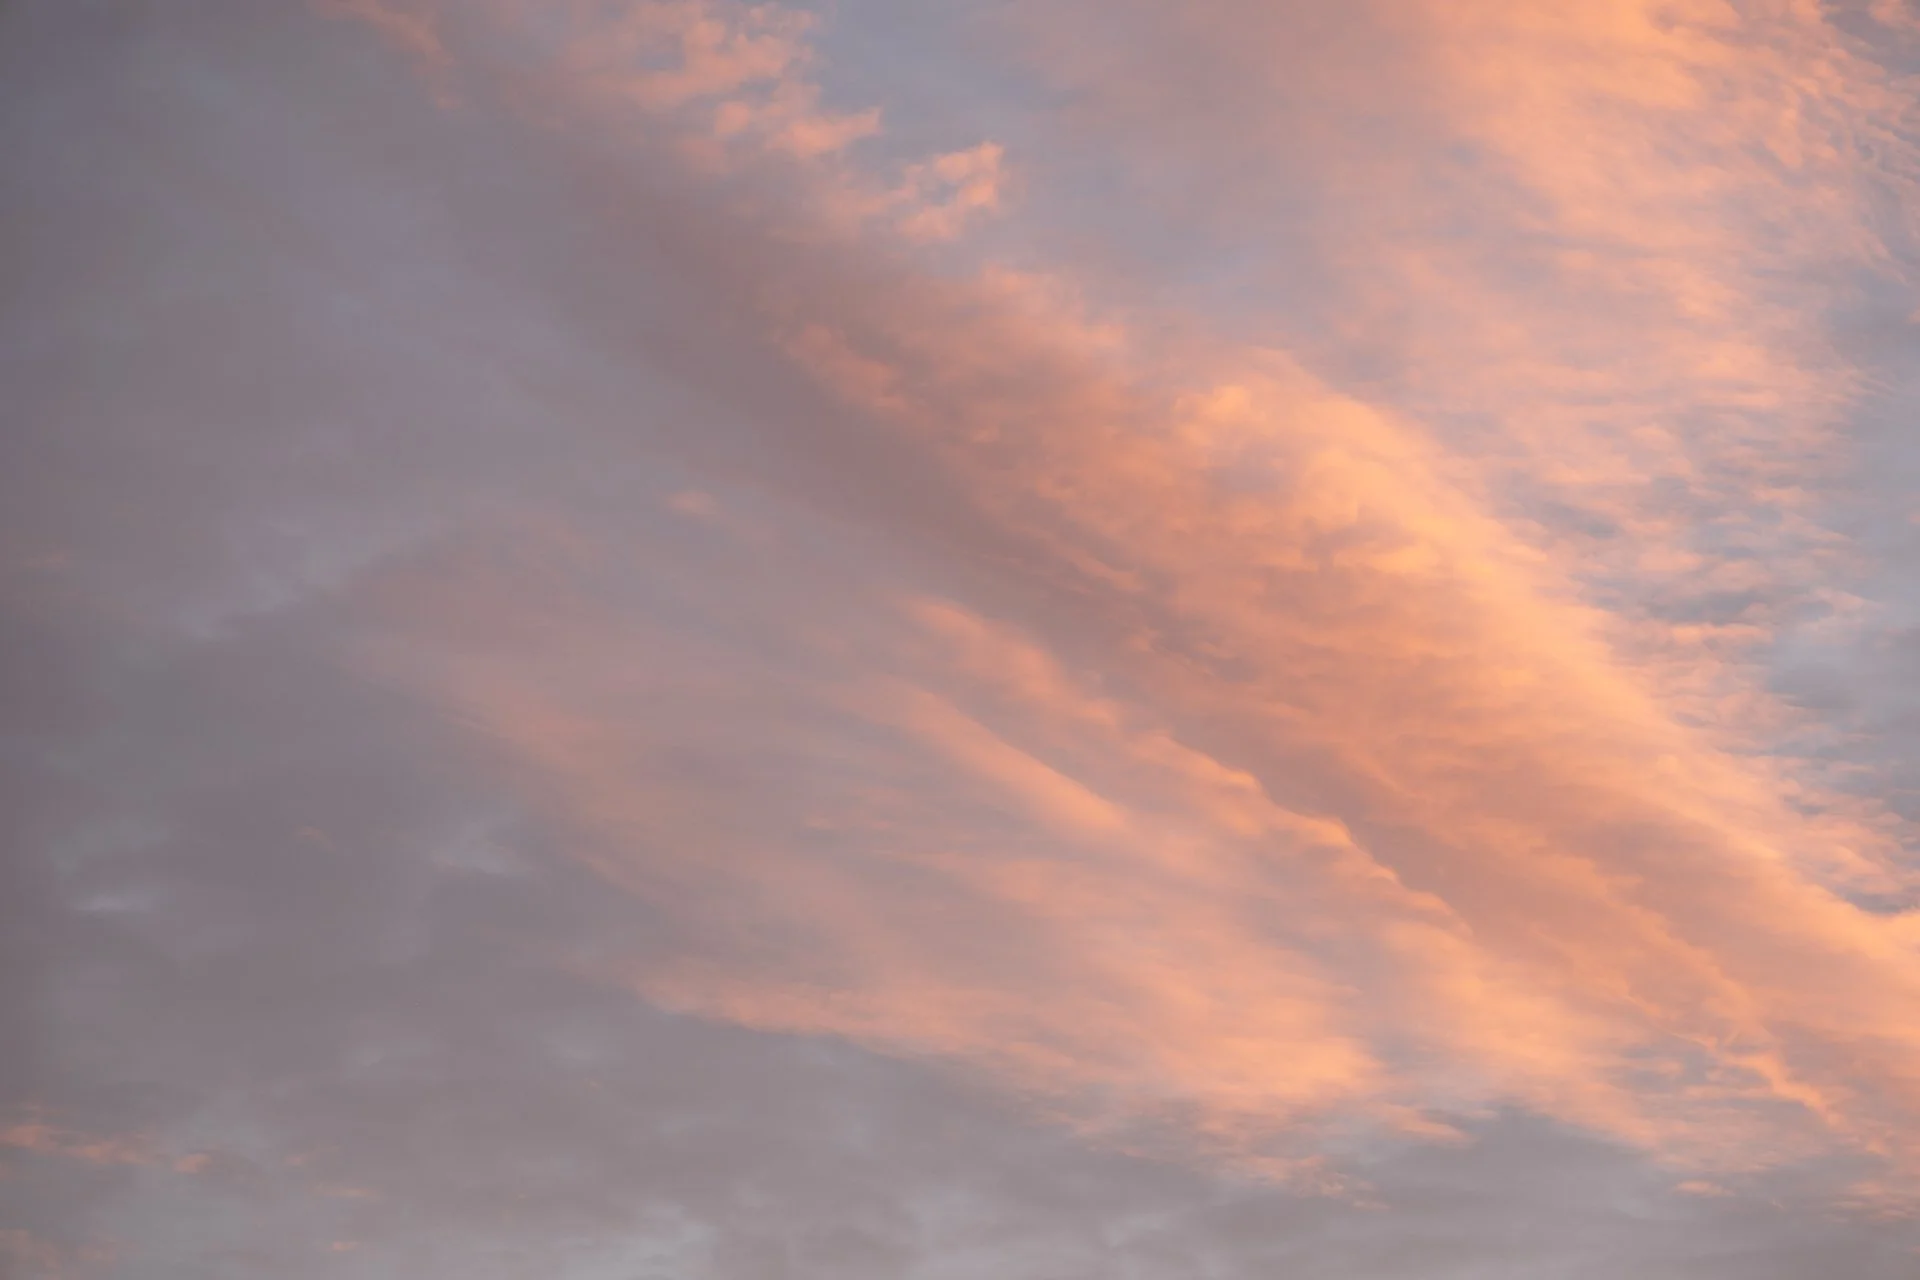
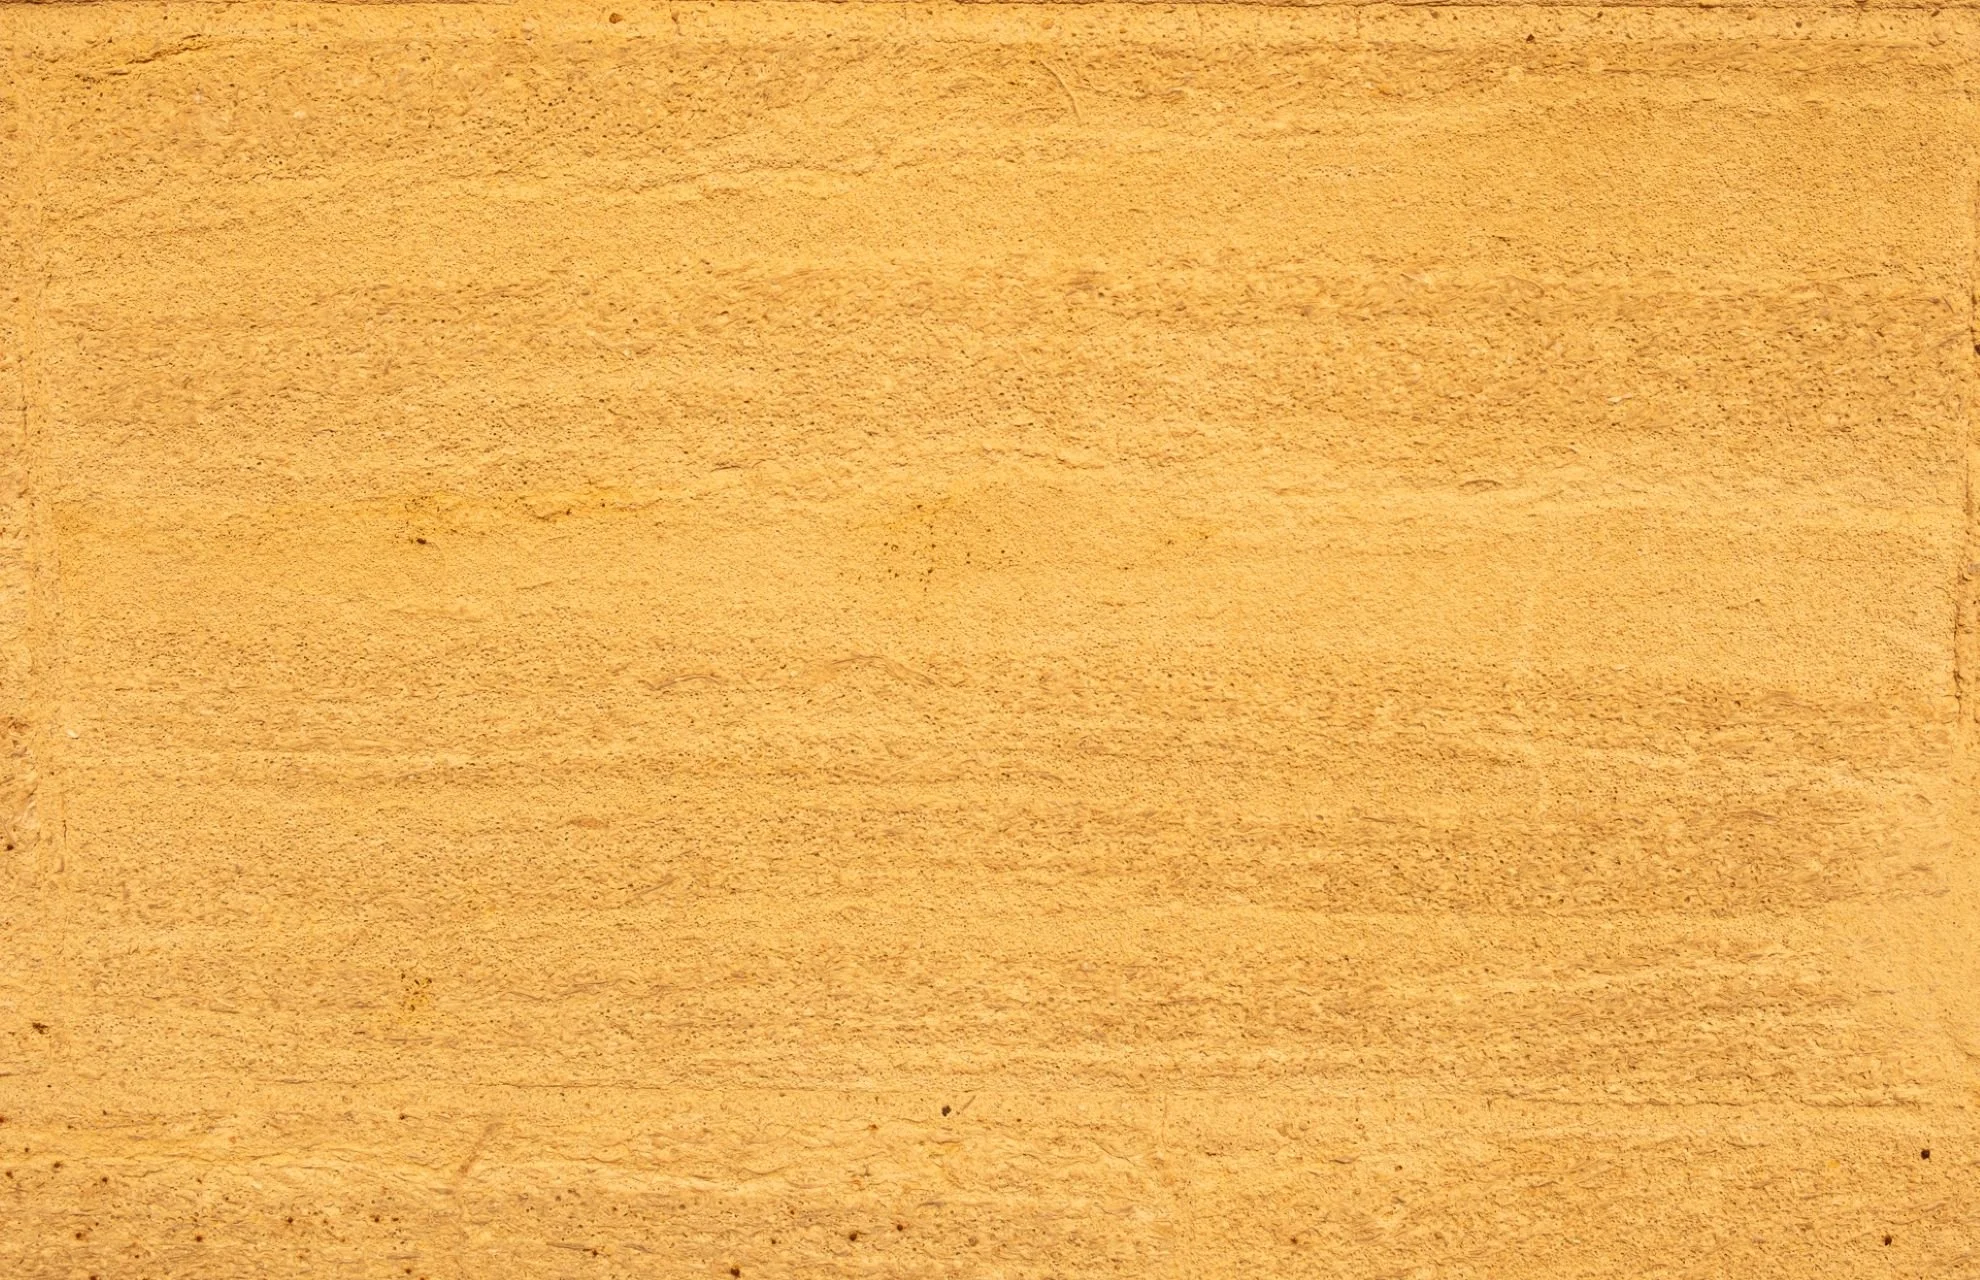
What Makes a Good Texture for Multiple Exposure?
The wonderful thing about textures is that almost anything can work. Some textures are very obvious, with strong lines, patterns or areas of contrast, while others are much more subtle. The choice depends on what you want to achieve and how much influence you want the texture to have on your final photograph.
I particularly like textures that have areas of variation rather than being completely uniform. A photograph of white paint, for example, might include brush marks, uneven coverage or areas where the underlying surface is visible. These differences can add interest without necessarily overwhelming the original subject.
You also need to consider the relationship between the texture and your main photograph. A strong texture can be fabulous when you want to create something dramatic, but it can also compete with your subject. Sometimes the most effective texture is the one that you barely notice, even though removing it would completely change the feel of the image.
There really isn't a right or wrong answer here. It's about experimenting and discovering which combinations appeal to you.
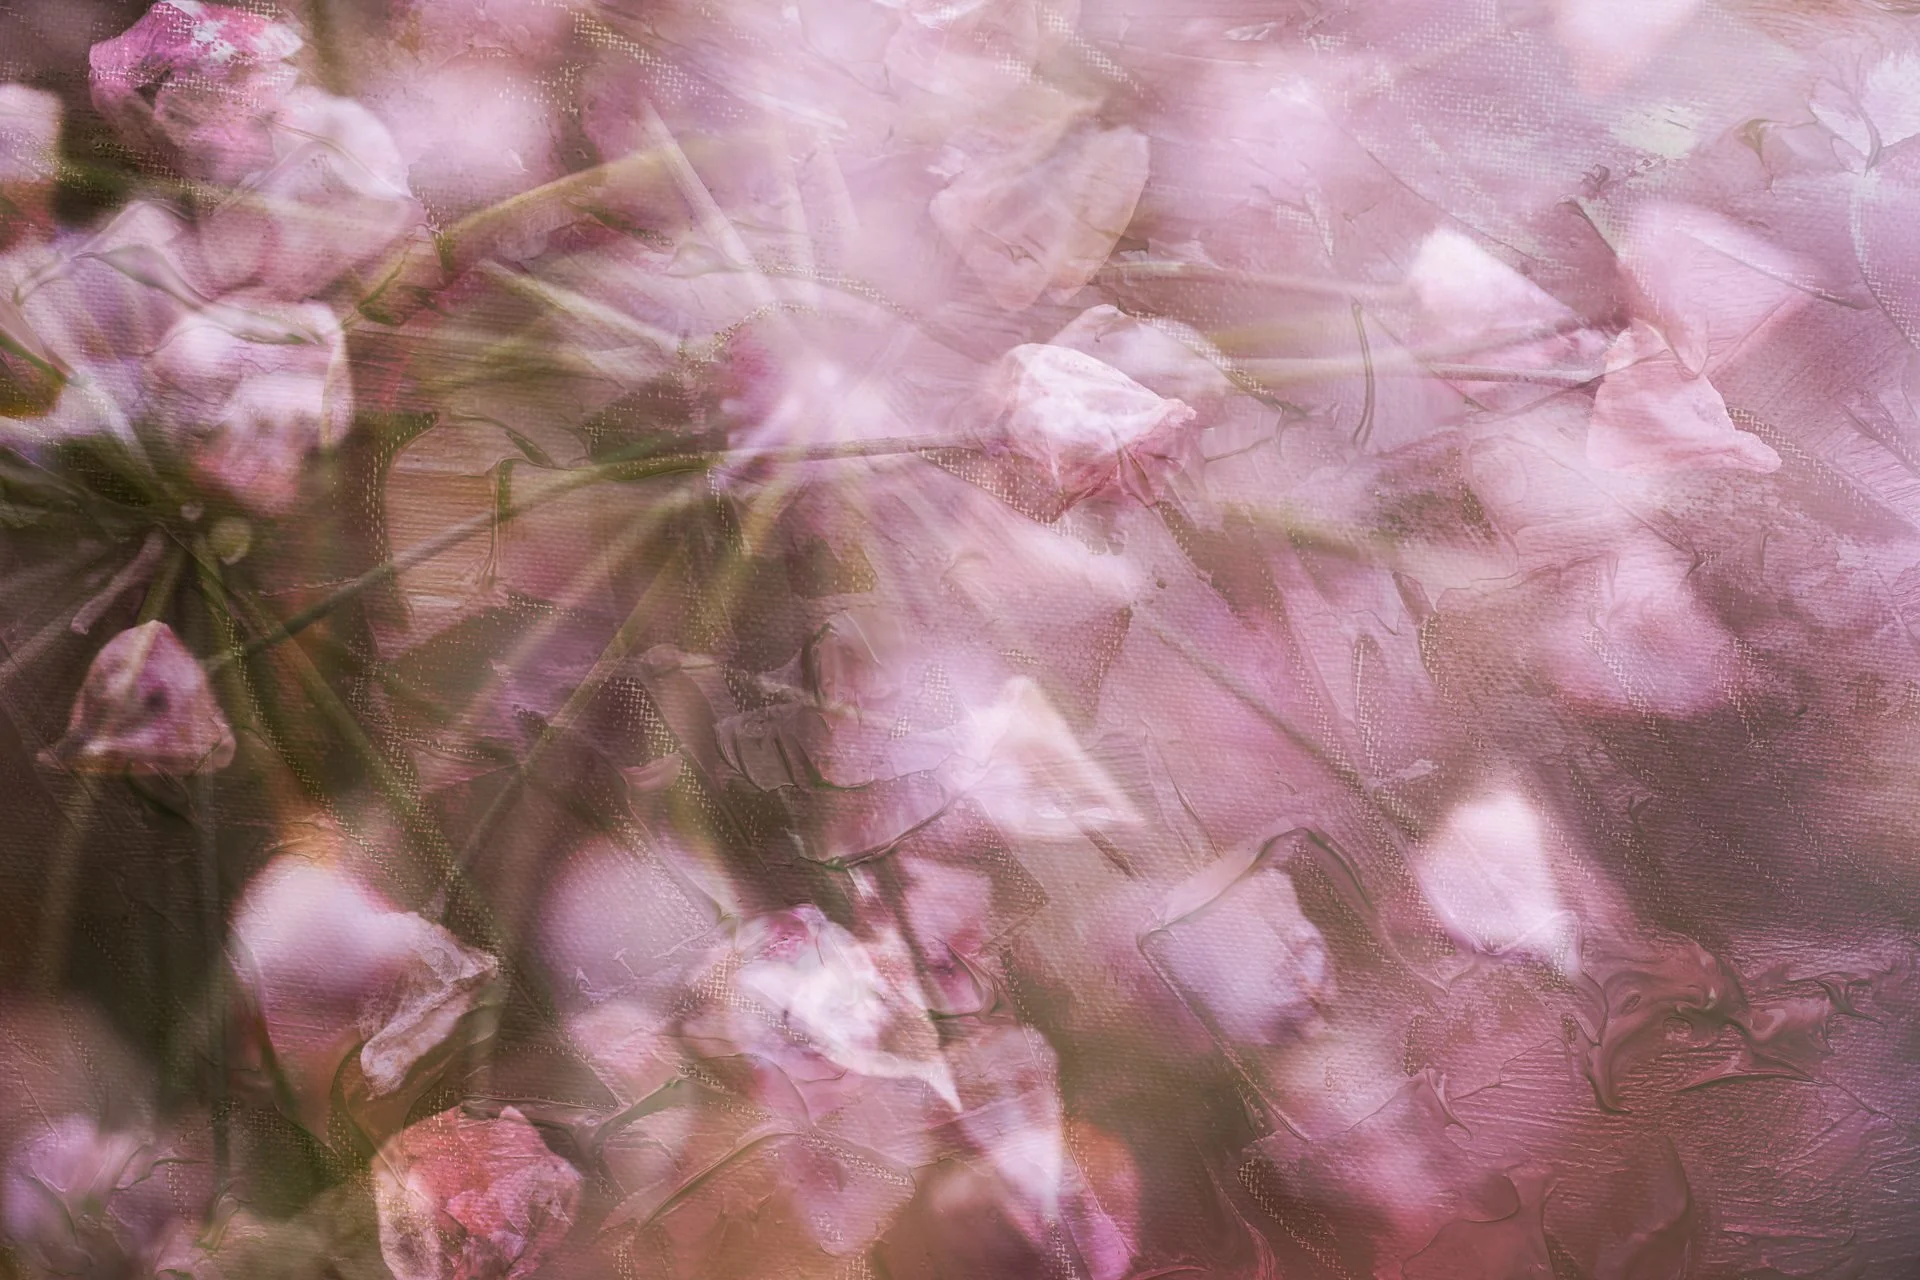
Multiple exposure of flowers with a paint layer
Using White Paint Textures
White paint is one of my favourite textures to work with, particularly when I want to introduce a slightly distressed or painterly appearance to an image. The beauty of white paint is that it can provide interesting marks and patterns without necessarily introducing additional colour.
In Photoshop, I can place a photograph of white paint above my original image and experiment with different blend modes to see how the layers interact. Depending on the texture and the blend mode selected, the paint marks might become a prominent feature or simply add a subtle variation across the photograph.
I also like the fact that white paint textures can help break up areas that might otherwise appear too uniform. A relatively simple architectural image, for example, can take on a completely different character when combined with irregular brush marks.
Don't forget that you can change the opacity of the texture layer, too. You don't have to use the full effect simply because it is there. Sometimes reducing the opacity makes all the difference between a texture that enhances the photograph and one that rather enthusiastically takes over!
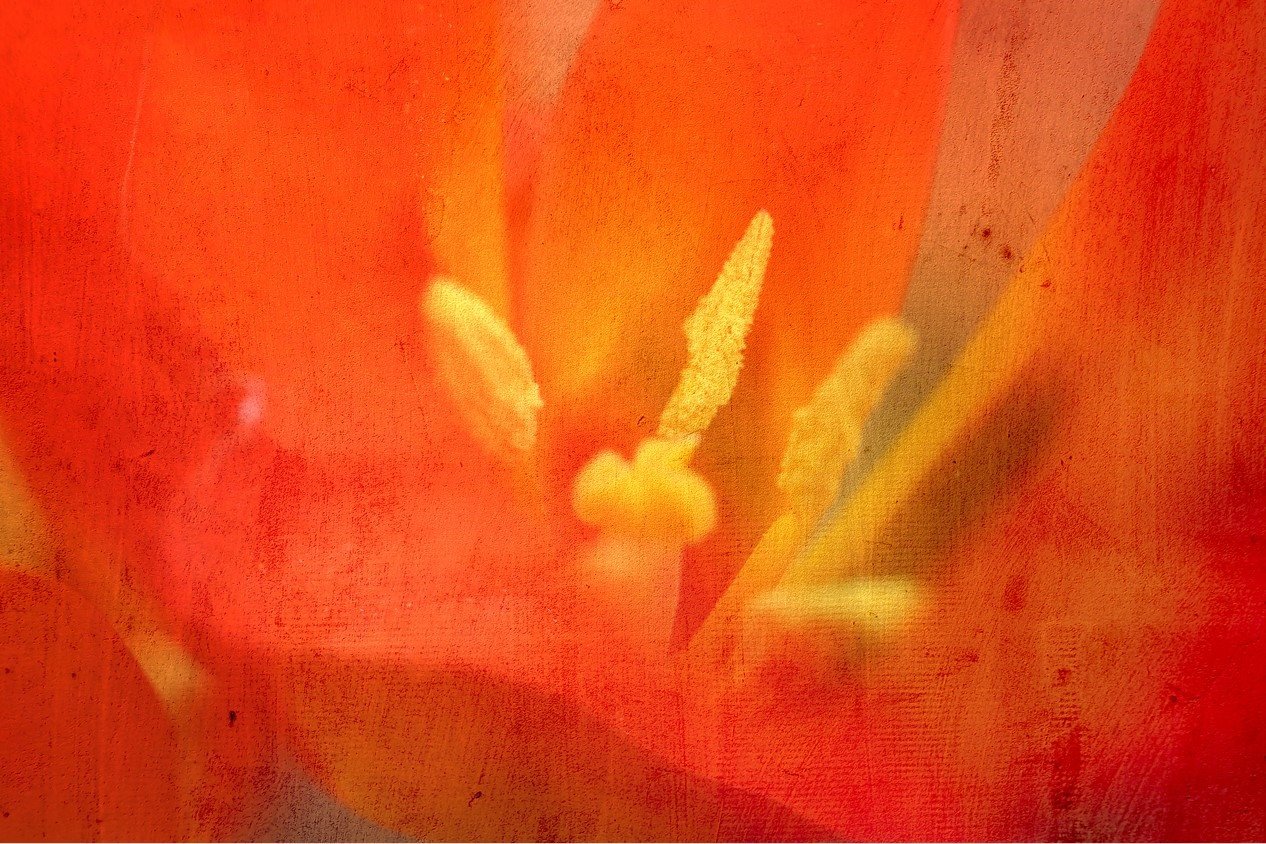
Multiple Exposure image with white paint
Clouds, Sand and Natural Textures
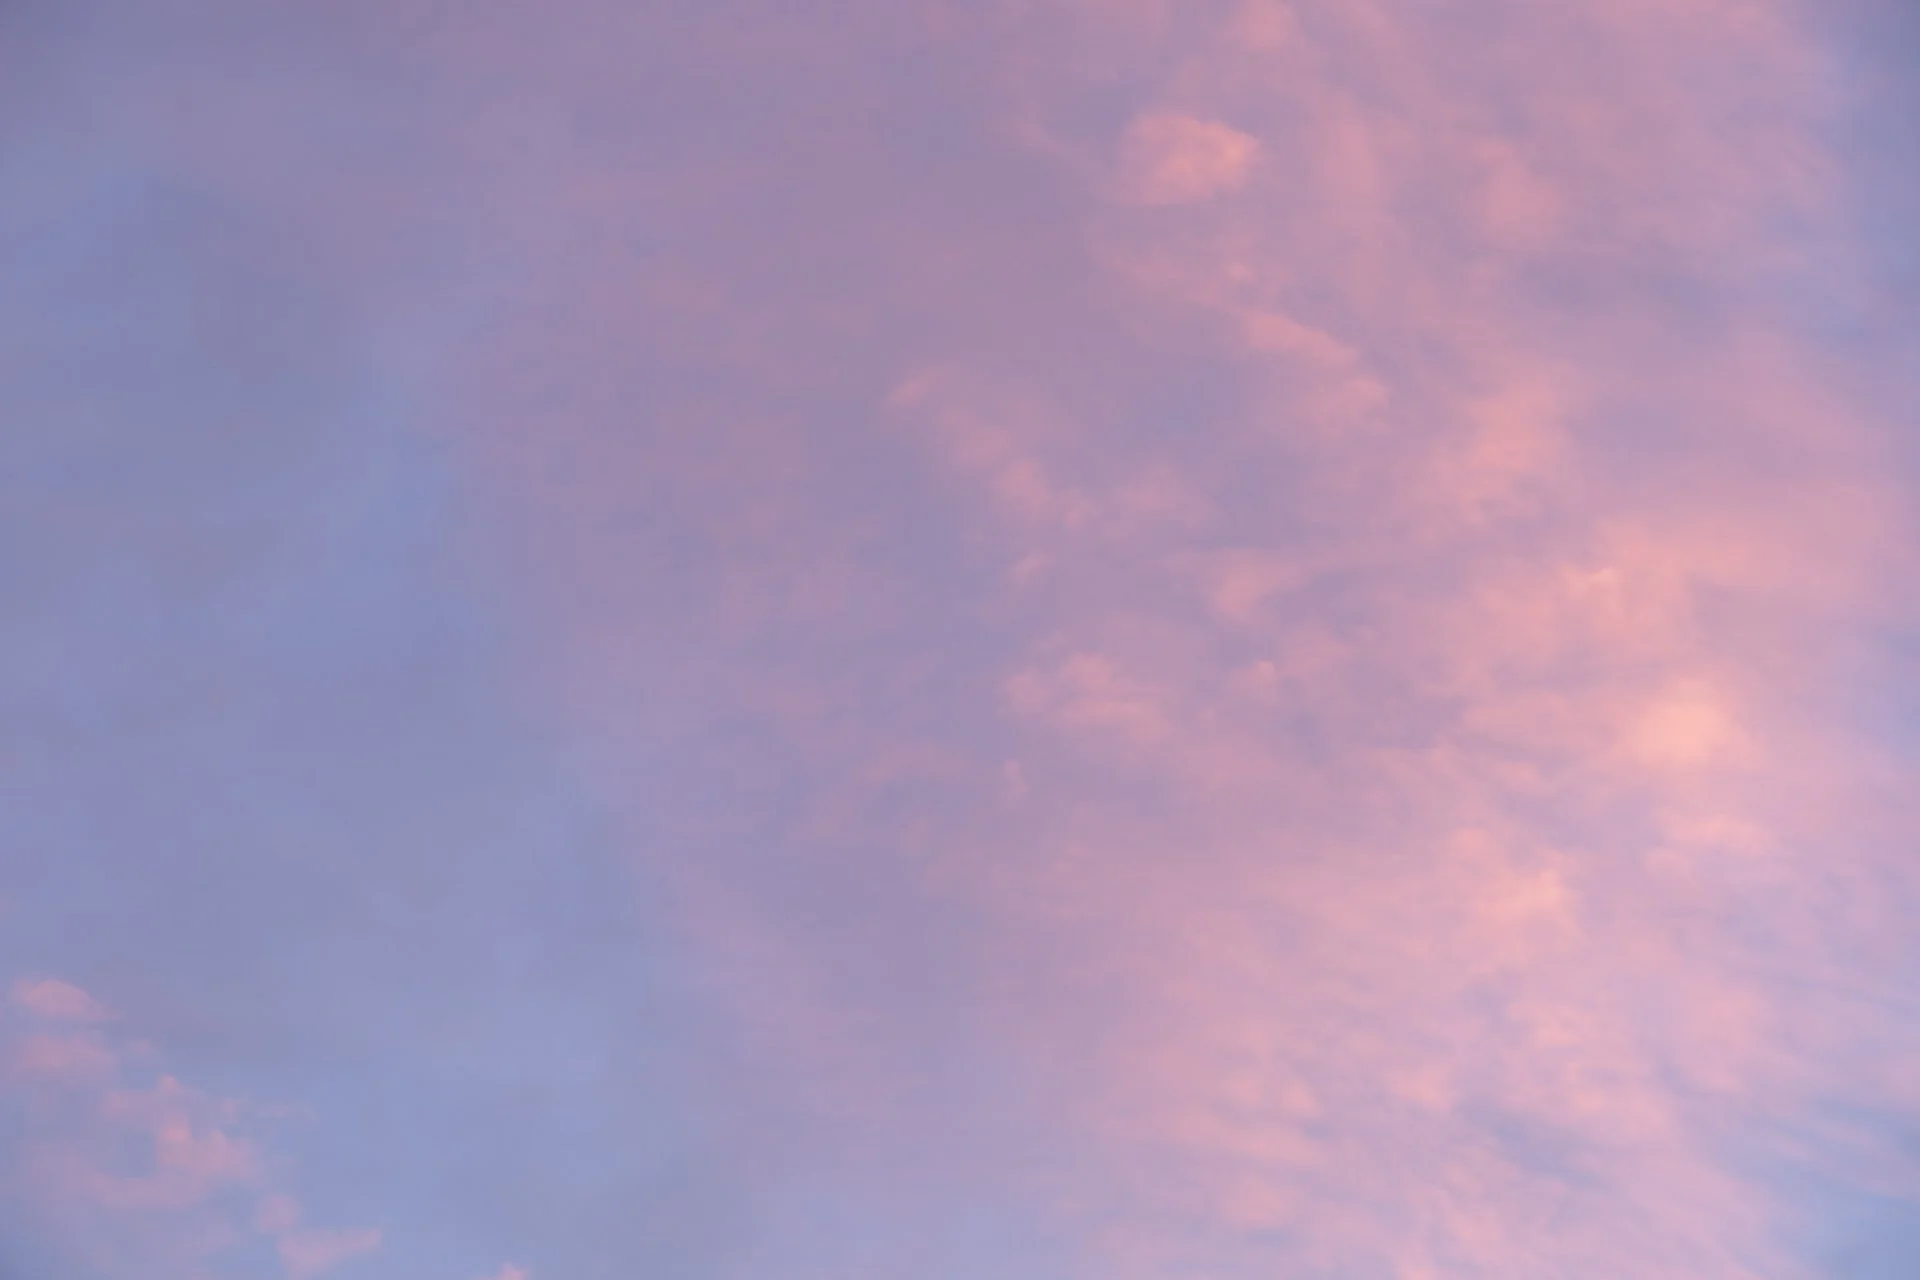
Nature provides an almost endless supply of interesting textures, and many of them work beautifully with multiple exposure photography. Clouds are particularly useful because they can introduce movement, softness and atmosphere into an image. Depending on their shape and contrast, they can either blend gently with your subject or become a much more noticeable part of the composition.
Sand is another texture worth experimenting with. The fine patterns created by wind or water can add delicate detail, while more pronounced ridges can introduce lines and structure. I particularly like the possibilities of combining these natural patterns with subjects that have strong shapes of their own.
Other natural textures might include bark, stone, leaves, water or even areas of out-of-focus foliage. The key is to look beyond what the photograph actually depicts and consider the patterns, tones and shapes it contains.
This is one of the things I find so enjoyable about creative photography. Once you begin looking for textures, the world becomes a rather enormous collection of potential layers. It does mean that a perfectly ordinary walk can take considerably longer than anticipated, but I'm sure most photographers can relate to that!
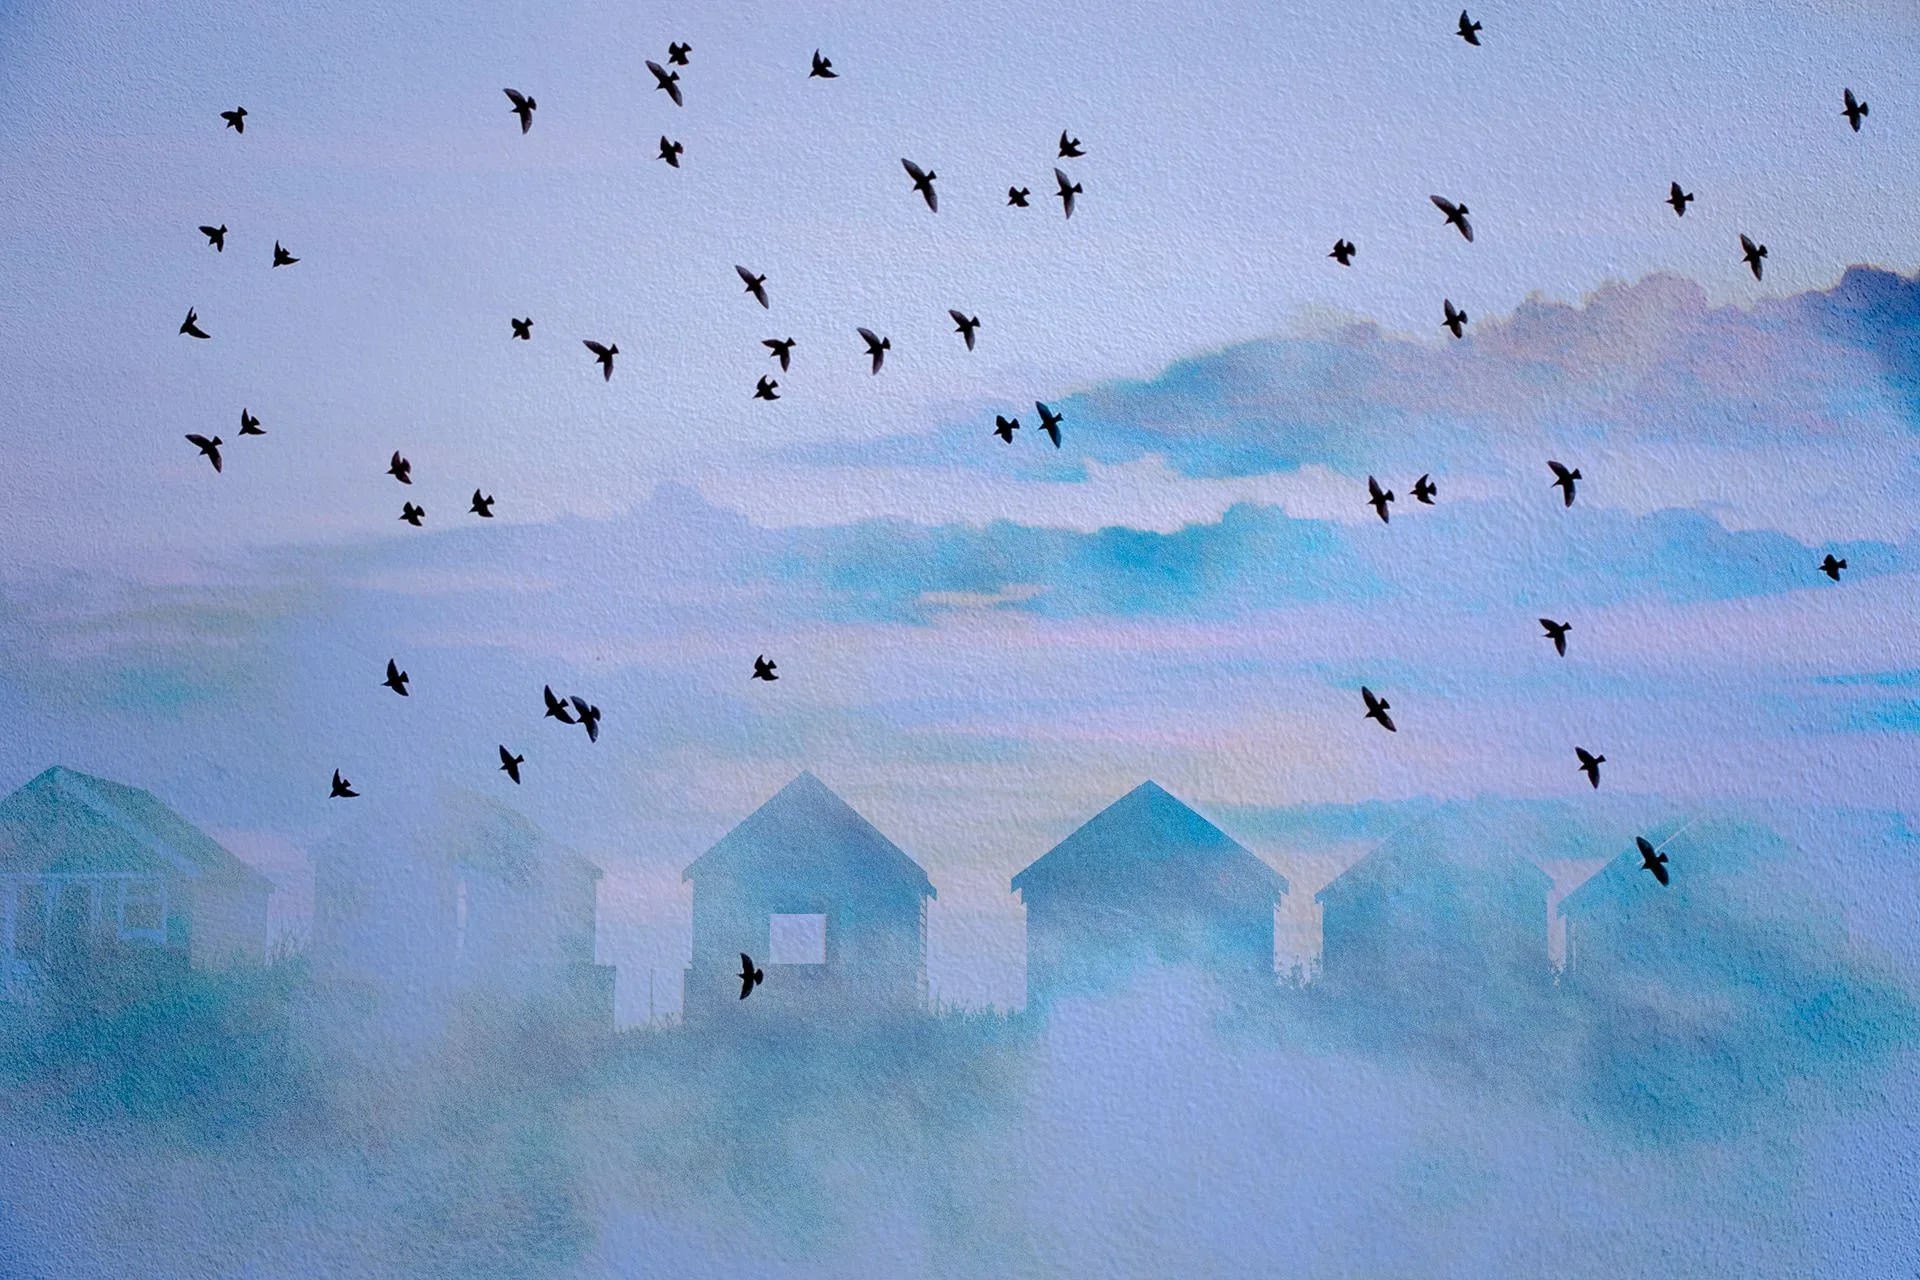
Multiple Exposure image using clouds to add atmosphere (and also white paint!)
Adding Colour with Texture Layers
Textures don't have to be neutral. In fact, using a coloured texture can completely transform the atmosphere of a photograph. A warm orange or yellow layer might introduce a feeling of warmth, while cooler blue tones can create something quieter or more mysterious.
One approach is to use a texture that already contains colour, perhaps from a painted surface, an abstract photograph or an intentionally blurred image. Alternatively, you can adjust the colour of a texture in Photoshop to create something that works with your original photograph.
Blend modes are particularly important here because they determine how the colours and tones of the two layers interact. Modes such as Soft Light, Overlay, Multiply and Screen can produce very different results, and it's worth experimenting rather than always reaching for the same one. If you're not familiar with all the possibilities, Adobe's guide to layer opacity and blending modes in Photoshop is a useful reference.
I often find that a texture I initially dismiss becomes much more interesting when I change the blend mode. It's a good reminder that the first combination you try isn't necessarily the best. Sometimes you have to work your way through quite a few possibilities before finding the one that makes you think, 'Ooh, I like that!'
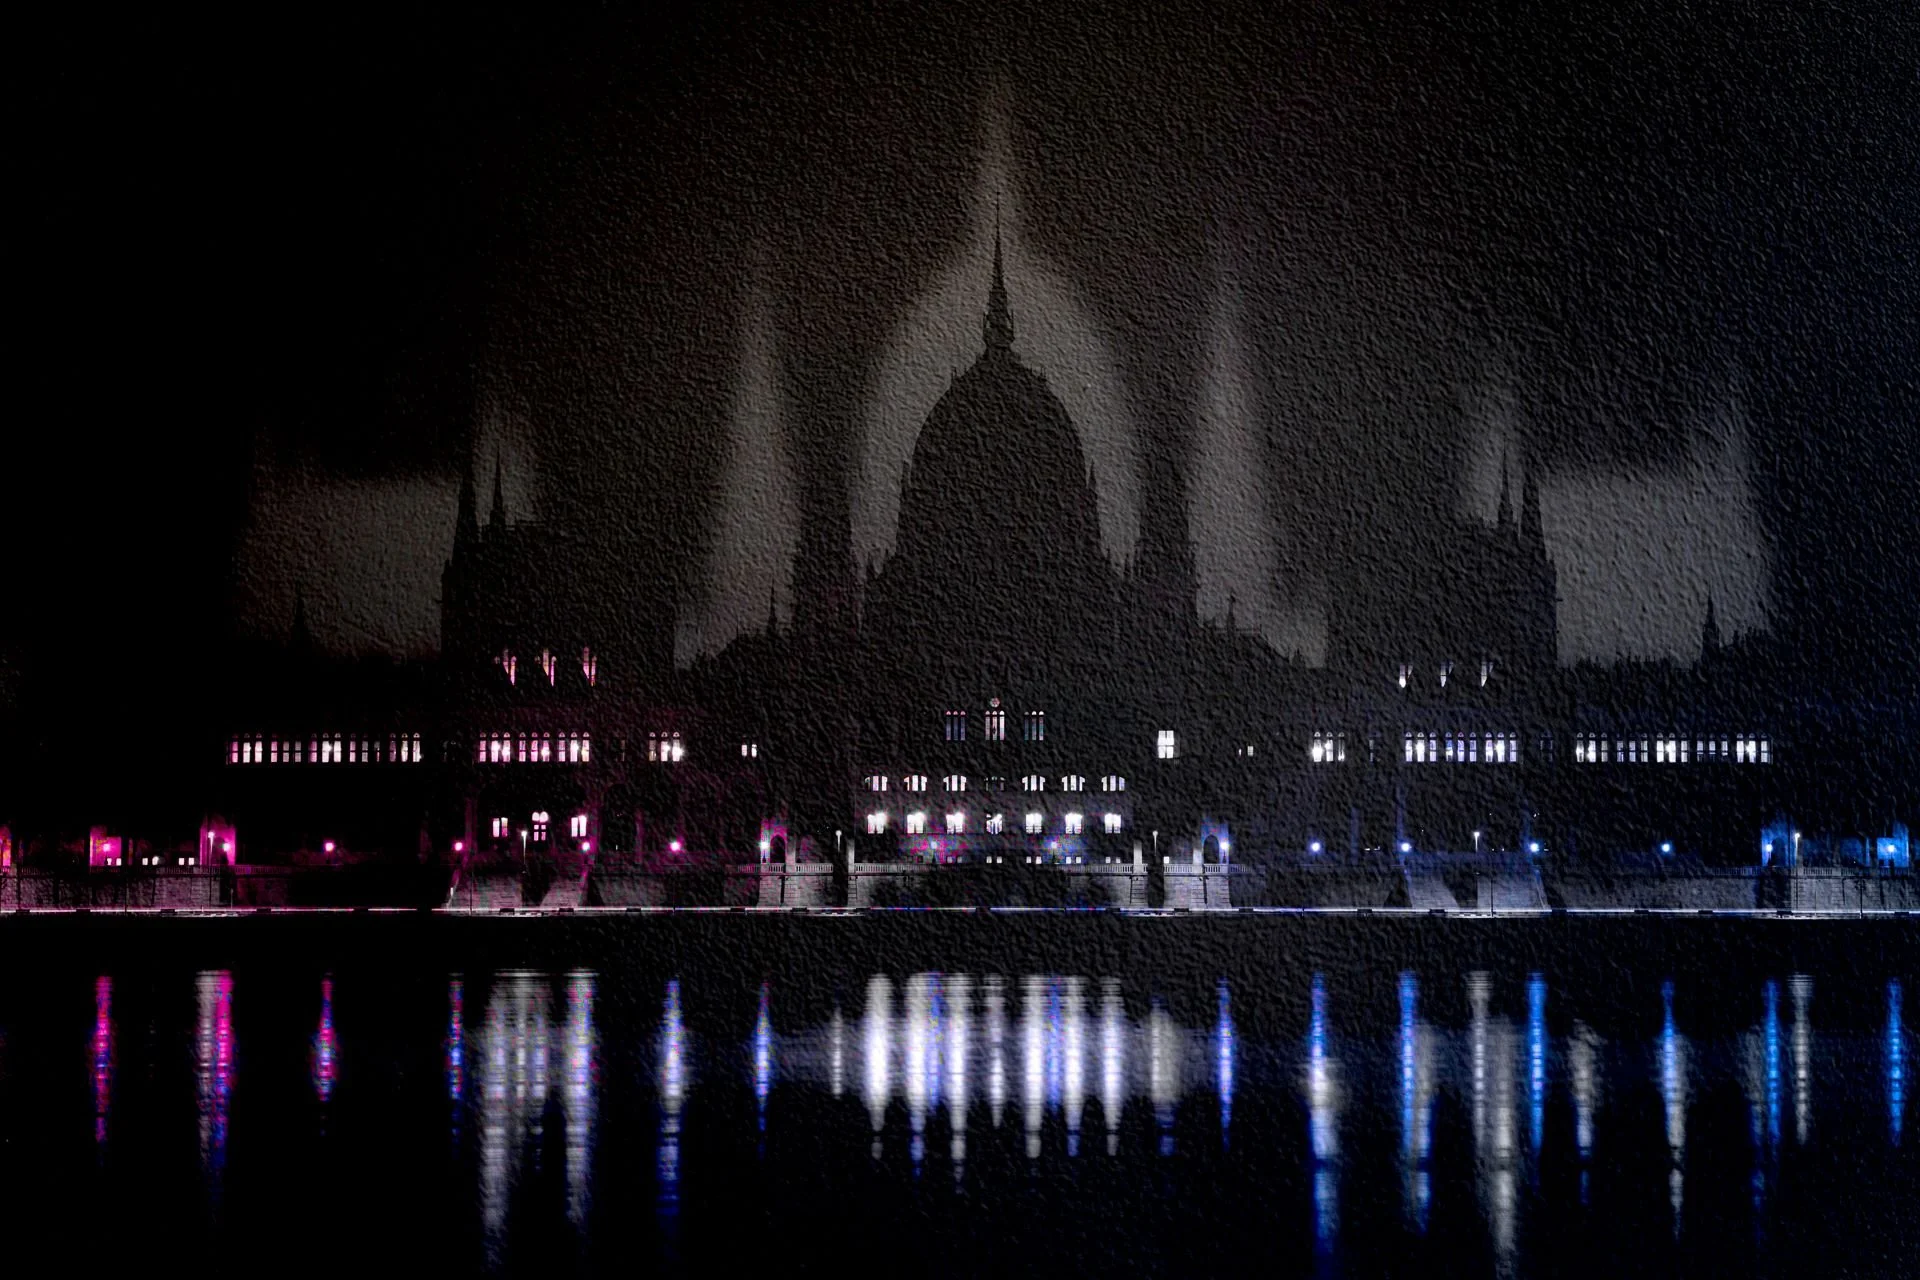
Multiple Exposure of the Parliament building in Budapest where the texture and blend mode combination has changed the colour of the lights
Working with Stronger Textures
Not every texture needs to be subtle. Sometimes a photograph benefits from something much more dramatic, particularly when you want to create an abstract or expressive result.
Strong textures with bold marks, scratches or high contrast can introduce an entirely new visual element into your photograph. They might help to emphasise movement, create a distressed appearance or break up recognisable shapes in interesting ways.
The challenge is making sure that the texture contributes something meaningful rather than simply making the image busier. I find it useful to switch the texture layer on and off occasionally to see what it is actually adding. If the photograph is stronger without it, then perhaps that particular texture isn't the right choice.
And there's absolutely nothing wrong with deciding that an experiment hasn't worked. That's why we have layers, opacity sliders and the wonderful ability to press Undo!
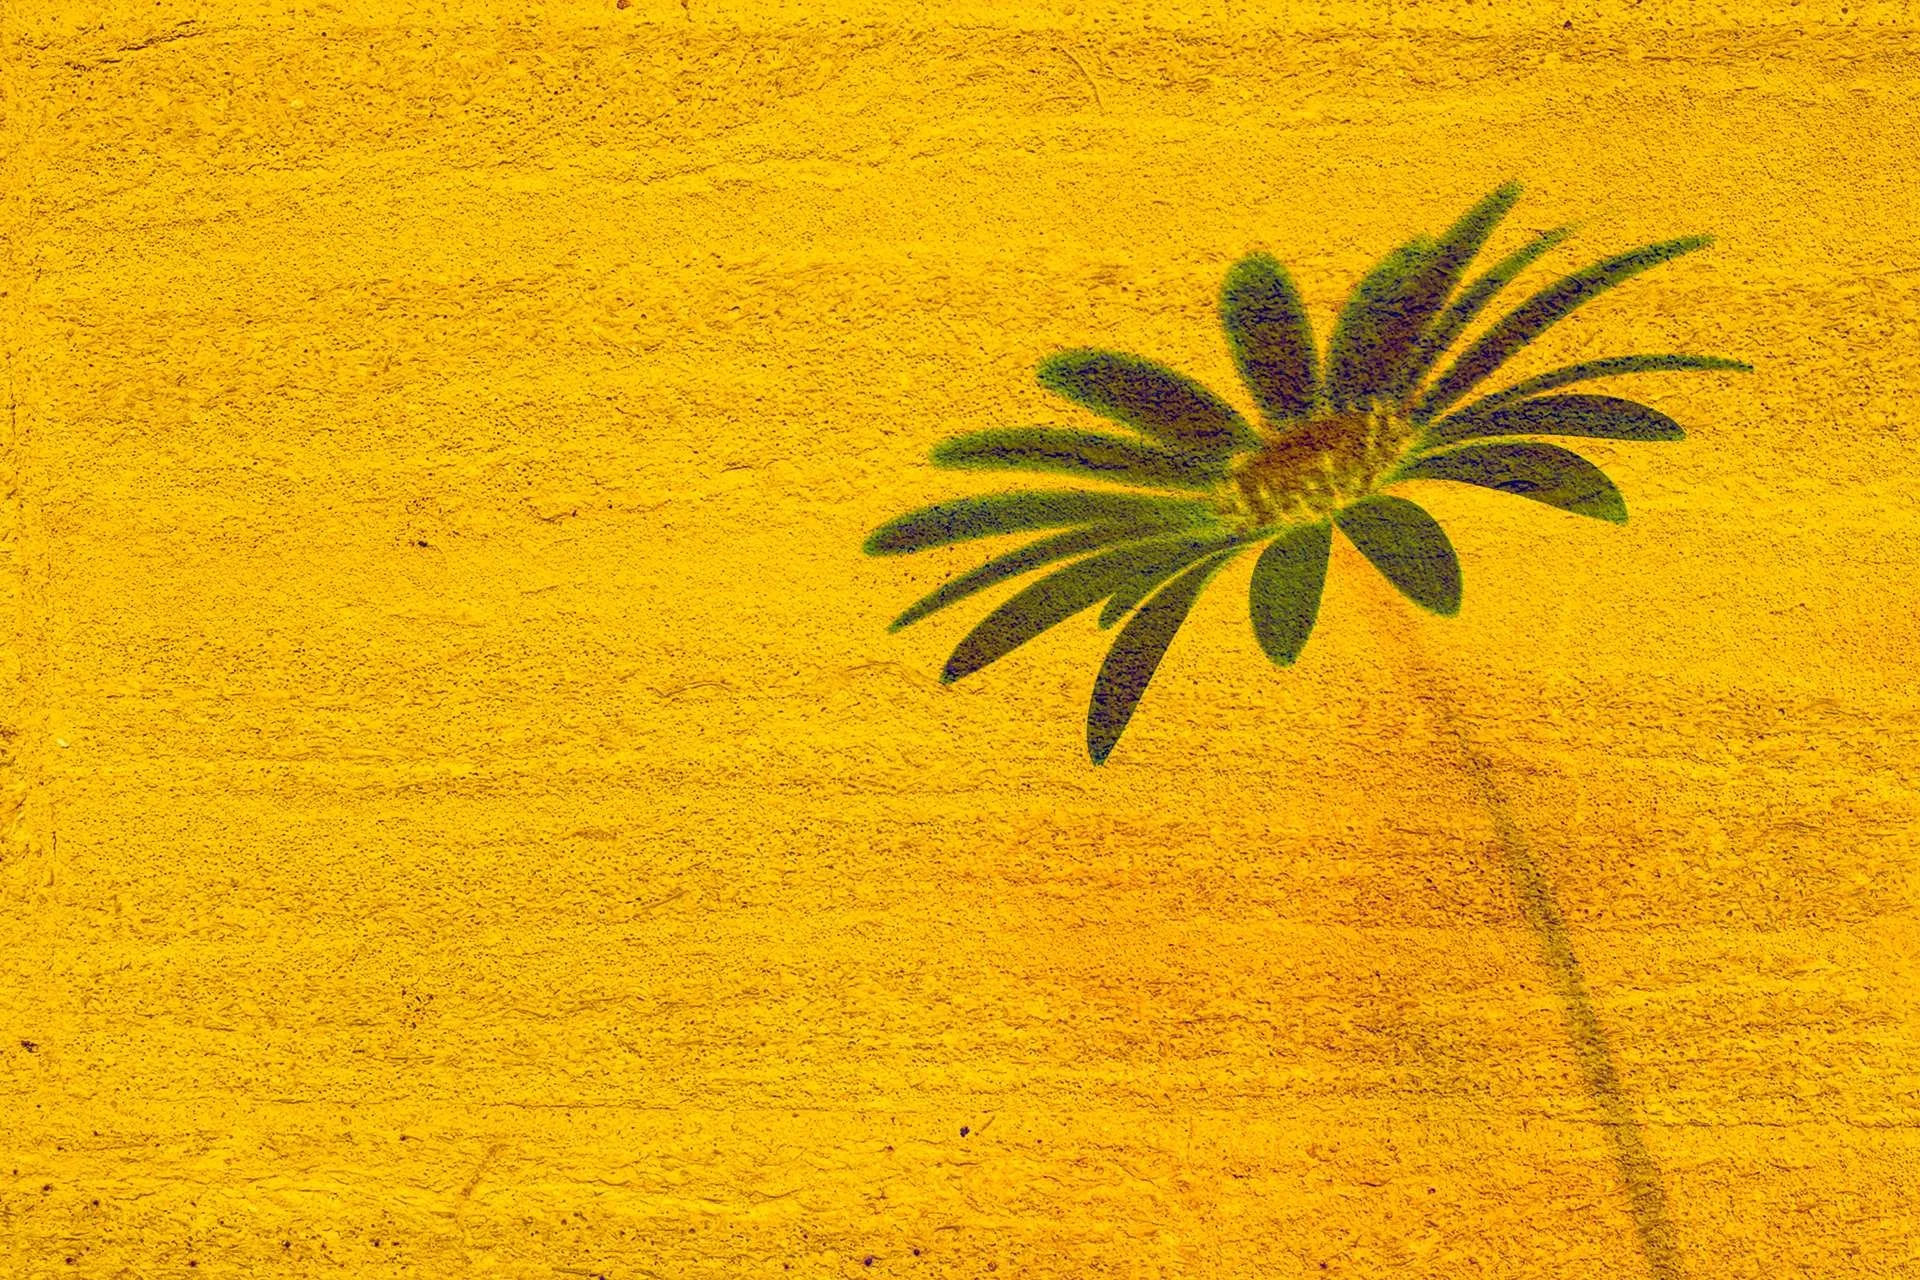
A Multiple Exposure Image showing how a stronger texture can work really well.
Developing Your Own Creative Approach
As you experiment with textures, you will probably discover that certain types appeal to you more than others. Perhaps you enjoy subtle painterly effects, strong distressed surfaces or layers that introduce unexpected colour. You may also find that particular textures work especially well with the subjects you photograph most often.
This is where having your own texture library becomes particularly valuable. Over time, you begin to recognise which textures are likely to work with different images, and you can return to favourites while continuing to add new possibilities to your collection.
You might even decide to create a series of photographs using the same texture or a small selection of related textures. This can help give a collection of images a consistent appearance and is a lovely way to begin thinking about developing a more cohesive body of work.
Ultimately, using textures in post-processing is another way of expanding your creative possibilities. Whether you want to make a subtle adjustment or completely transform a photograph, there is so much to explore. So open Photoshop, have a rummage through your texture collection and see what happens. And if you haven't started collecting textures yet, there's no time like the present!
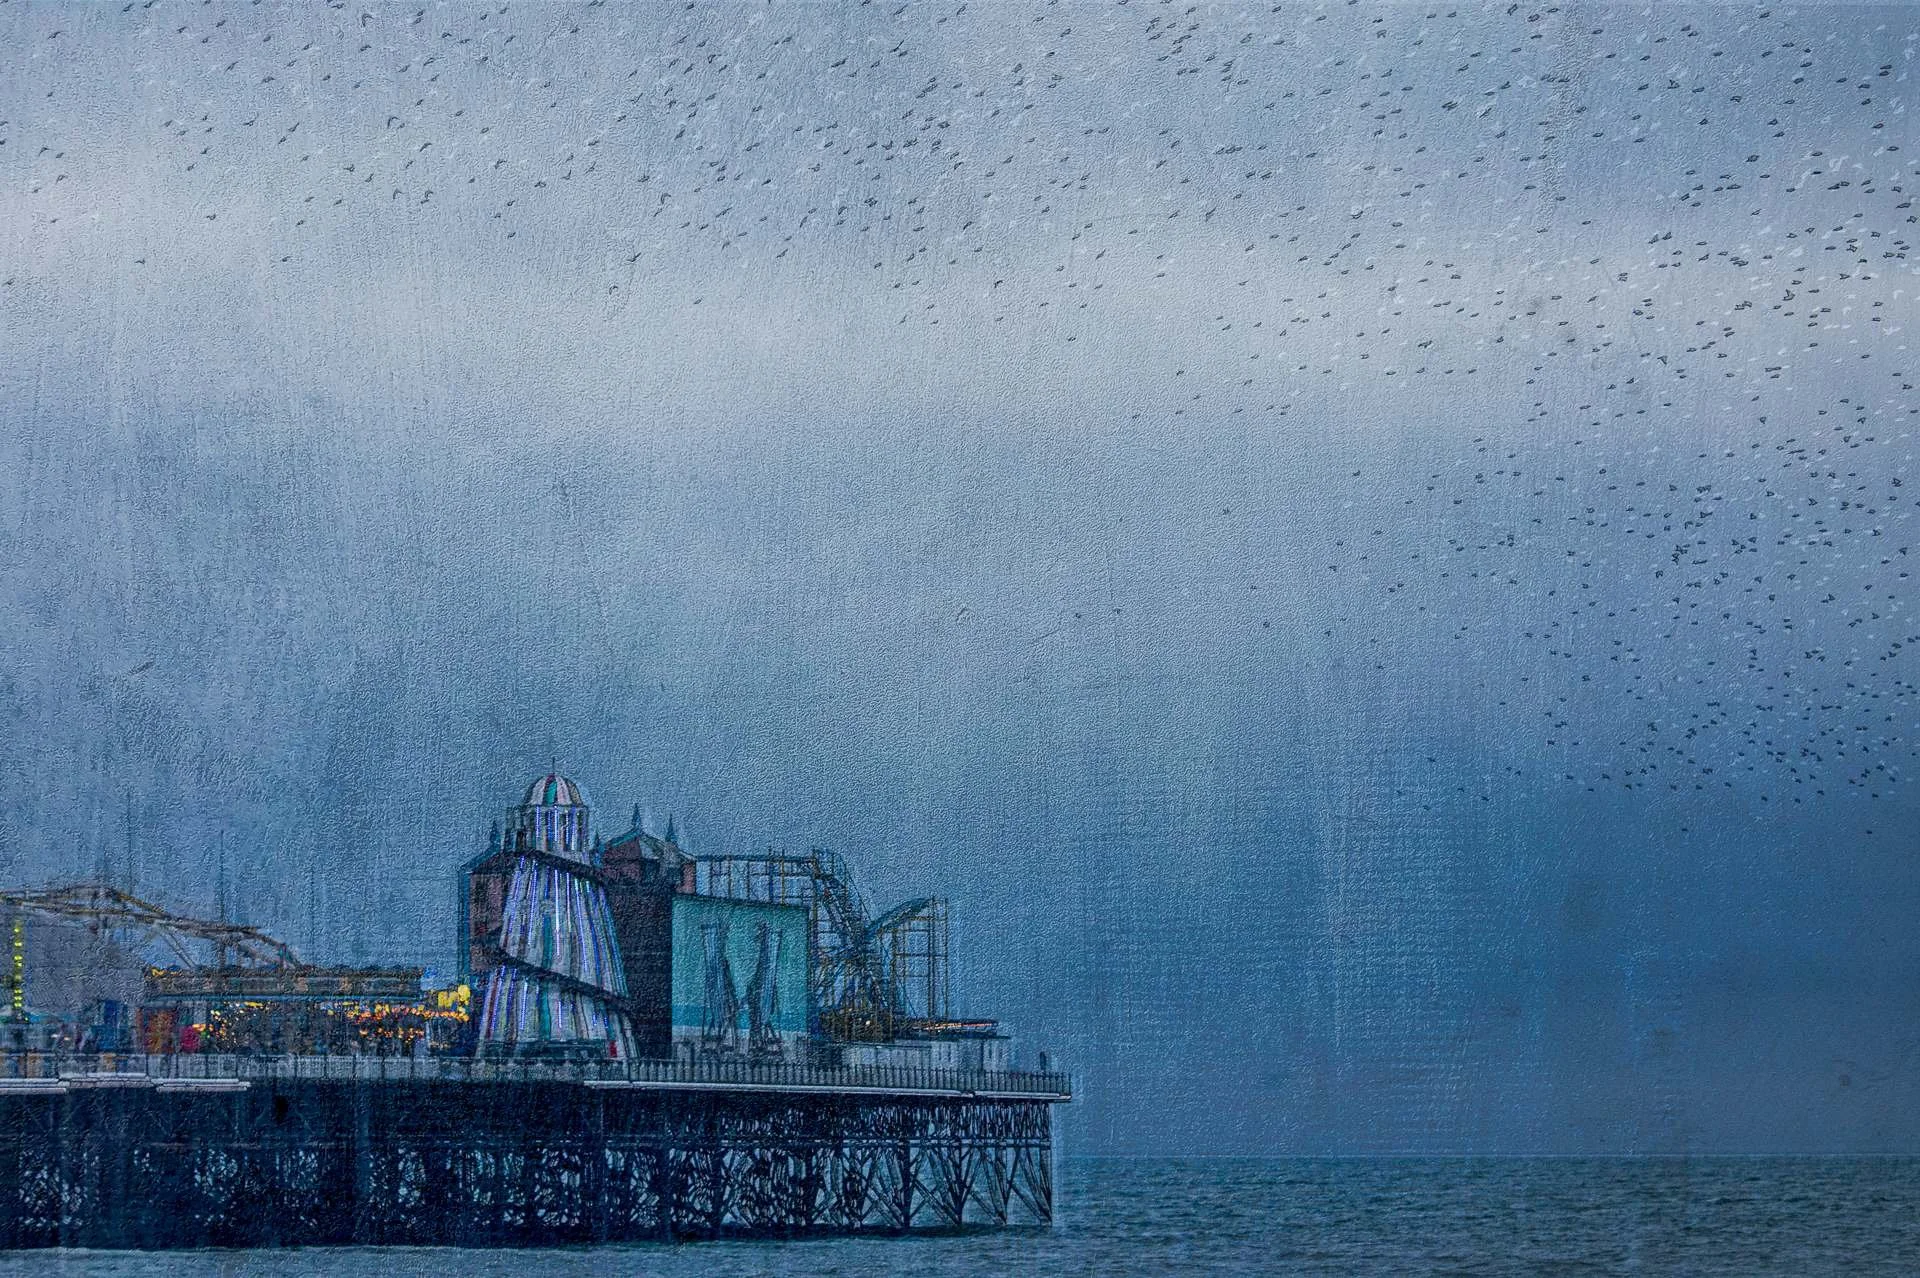
How textures can change the look of a multiple exposure image
Want to Explore Post-Processing Multiple Exposure Further?
If experimenting with layers, textures and blend modes has sparked your curiosity, my Discovery Course explores the creative possibilities of post-processing multiple exposure, mainly using Photoshop. It's an opportunity to develop your skills, experiment with different approaches and discover new ways to combine photographs.
You can explore my other online multiple exposure courses, including the intermediate course for photographers looking to extend their creative techniques, or browse the Wilde Photography Academy website for more inspiration.