5 ways to create Multiple Exposures in Woodland
Woodland photography is for me, a really mindful way to spend time with a camera. There is something about stepping underneath the canopy of trees that immediately changes the pace of a photography trip. The light is softer, the temperature is often a little cooler and there is usually much less pressure to "get the shot" than there might be when photographing a famous landmark or dramatic landscape.
Perhaps this is why woodland photography features so heavily in landscape photography competitions and exhibitions such as Landscape Photographer of the Year. We often see beautiful images of towering trees, winding woodland paths, shafts of sunlight filtering through the canopy, misty forests, carpets of bluebells, autumn colours and solitary trees standing out amongst their surroundings. These are all wonderful subjects, but when it comes to multiple exposure photography, I think the woods can be a little more challenging.
So, there are plenty of reasons to head into the woods. But what happens when we take our multiple exposure cameras with us?
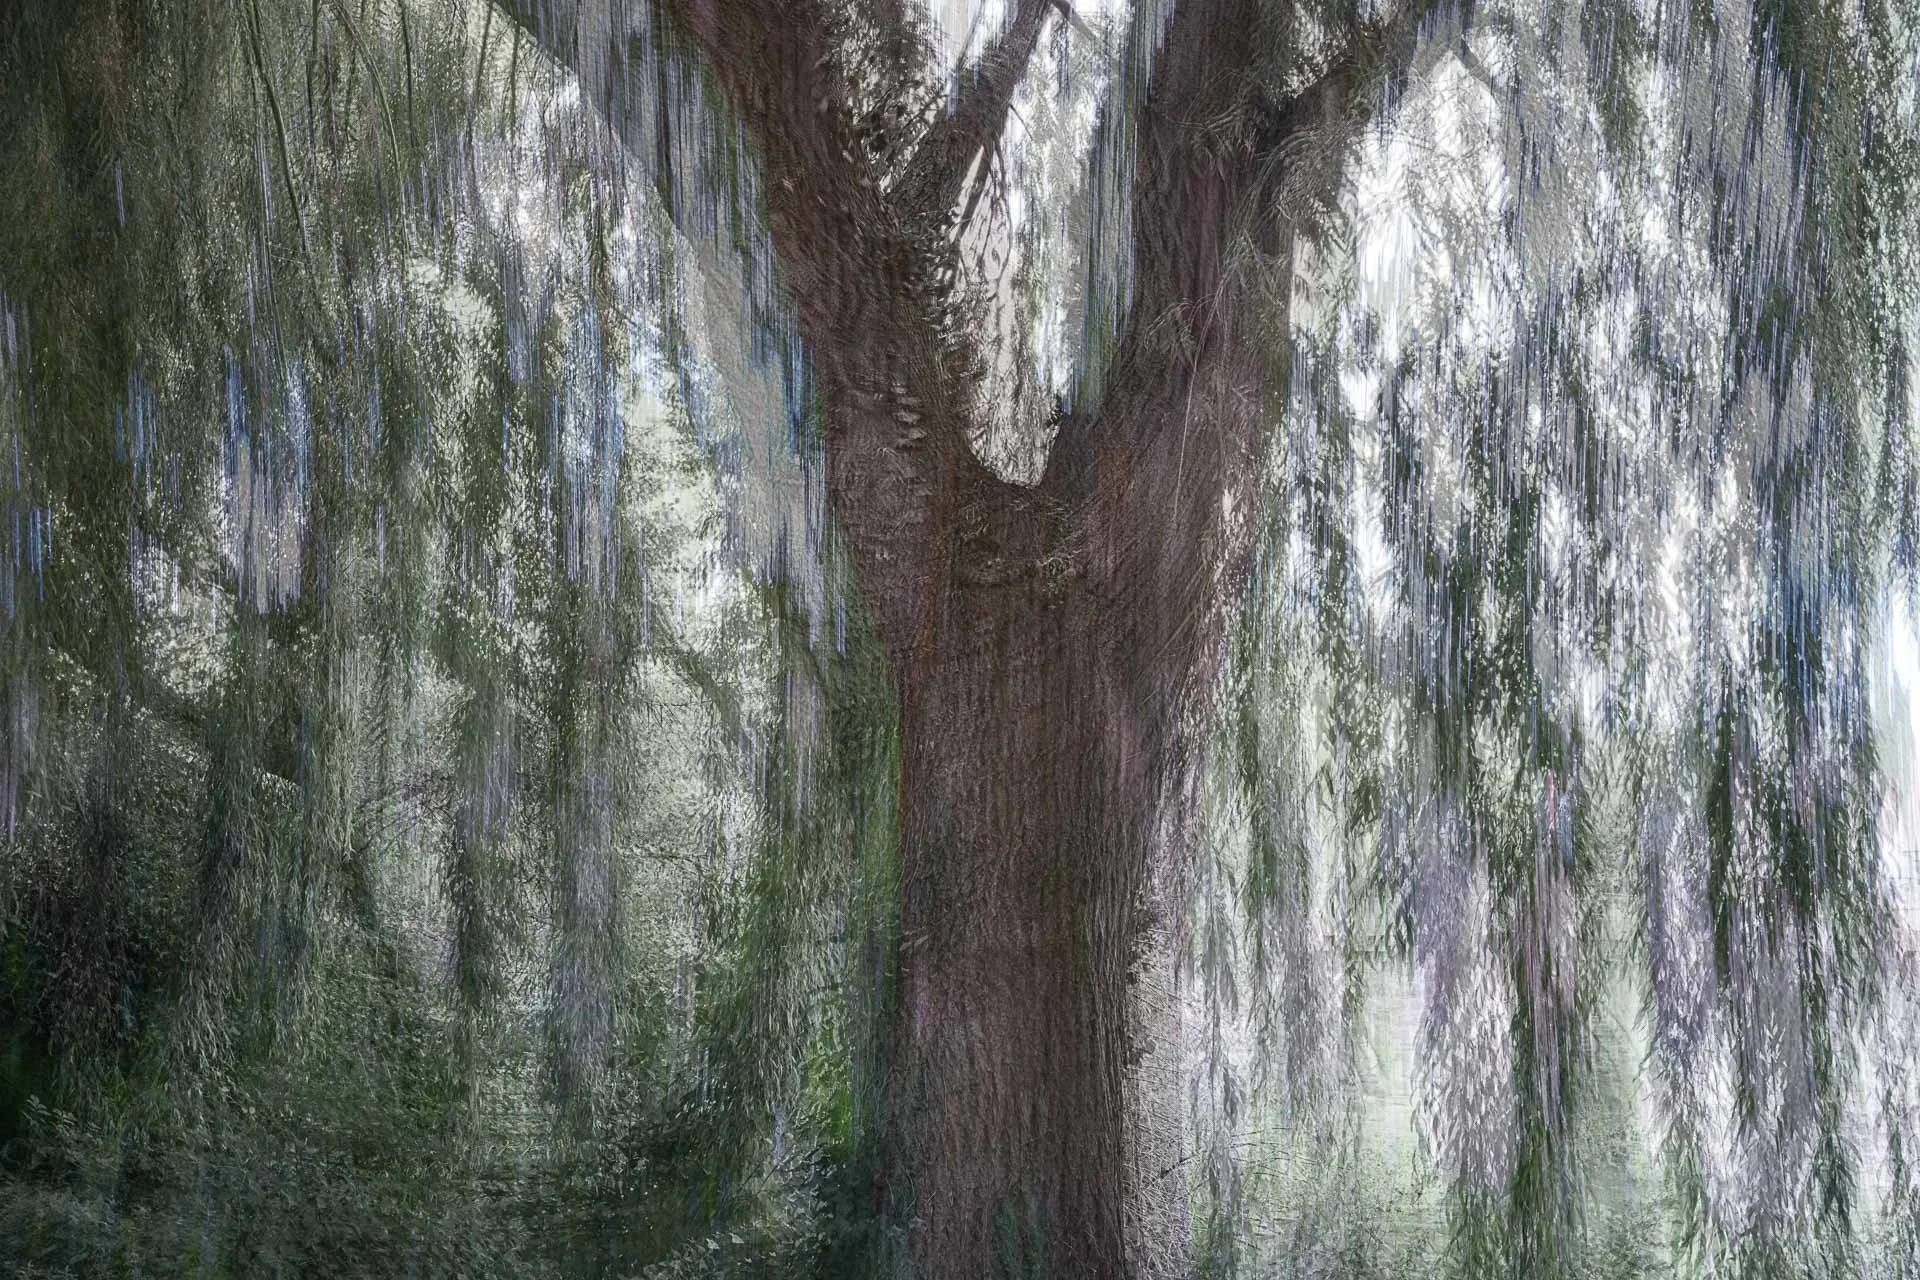
Multiple Exposure of a tree in the woods
Why are trees so difficult?
You all know I love a good tree! Do see this article and this PDF as examples!!
Give me one beautiful tree and I am generally very happy. I can isolate it, move around it, look at the shape of the branches and find a way to simplify the composition. Trees plural, however, are something I don't do very often.
Why? Well, there is a lot of green to contend with for most of the year and when you start combining images, there is even more!
Composition in the woods is notoriously difficult for me as well. I always think I am putting a subject into the frame, only to get home, look at my photograph and wonder where on earth it has gone in the mess of trees! There are trunks, branches, leaves, twigs, shadows and highlights all competing for attention. Add a second or third exposure into the mix and things can very quickly become rather chaotic. However, I decided to put all of this aside and go out and experiment. And, as usual, I discovered that sometimes the best way to solve a photography problem is to stop worrying about it and simply try something different.
Here are five techniques to try when creating multiple exposures in the woods.

Black and White Multiple Exposure
1. Use black and white – and add some ICM
My first approach was to remove colour altogether.
Black and white can work beautifully in woodland because it picks up all those little patches of light scattered across the woodland floor. Removing the colour eliminates a lot of the visual noise from the scene and, for me, makes the trees appear sharper and more focussed. Of course, a simple monochrome image isn't going to be enough for me! So, for this image, I combined a focussed photograph with an ICM (Intentional Camera Movement) exposure. The result is much softer than the original woodland scene. The trees are still there, but the movement has taken away some of the literal detail and replaced it with something more atmospheric. I particularly like this approach when the woodland is quite busy. Instead of trying to find one perfect tree amongst hundreds, the movement allows me to embrace the whole environment.
This image feels much more like the experience of being there rather than a straightforward record of what I saw.
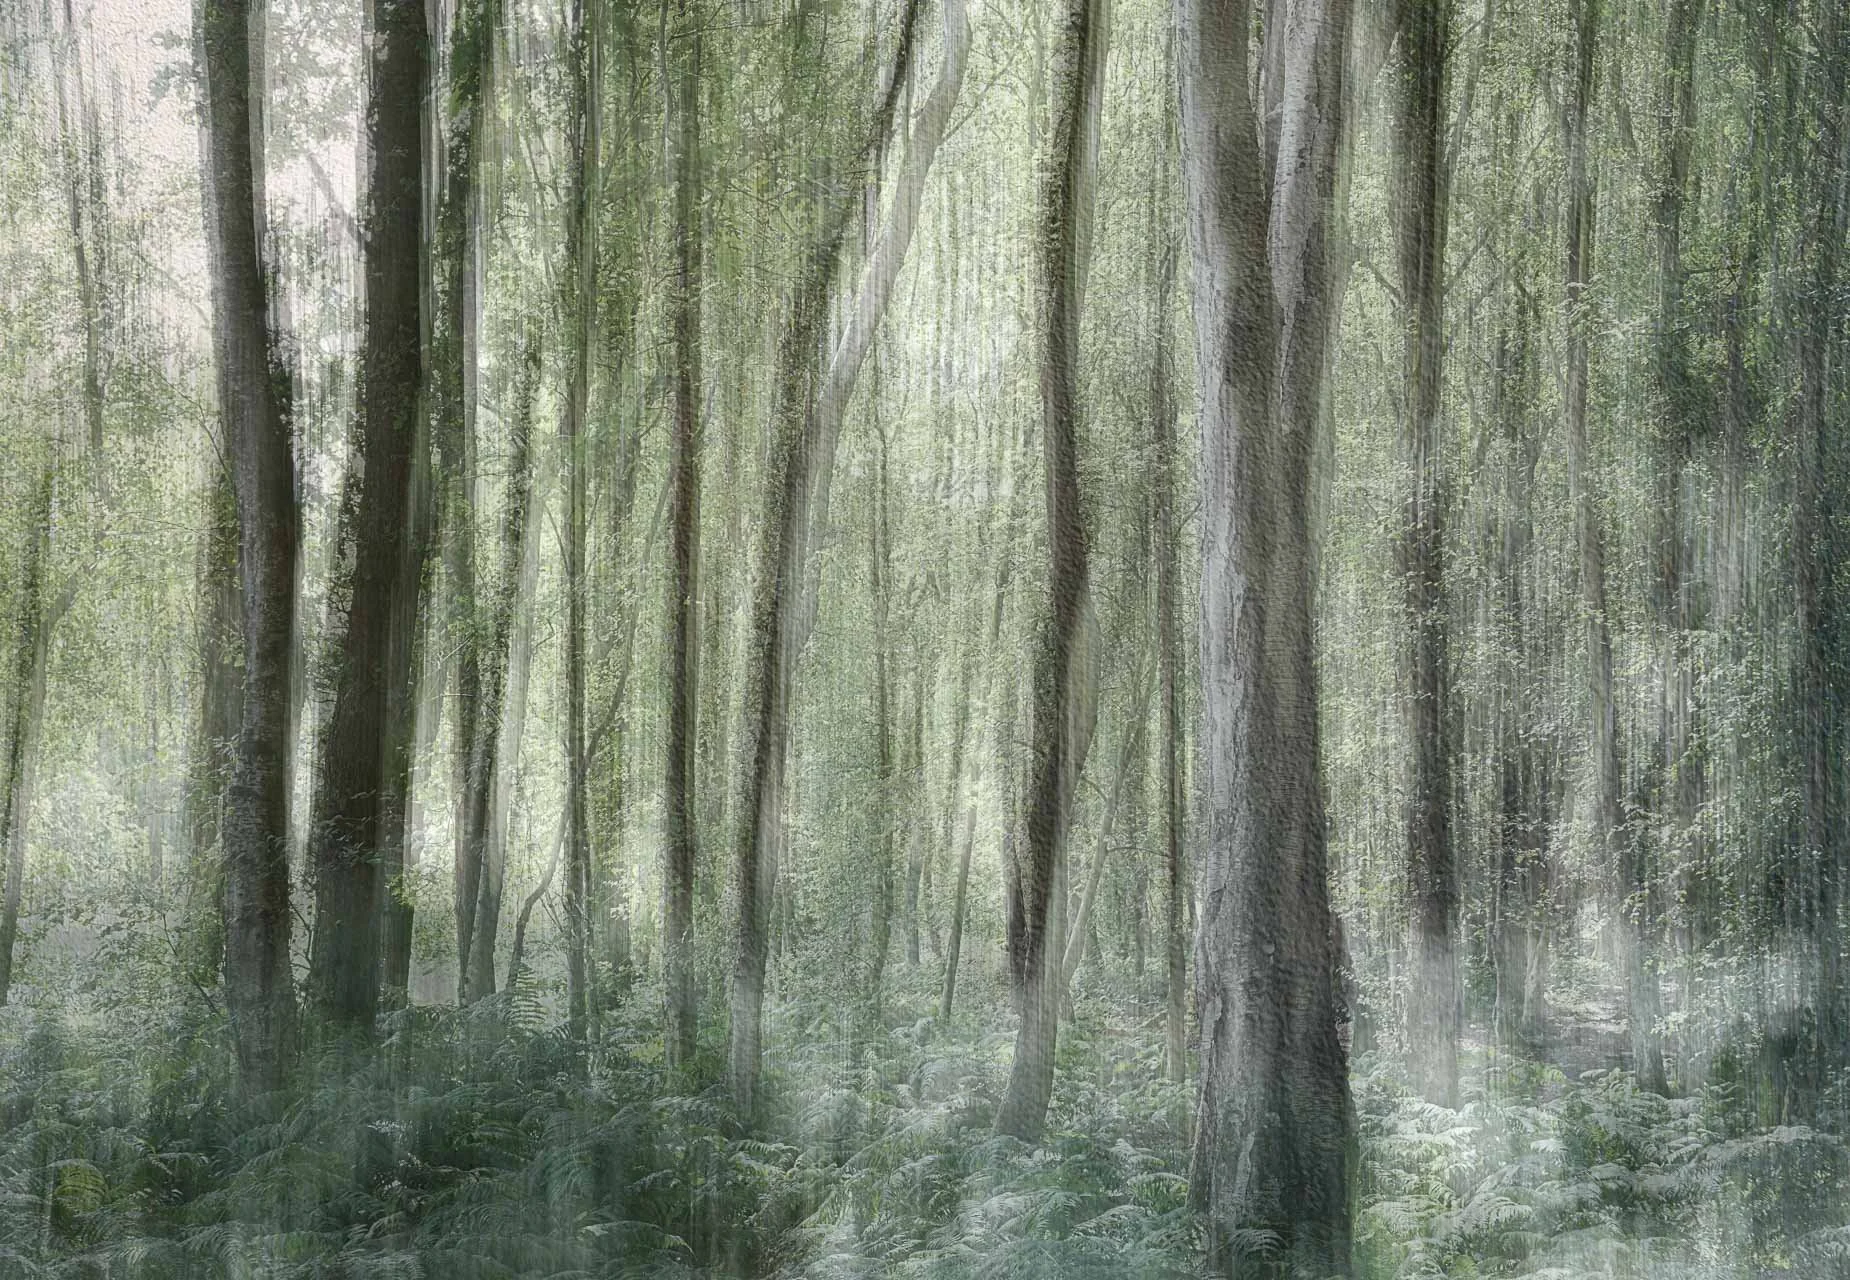
A multiple exposure woodland image using a soft colour palette
2. Try a subdued colour palette
If you don't want to go completely monochrome, another option is to reduce the intensity of the colour.
On Fujifilm cameras, you can experiment with the different Film Simulations. On Canon cameras, these are called Picture Styles, while Nikon calls them Picture Controls. These settings allow you to alter the way your camera processes the image, including things such as contrast, saturation, sharpness and colour. I find that a less vibrant green can really soften a woodland image. There is something about reducing the intensity of the greens that allows the shapes and structure of the trees to become more visible. Rather than being overwhelmed by colour, you start to notice the lines, textures and patterns within the woodland.
For the image above, I used one layer of ICM in black and white and another ICM exposure using the Eterna Film Simulation on my Fujifilm X-T5. I then added a focussed colour image and, because I clearly couldn't leave well enough alone, I also added a layer of white paint in post-processing!
The combination of the different layers creates something much more ethereal than the original scene.
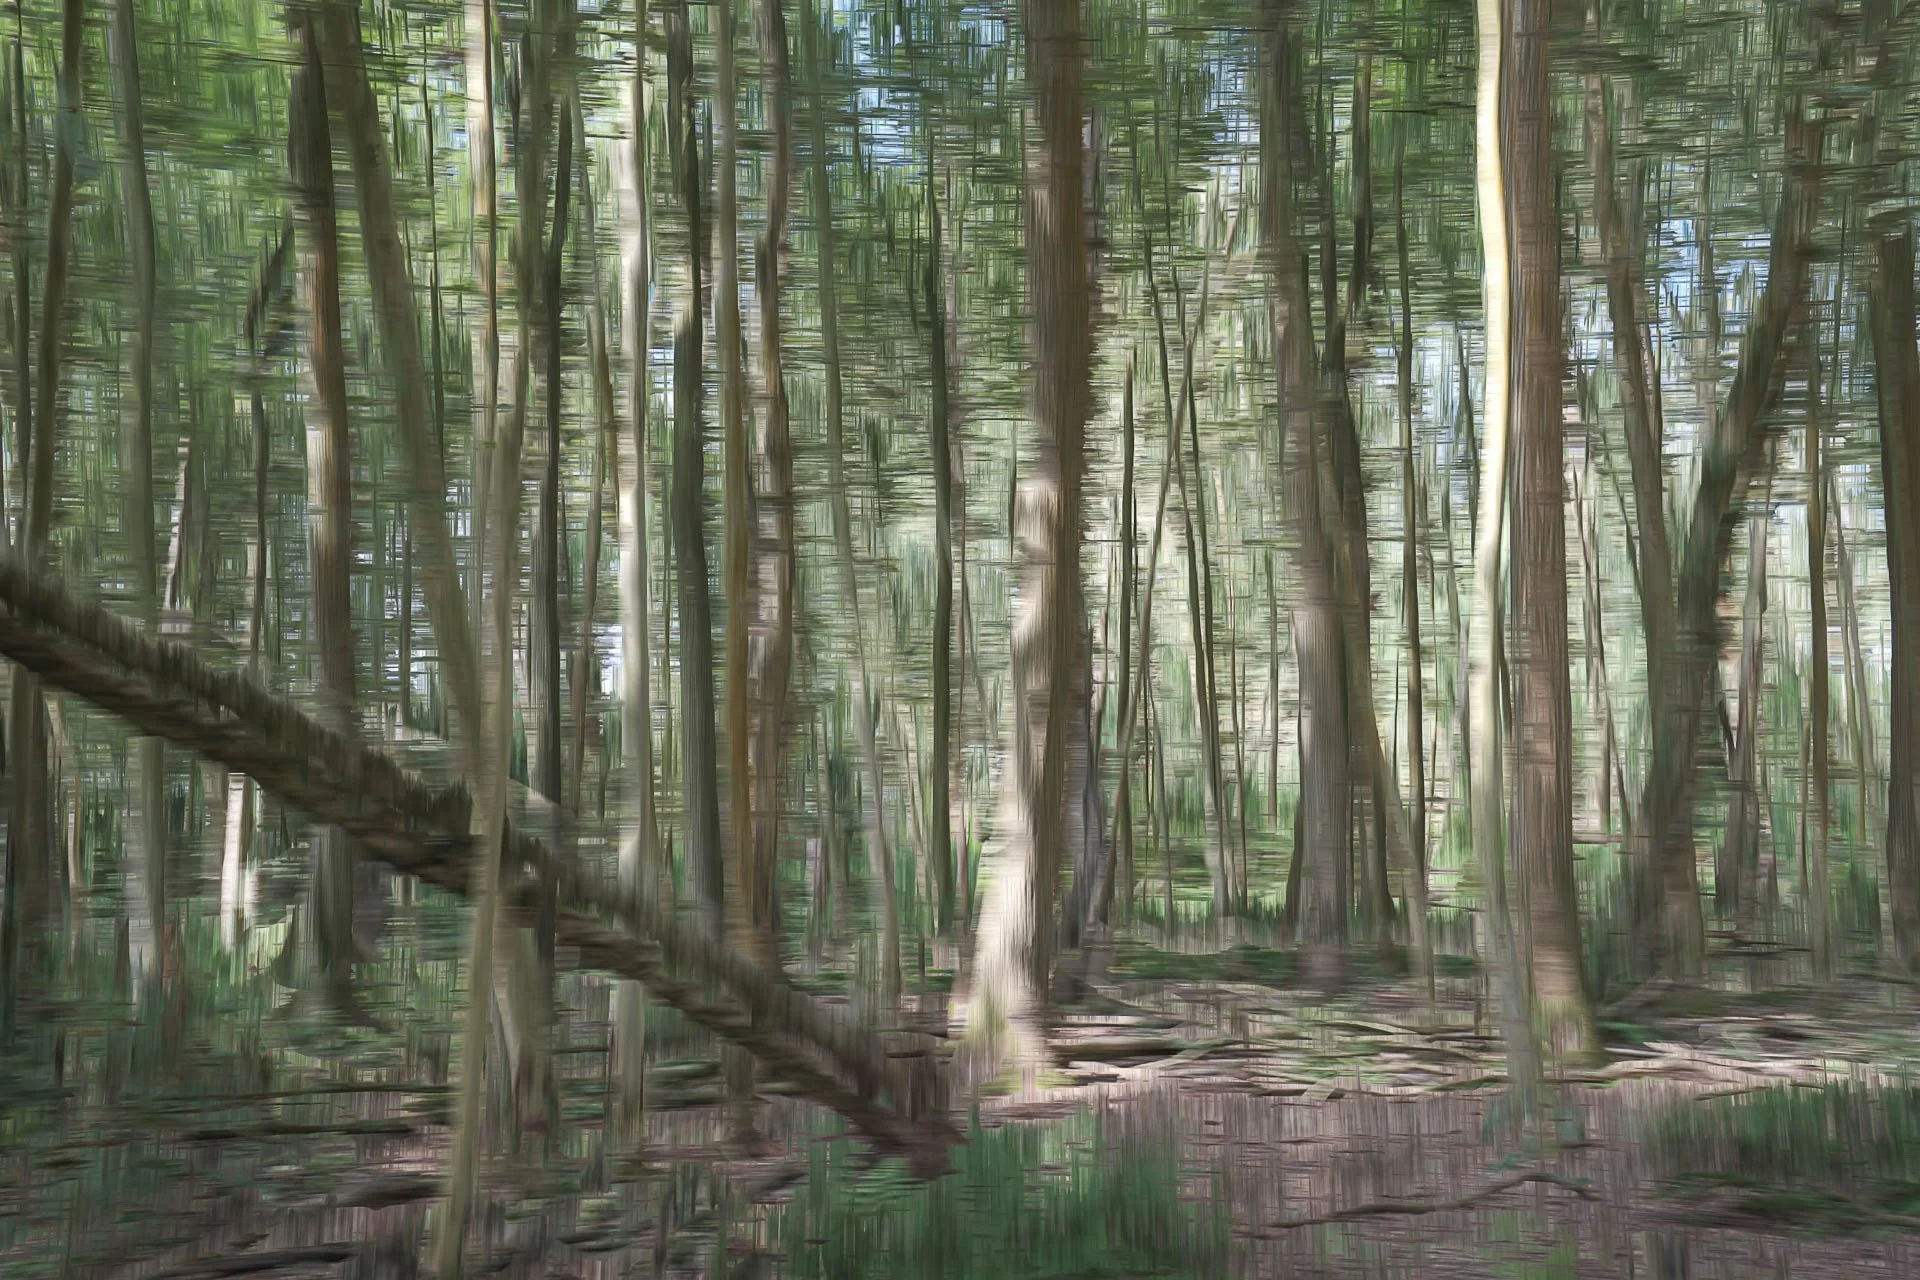
Cross hatching on a multiple exposure woodland scene
3. Try crosshatching in the woods
If you've followed my work for a while, you will know that I love crosshatching.
It is a technique that can produce wonderfully abstract results, but when you are photographing woodland, you don't necessarily want to lose all of the detail of the trees. So, if you want to retain the impression that your subject is actually a woodland, keep your camera movements really short.
As usual, I am working at around 1/15 second, but this time I only move my camera a midge horizontally and then a midge vertically! Yes, a technical measurement of "a midge" is not going to be particularly helpful, but the point is that the movement needs to be tiny.
The other important thing is to line up your subjects. If you move too far between exposures, the trees can become completely disconnected from one another. By keeping the movements small and aligning the trunks and branches, you can create an image where the trees still look like trees - just with a little more movement and energy.
This is a great technique to try when you want to create something that is clearly recognisable but has a more creative feel.
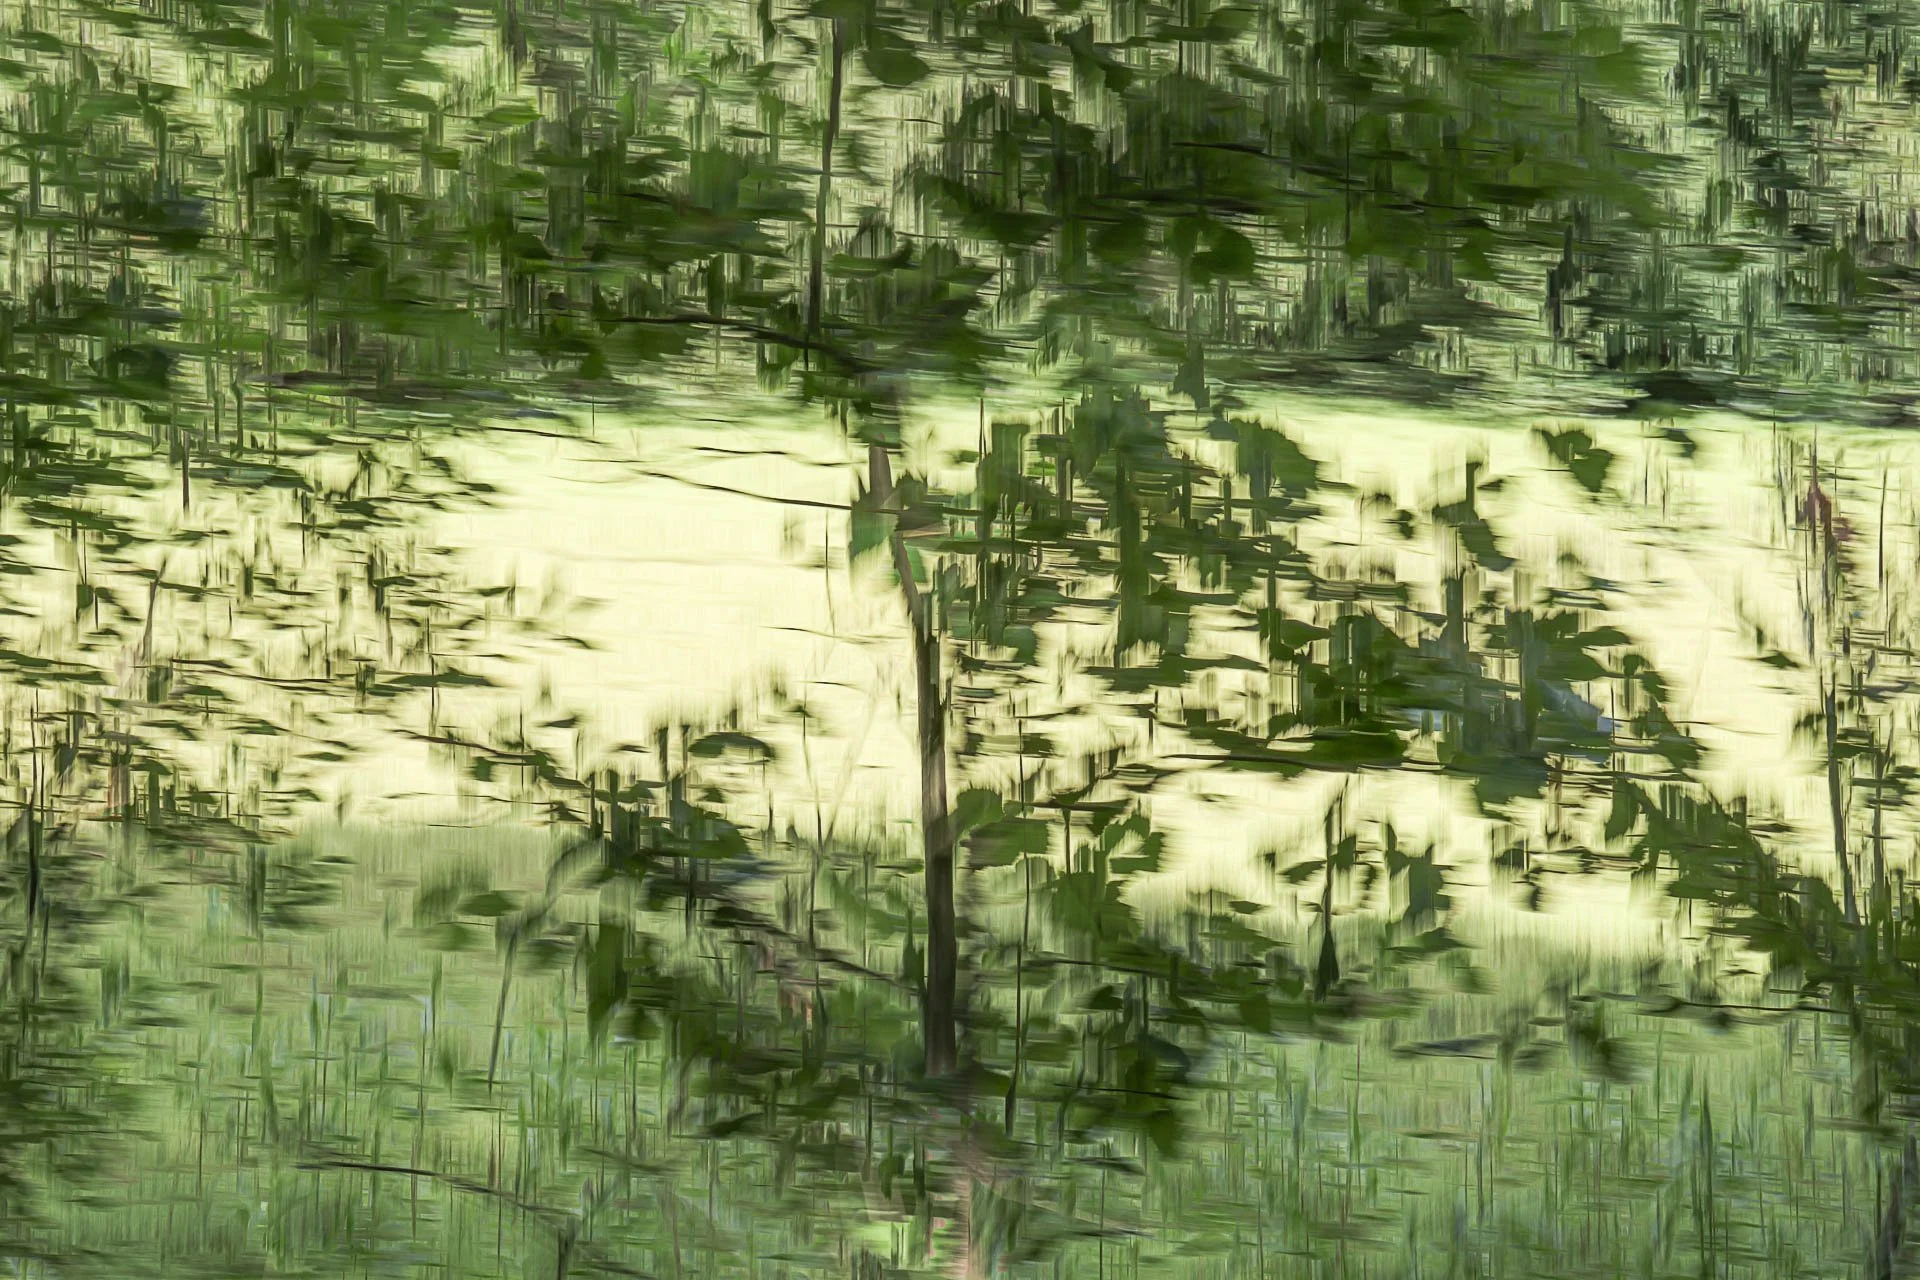
An abstract woodland multiple exposure image
4. Go completely abstract with crosshatching
This is probably a 4a rather than a completely separate category, but I wanted to draw attention to what happens when you make those crosshatching movements much longer. Instead of trying to retain the detail of the woodland, you can allow the lines and movement to take over.
In the right place, with some lovely contrast between light and dark, this can create really interesting patterns. The vertical lines of the trees become the starting point, while the movement transforms them into something much more abstract. I always find woodland slightly mysterious. Even on a bright day, there is something about looking between the trees and wondering what is beyond them. These more abstract images seem to convey that feeling particularly well. They aren't necessarily about showing the viewer exactly what the woodland looked like. Instead, they are about trying to convey what it felt like to be there.
And, for me, that is one of the great things about multiple exposure photography. We can move away from simply documenting a place and start to interpret our experience of it.

A multiple exposure image with soft gentle bokeh
5. Use the bokeh from light filtering through the trees
Finally, let's add a little bit of magic!
Woodland is perfect for finding bokeh because of the way the light filters through the trees. On top of a normal woodland scene, adding a layer of bokeh can create those lovely gentle highlights that make the image feel just a little bit more magical. But - and this is important - don't just throw bokeh over your image and hope for the best! Think about your composition. Where are the brightest areas of your original image? Where do you want the viewer to look? Is there a particular tree, branch or patch of woodland that you want to emphasise?
You can move the bokeh around your frame to place those highlights exactly where you want them. This turns the bokeh from a random effect into an intentional compositional tool. I particularly like using the light filtering through the trees because it gives you a natural reason for those little points of light to be there.
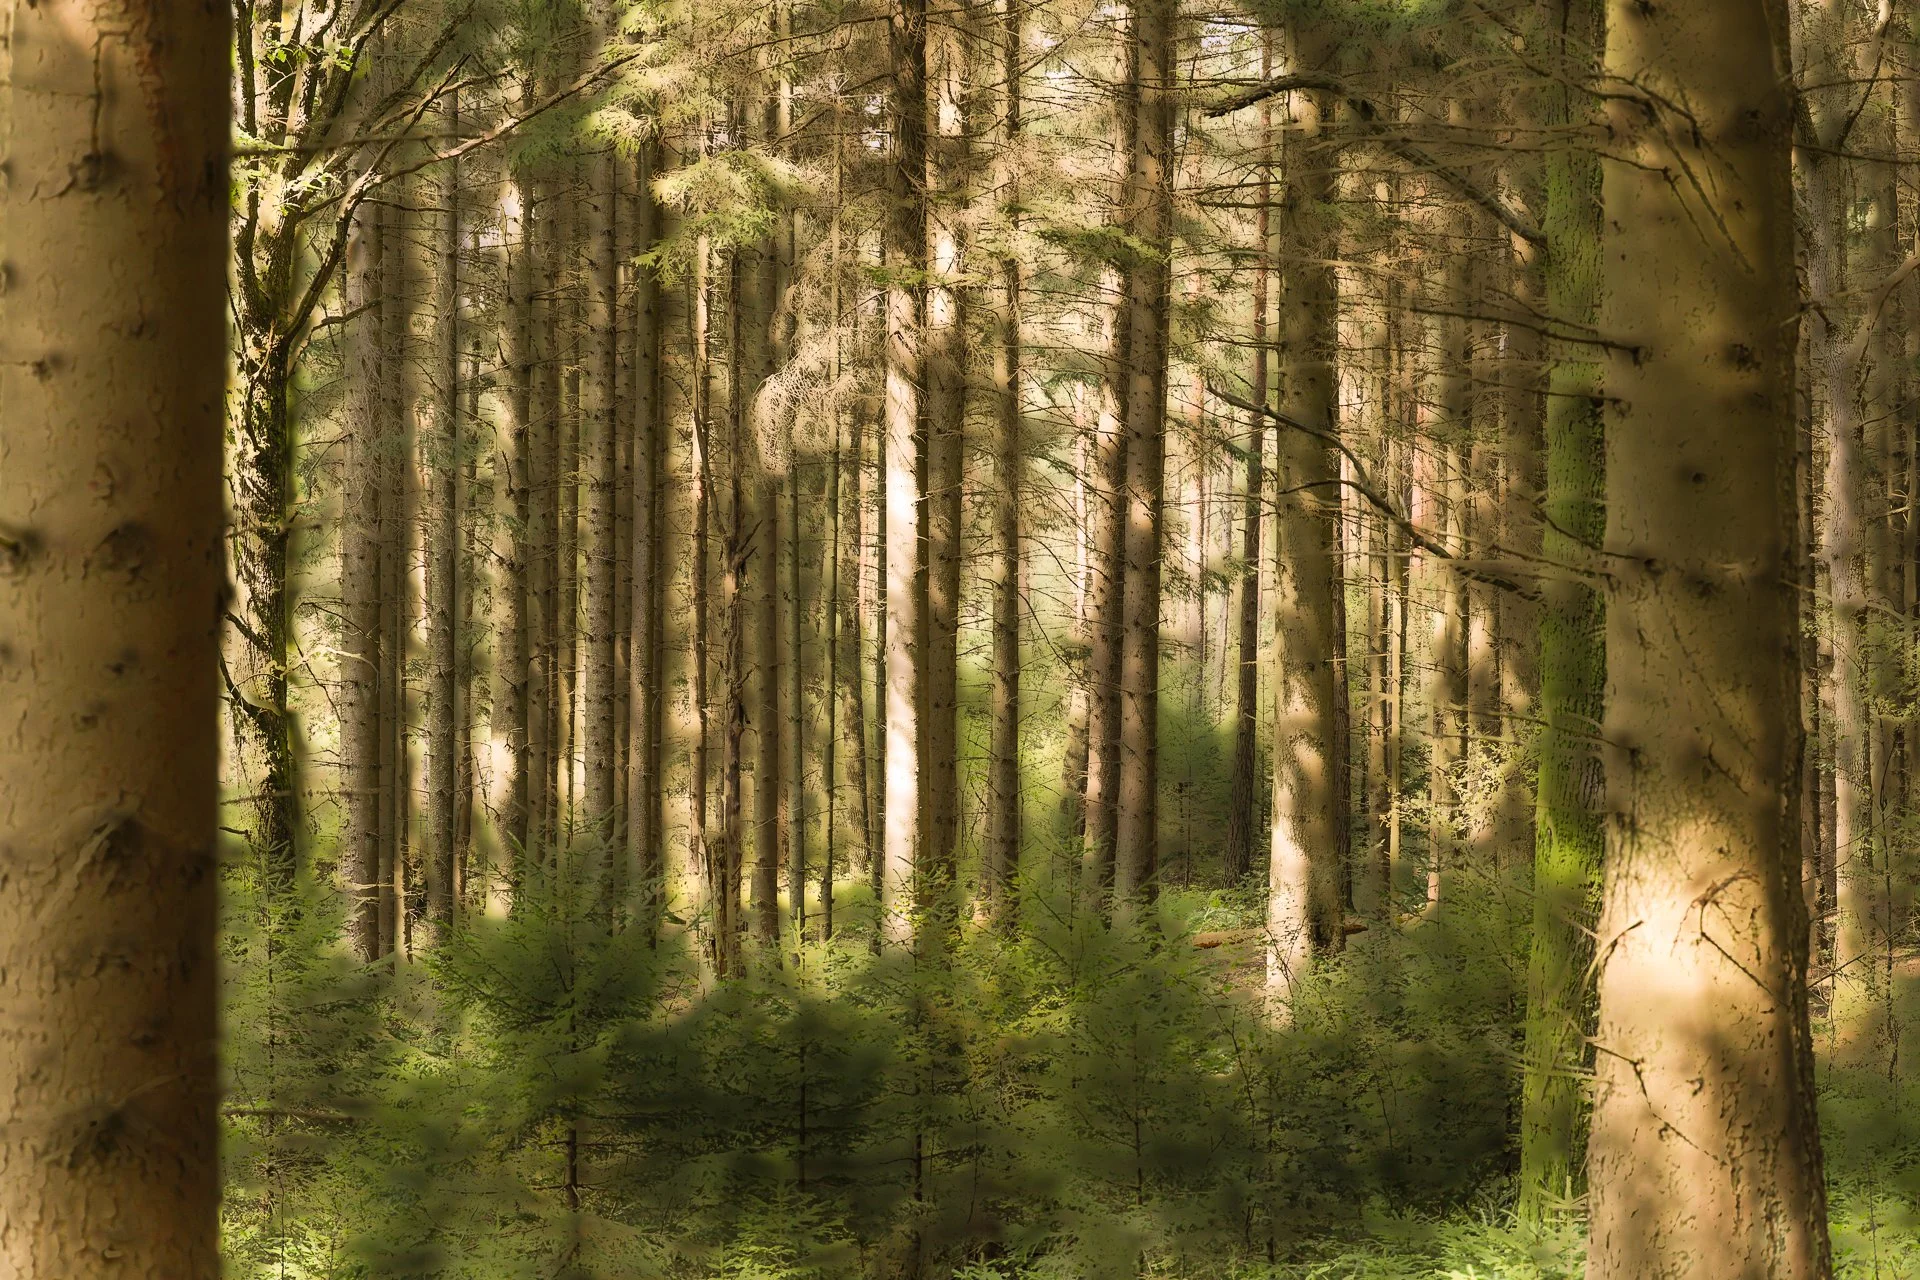
A multiple exposure of the forest
Don't be afraid of the woods!
So, perhaps my relationship with photographing multiple trees is changing!
I still find woodland photography challenging. There is a lot going on, and I still regularly come home with images where I have absolutely no idea where the subject I thought I was photographing has disappeared to. But maybe that's part of the fun. Multiple exposure photography gives us permission to stop trying to control every element of the scene. We can simplify with black and white, reduce the impact of colour, introduce movement with ICM and crosshatching, or add a little gentle glow with bokeh.
And perhaps the most important thing is that we can experiment.
If you are heading into the woods with your camera, don't feel that you have to come home with a perfectly composed traditional woodland photograph. Try looking at the trees differently. Look for the patterns between them. Notice the light on the forest floor. Experiment with movement. Try something completely abstract. You might just find that the image you create says much more about how the woodland made you feel than a straightforward photograph ever could.
And if you have a favourite way of photographing trees or woodland, I'd love to hear about it! Leave a comment below and let me know what techniques you use. You can also join us in the Multiple Exposure Hub on Facebook, where you can share your images, get inspiration and connect with other photographers who love experimenting with multiple exposures. And, of course, if you want to take your multiple exposure photography further, have a look at the courses and workshops with the Wilde Photography Academy. I would love to see you there!