How to Use Textures in In-Camera Multiple Exposure Photography
Textures can completely change the atmosphere of a photograph. They can provide context, soften a subject, add visual interest or introduce a dreamlike quality to an image. In post-processing, using textures is relatively easy. You simply pick an image from your extensive collection of texture photographs and layer it over your subject. What? You don't have a large folder specifically designated for all of those floors, ceilings, carpets and bits of peeling paint that you have collected for this very purpose? You really need to make one!
But what happens when you are out with your camera and want to use textures as part of your creativity to make a multiple exposure in-camera?
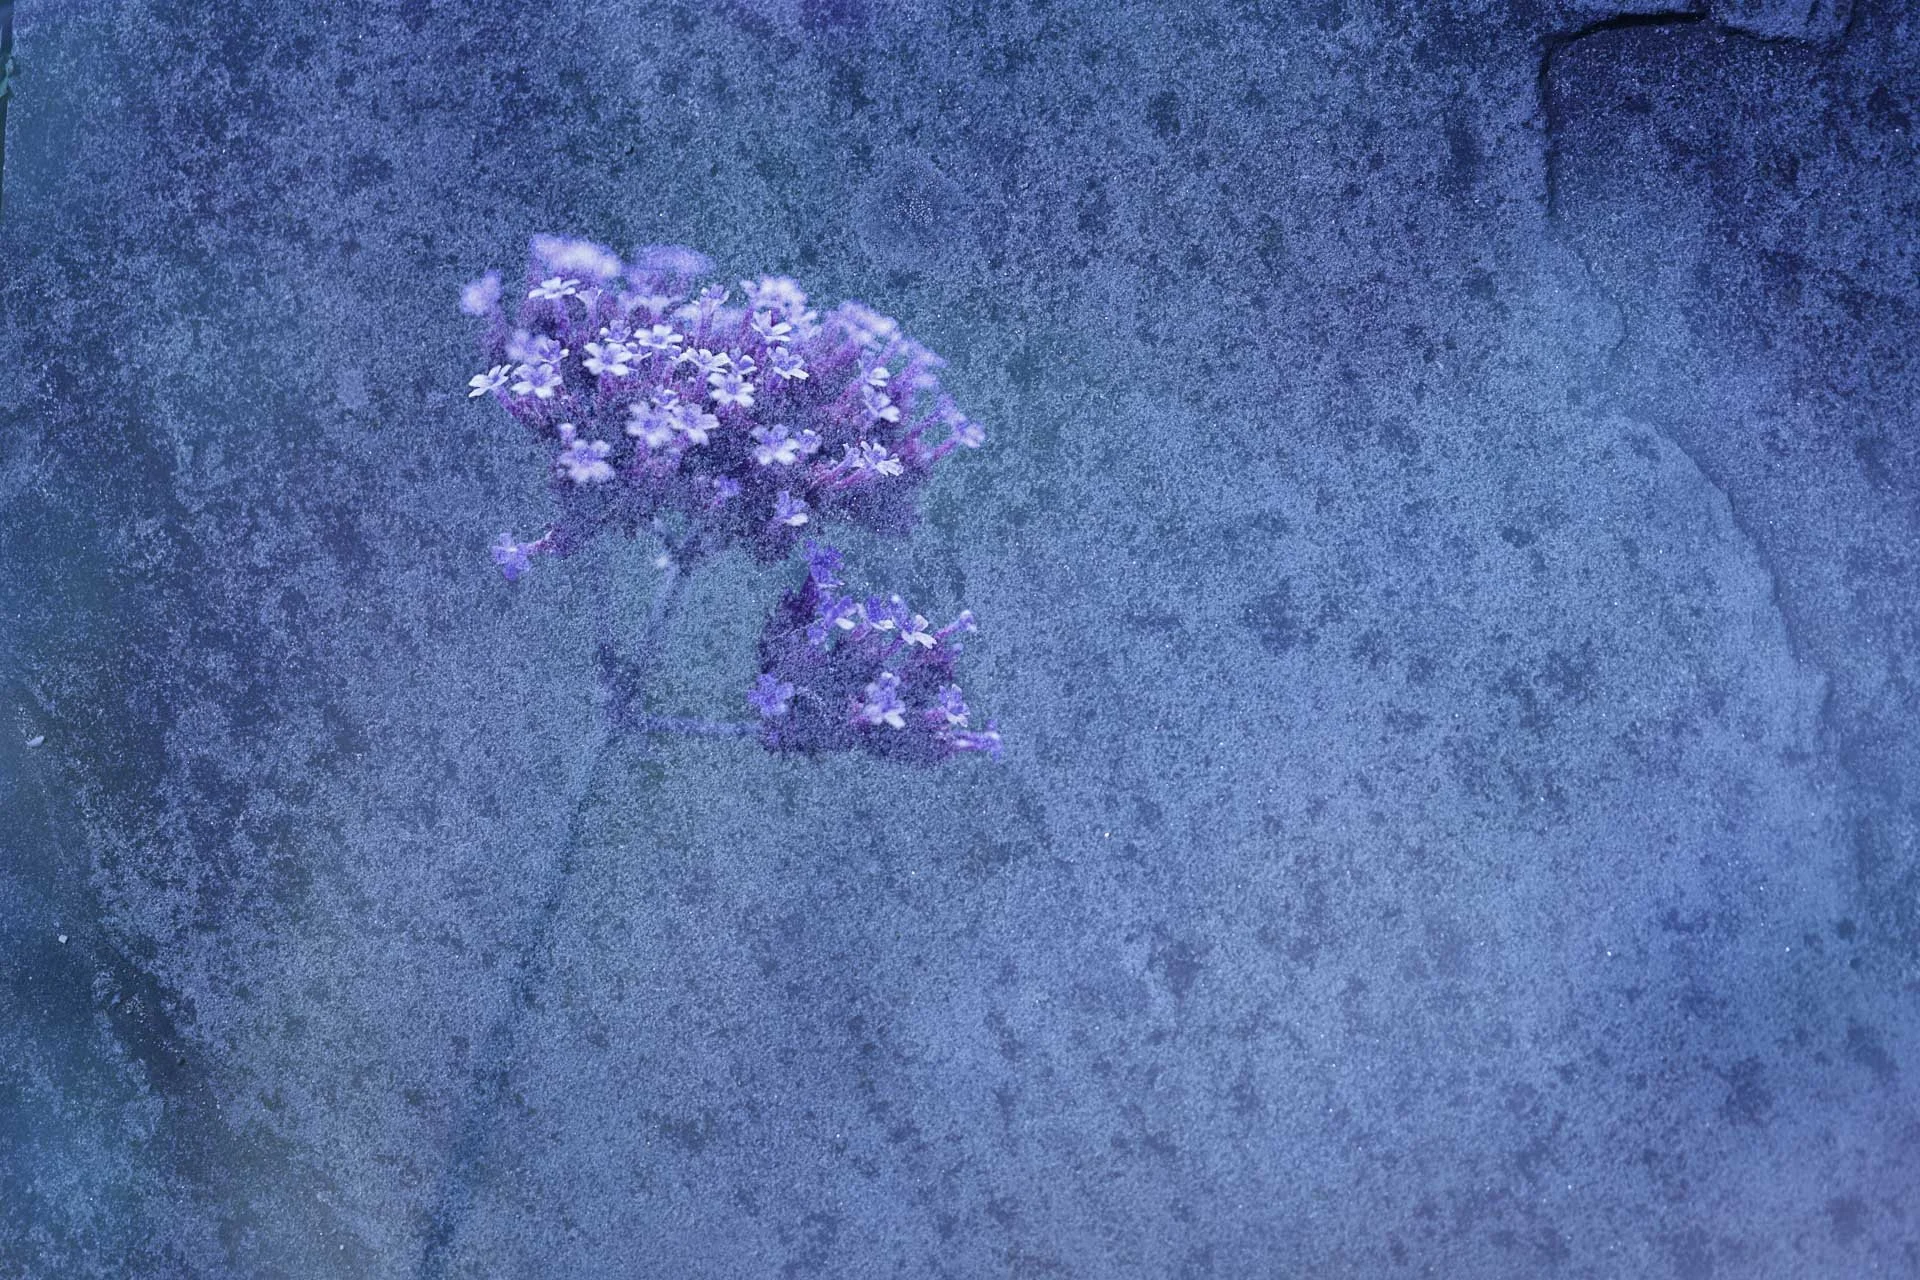
A simple subject and texture in camera multiple exposure
Using Textures in-Camera
Some camera brands allow you to take an SD card containing pre-prepared images and use these as one of your multiple exposure layers while you are out photographing. This can be really useful if you are the sort of person who likes to plan ahead and has a carefully curated collection of textures ready to go. That, however, requires the type of planning that I don’t always have time for! In addition, it doesn't work with all camera brands or necessarily with the format I would usually shoot in.
Instead, I tend to gravitate towards one of two options. The first is to take a photograph of my subject knowing that I will add textures later in Photoshop. The second is considerably less planned: I point my camera at the floor and see what it looks like!
It is an approach that suits me rather well, and it means I am constantly noticing potential textures wherever I go. A surface doesn't have to look particularly exciting as a photograph on its own to become a really useful layer in a multiple exposure. So, I thought I would share some of the textures I have used in the past and why I think they work.
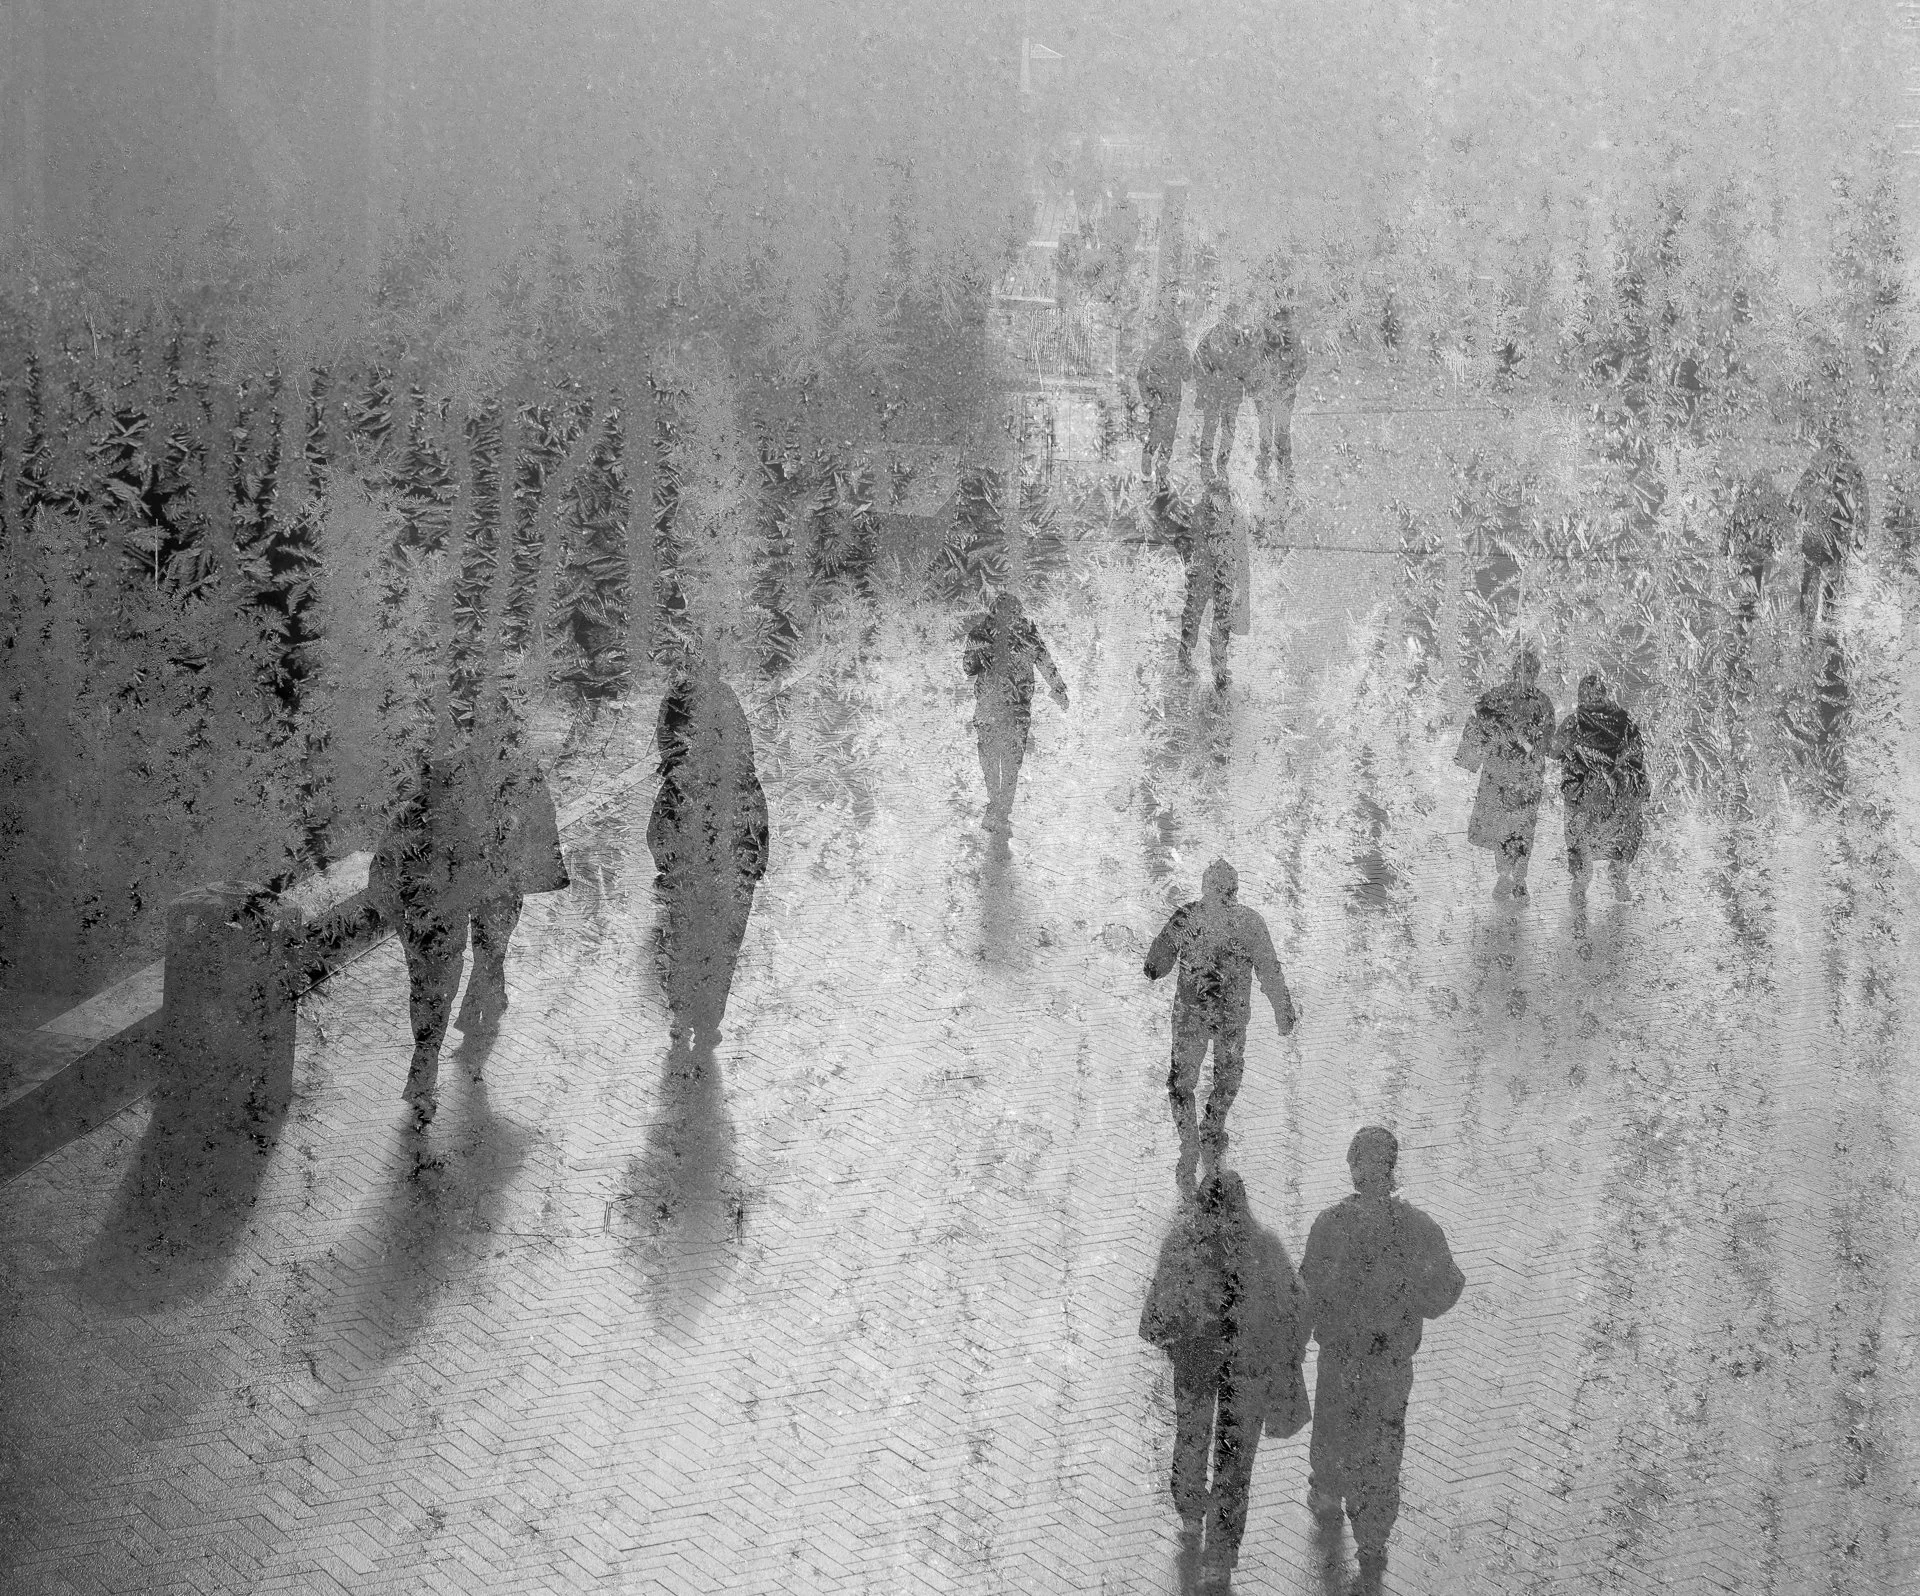
Make the most of the weather! This multiple exposure is made with a piece of frost covered plastic barrier as it’s texture.
Sand: A Subtle Multiple Exposure Texture
Sand is an excellent texture because it provides plenty of detail without necessarily overpowering the subject. It can be particularly effective when combined with Dark blend mode, allowing the detail of your main subject to shine through.
As we have discussed before, Dark blend mode doesn't simply make your picture dark. Instead, it compares the pixels from the different layers and displays the darkest pixels. This means that if your subject is darker than the texture, the subject remains visible while some of the lighter areas of the texture disappear.
The example below was taken at Crosby Beach, where I combined the sand with the Antony Gormley sculptures. Because the sculptures are darker than much of the sand, they stand out beautifully within the texture, while the sand adds detail and context without taking over the image.
The wonderful colours in this image came from changing the white balance, which is another way of introducing creativity into your in-camera multiple exposures. If you are reading this before the end of September, do come and see my presentation to @Camversation, where I will be talking all about using white balance creatively. You can find out more by clicking HERE
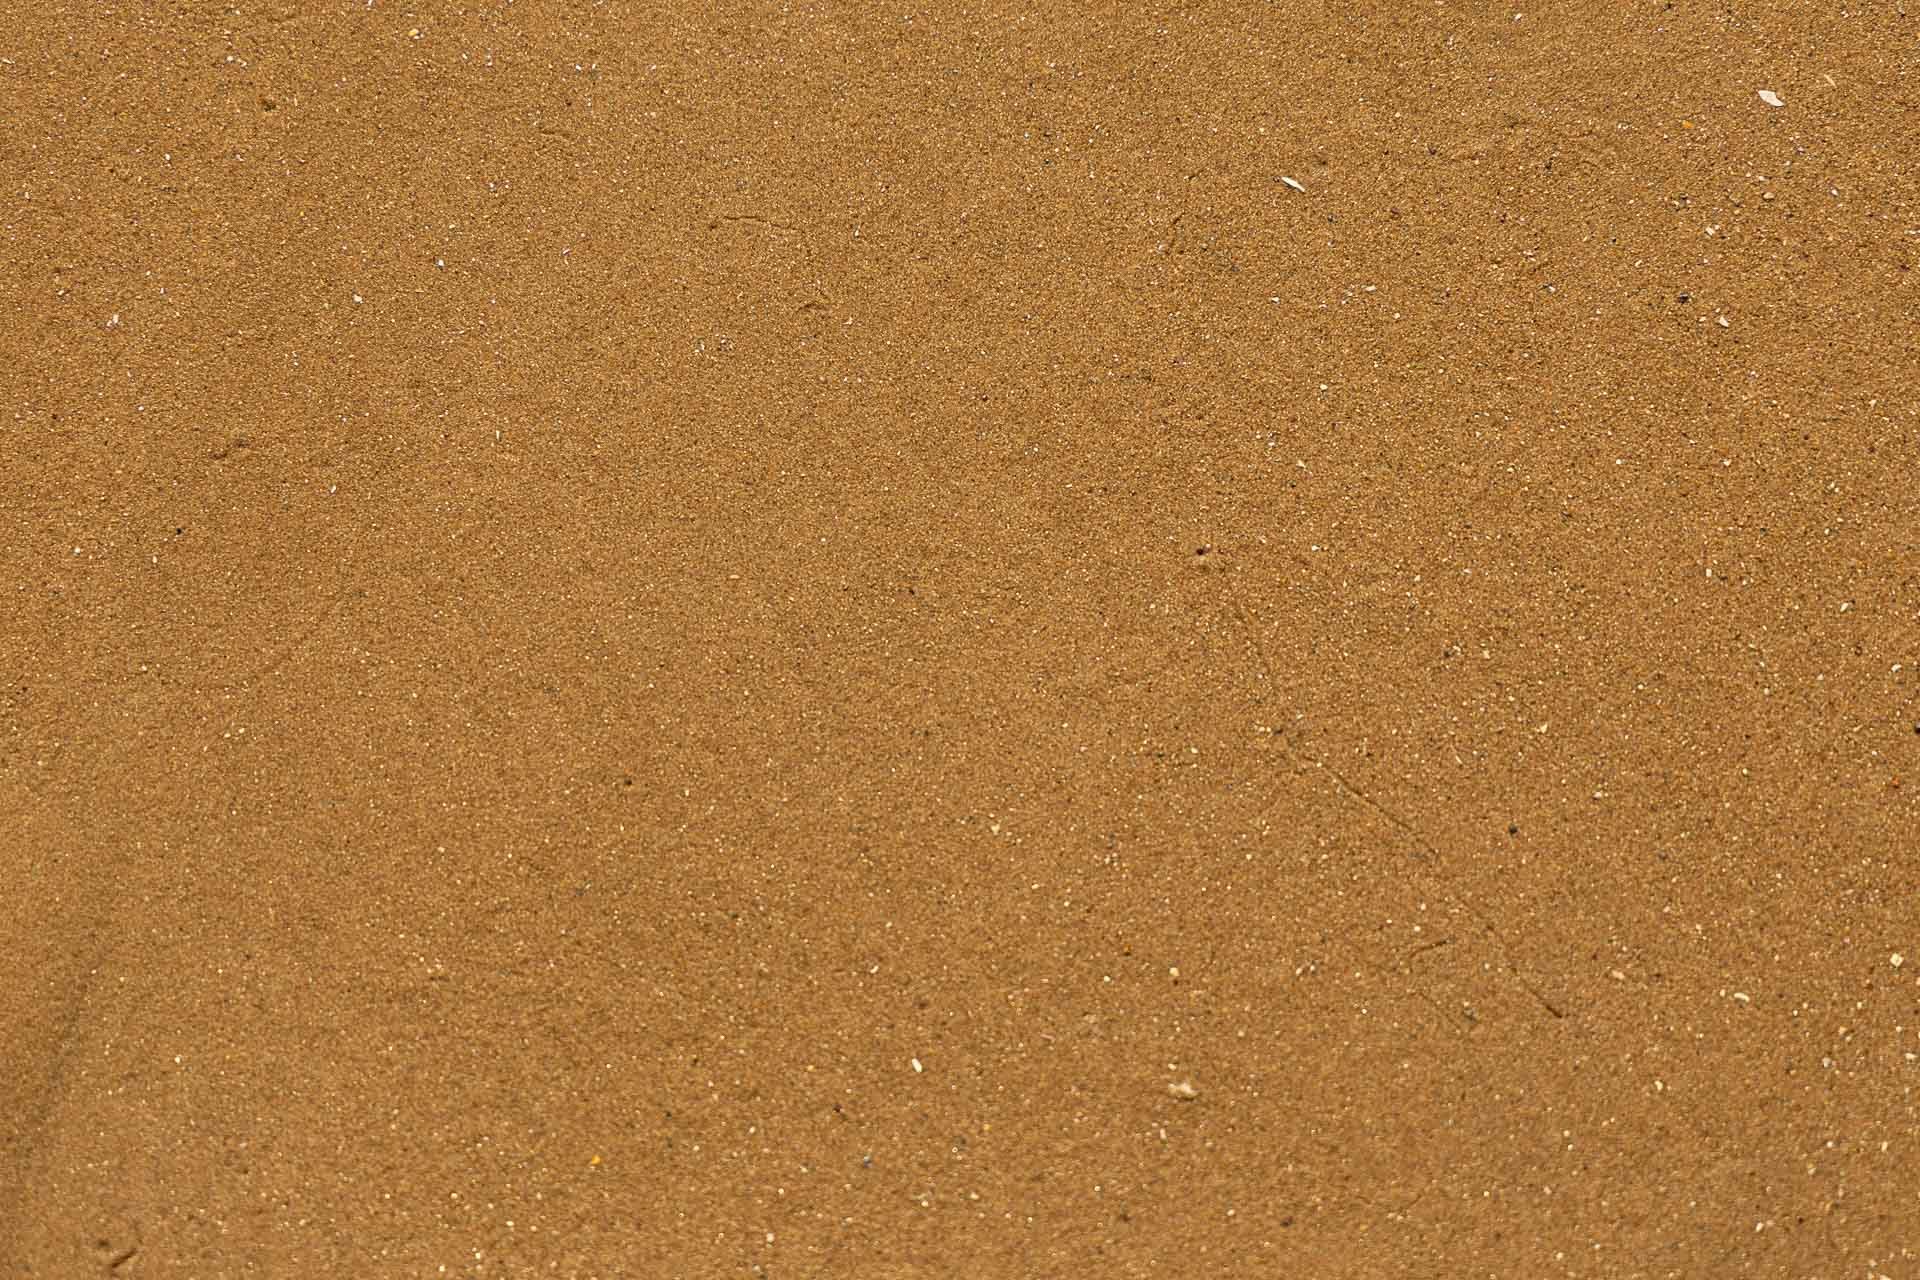
The sand
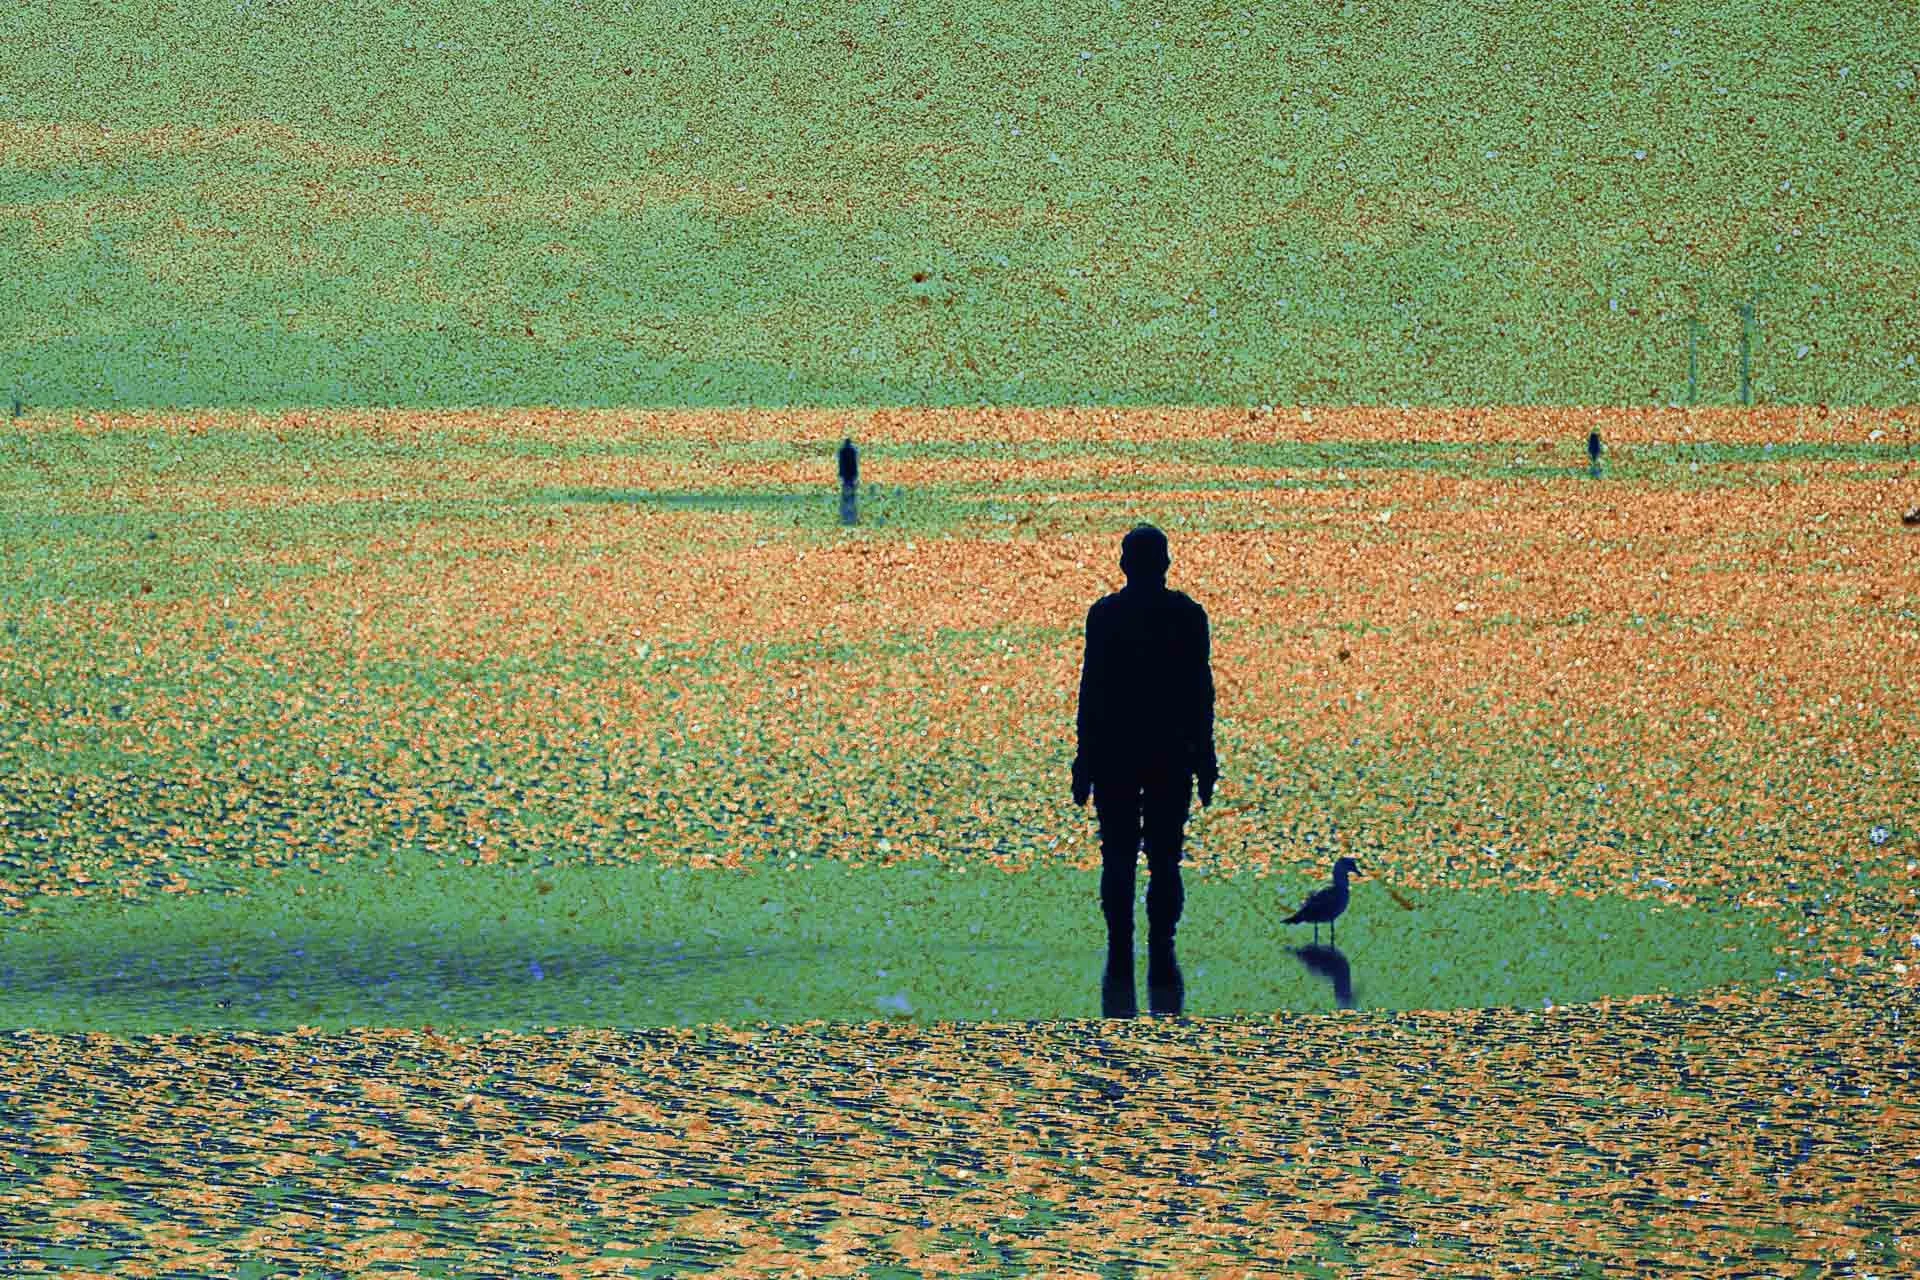
The finished multiple exposure image of Crosby beach using sand as a texture
Paths and Pavements: Look Down!
One of the easiest textures to find is quite literally the one you are standing on. Paths and pavements can make surprisingly effective textures, and something that looks completely ordinary as a photograph on its own can become an interesting layer when combined with another subject.
This is why I encourage you to look down while you are out photographing. We are often so focused on the obvious subject in front of us that we completely overlook the surfaces around us. The path beneath your feet might have exactly the right pattern, tonal variation or colour to transform another photograph, so every now and again simply point your camera towards the ground and see what you have got.
Because paths and pavements are rarely completely uniform, however, they can produce some rather odd results with Dark blend mode. I would normally experiment with Average mode in this situation, as it tends to blend the different layers together more evenly. As ever, though, I wouldn't choose a blend mode simply because someone tells you it is the 'right' one. Try one, look at the result and change it if you don't like it. Playing is how you discover combinations that you can use again.
The image here was created using the paving of the path I was standing on as the texture, combined with several images of flowers. The hard surface provides a lovely contrast to the softness of the flowers, becoming part of the overall texture rather than competing with the subject.
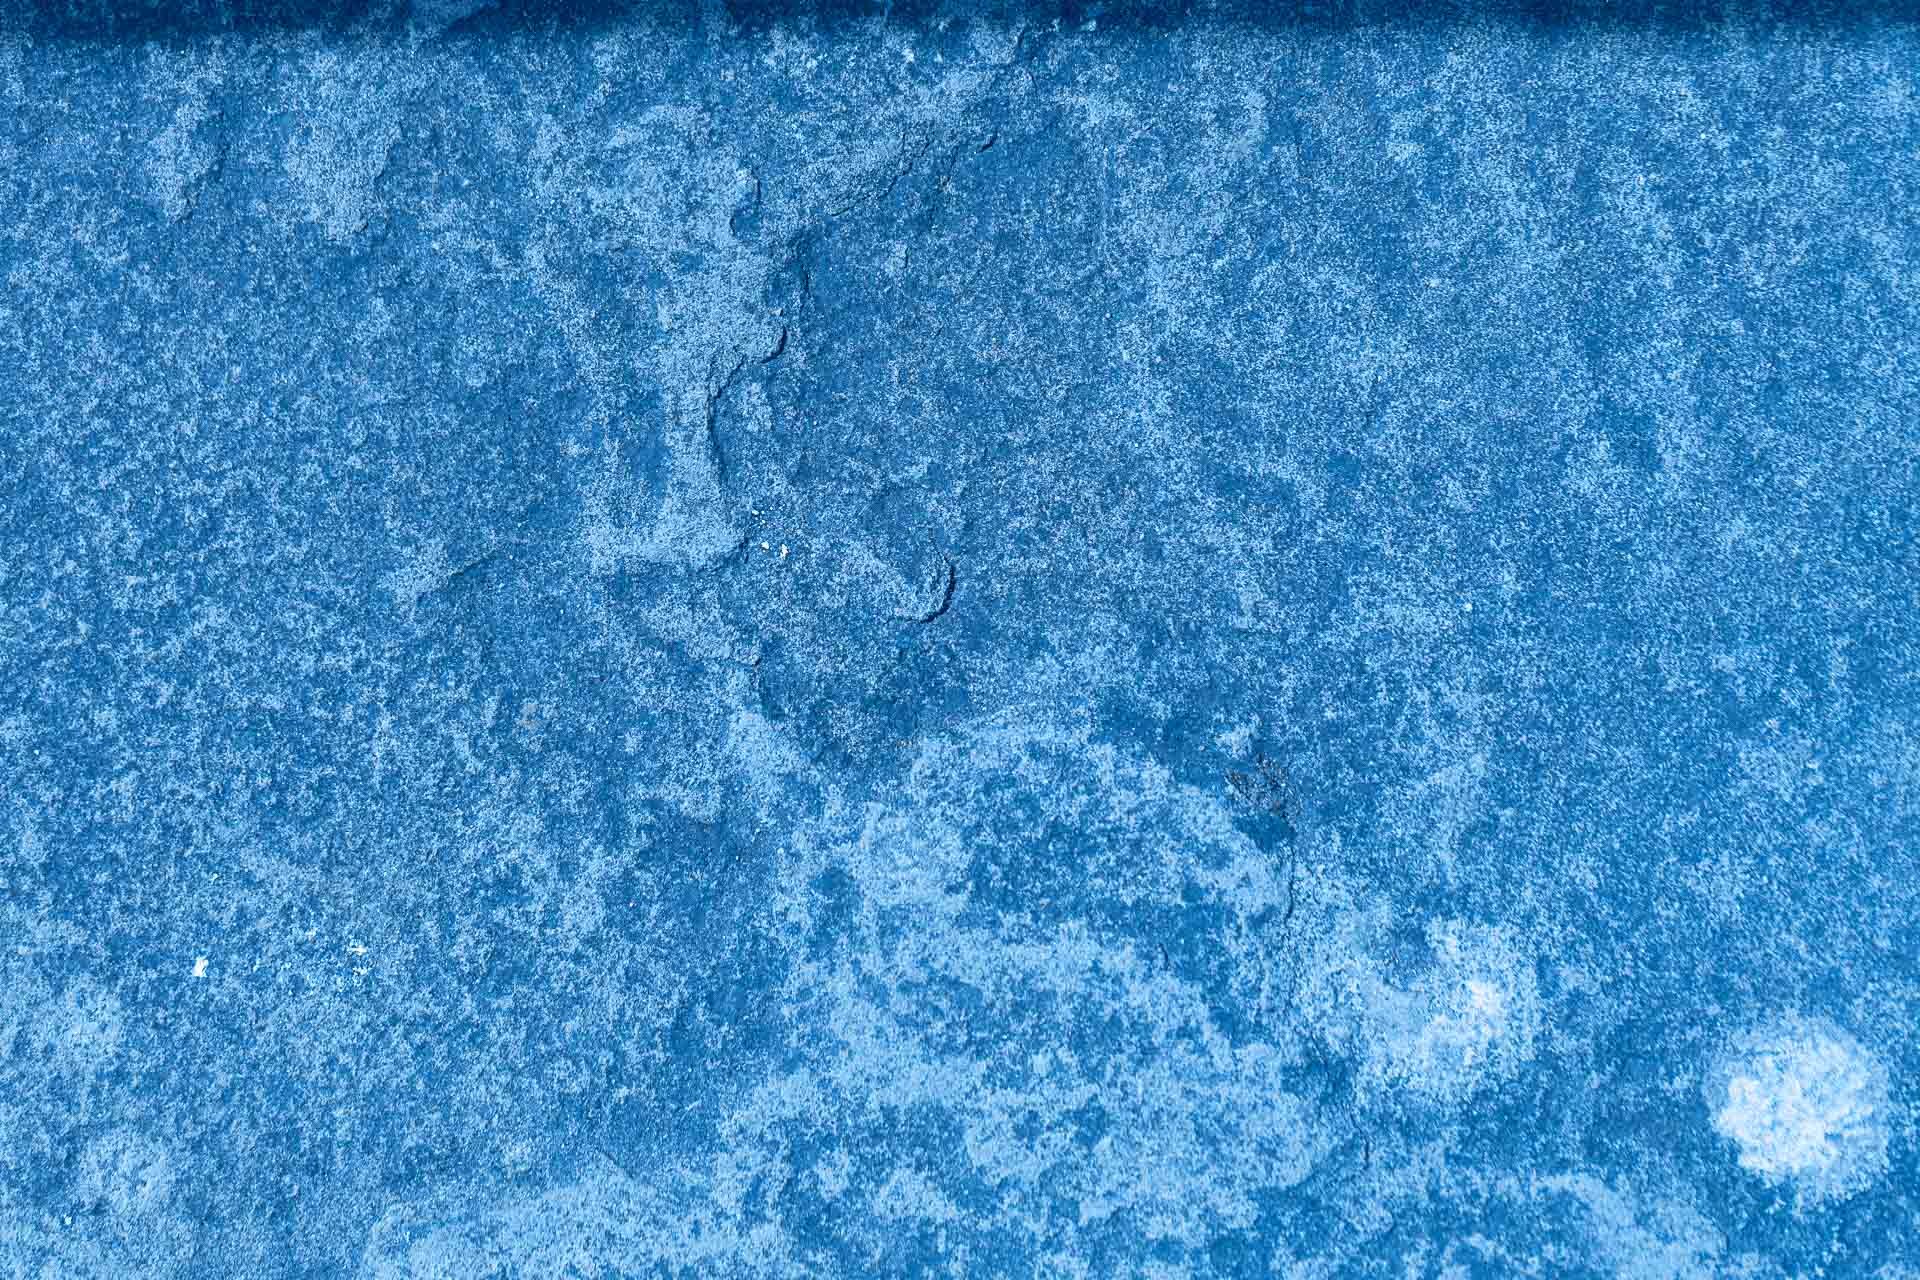
The pavement I was standing on
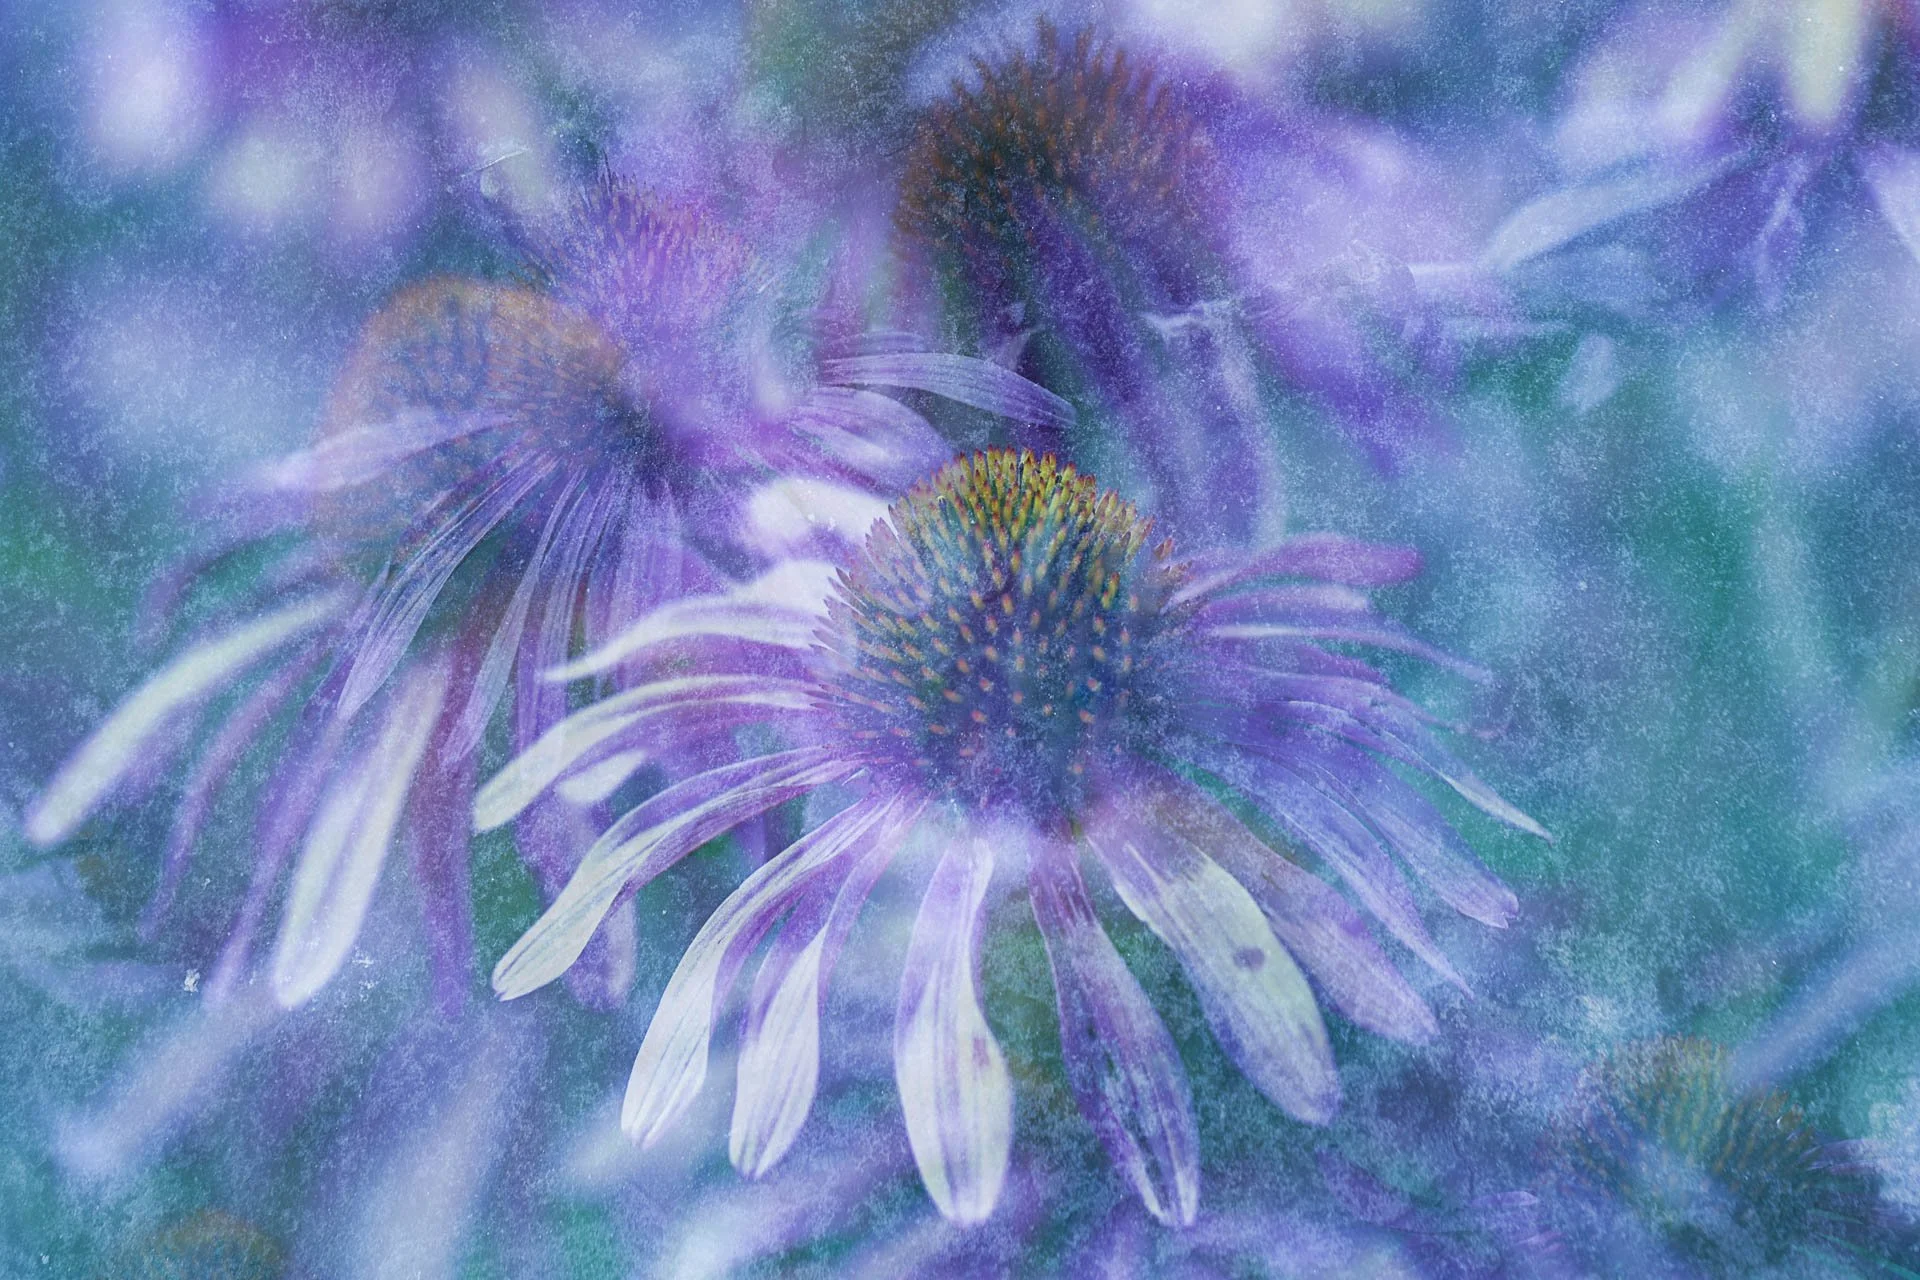
The final multiple exposure image incorporating the texture from the path.
Walls Can Soften an Image
I do enjoy a good wall texture in post-processing and, as you might imagine, I have many examples stored in my magic folder. Sometimes, though, you don't need to go searching through your files because the perfect texture is right in front of you.
Walls with a little bit of texture and variation tend to work particularly well. I have found that softer, weathered or whitewashed walls can be particularly effective. Pebbledash can be a little more challenging because the texture can be so strong that it takes over the image. Without the ability to vary the opacity of individual layers in-camera, a very busy texture can become rather dominant. That doesn't mean you should rule it out completely, though; different blend modes, colours and subjects could produce a completely different result. Never say never!
The example here was taken in Fuerteventura, where the original scene was quite contrasty. Adding the whitewashed wall as another exposure softened the scene and introduced a lovely tactile quality. The wall became less of a recognisable surface and more of an atmospheric layer, giving the finished image a softer, more dreamlike feel.

The wall as a texture
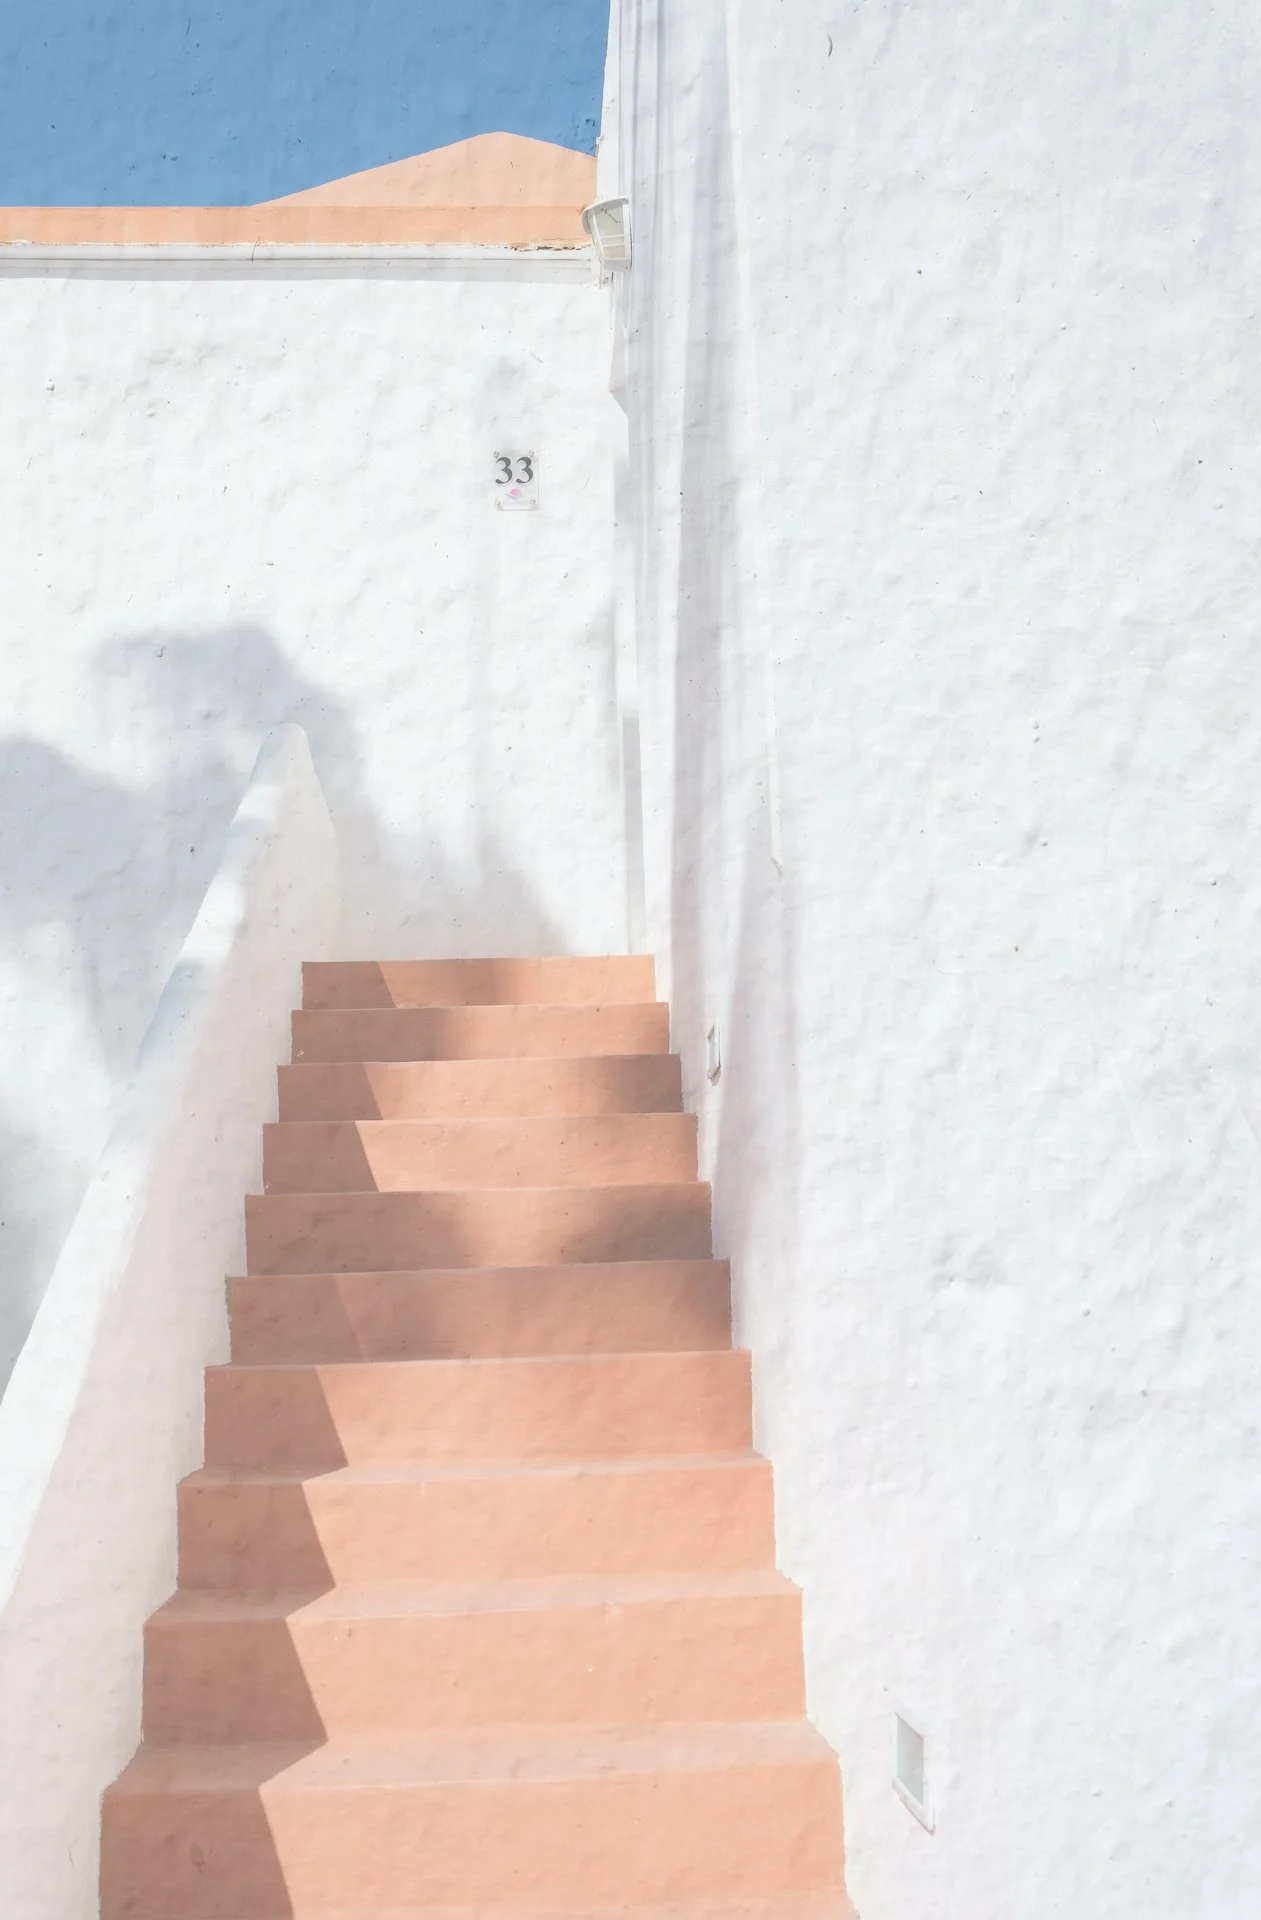
A multiple exposure using the wall as a texture
Bokeh: A Glinty Texture
Bokeh makes a fabulous texture, and I particularly like it because you can find it in so many unexpected places. When I talk about bokeh as a texture, I am thinking about anything that has those lovely little points of light or sparkle. It could be wet shingle on a beach, sparkles on a river, reflections on water or sunlight filtering through leaves in a woodland.
This is a rather weather-dependent texture because you need light for it to work, so it is one to make the most of when the sun decides to cooperate. To create your own bokeh, put your camera into manual focus and turn the focus ring until the points of light become large circles. Then choose the lowest f-stop available on your lens to create those lovely out-of-focus highlights.
If you can compose the bokeh exactly where you want it, then that's fantastic, but I often find this difficult because the light is dancing around all over the place. Sometimes it is easier to take the bokeh exposure first and then find a subject to combine it with. This also gives you the opportunity to experiment with where the subject appears within the final composition.
The bokeh in this example was created using sunlight on the wet shingle at West Pier on Brighton Beach. It wasn't a carefully planned texture; it was simply something I noticed while I was out with my camera. Try experimenting with Dark and Average modes to see which gives you the effect you prefer. You can always make adjustments in Photoshop afterwards, but the more you experiment in-camera, the better you become at anticipating what different combinations might produce.

A bokeh texture.
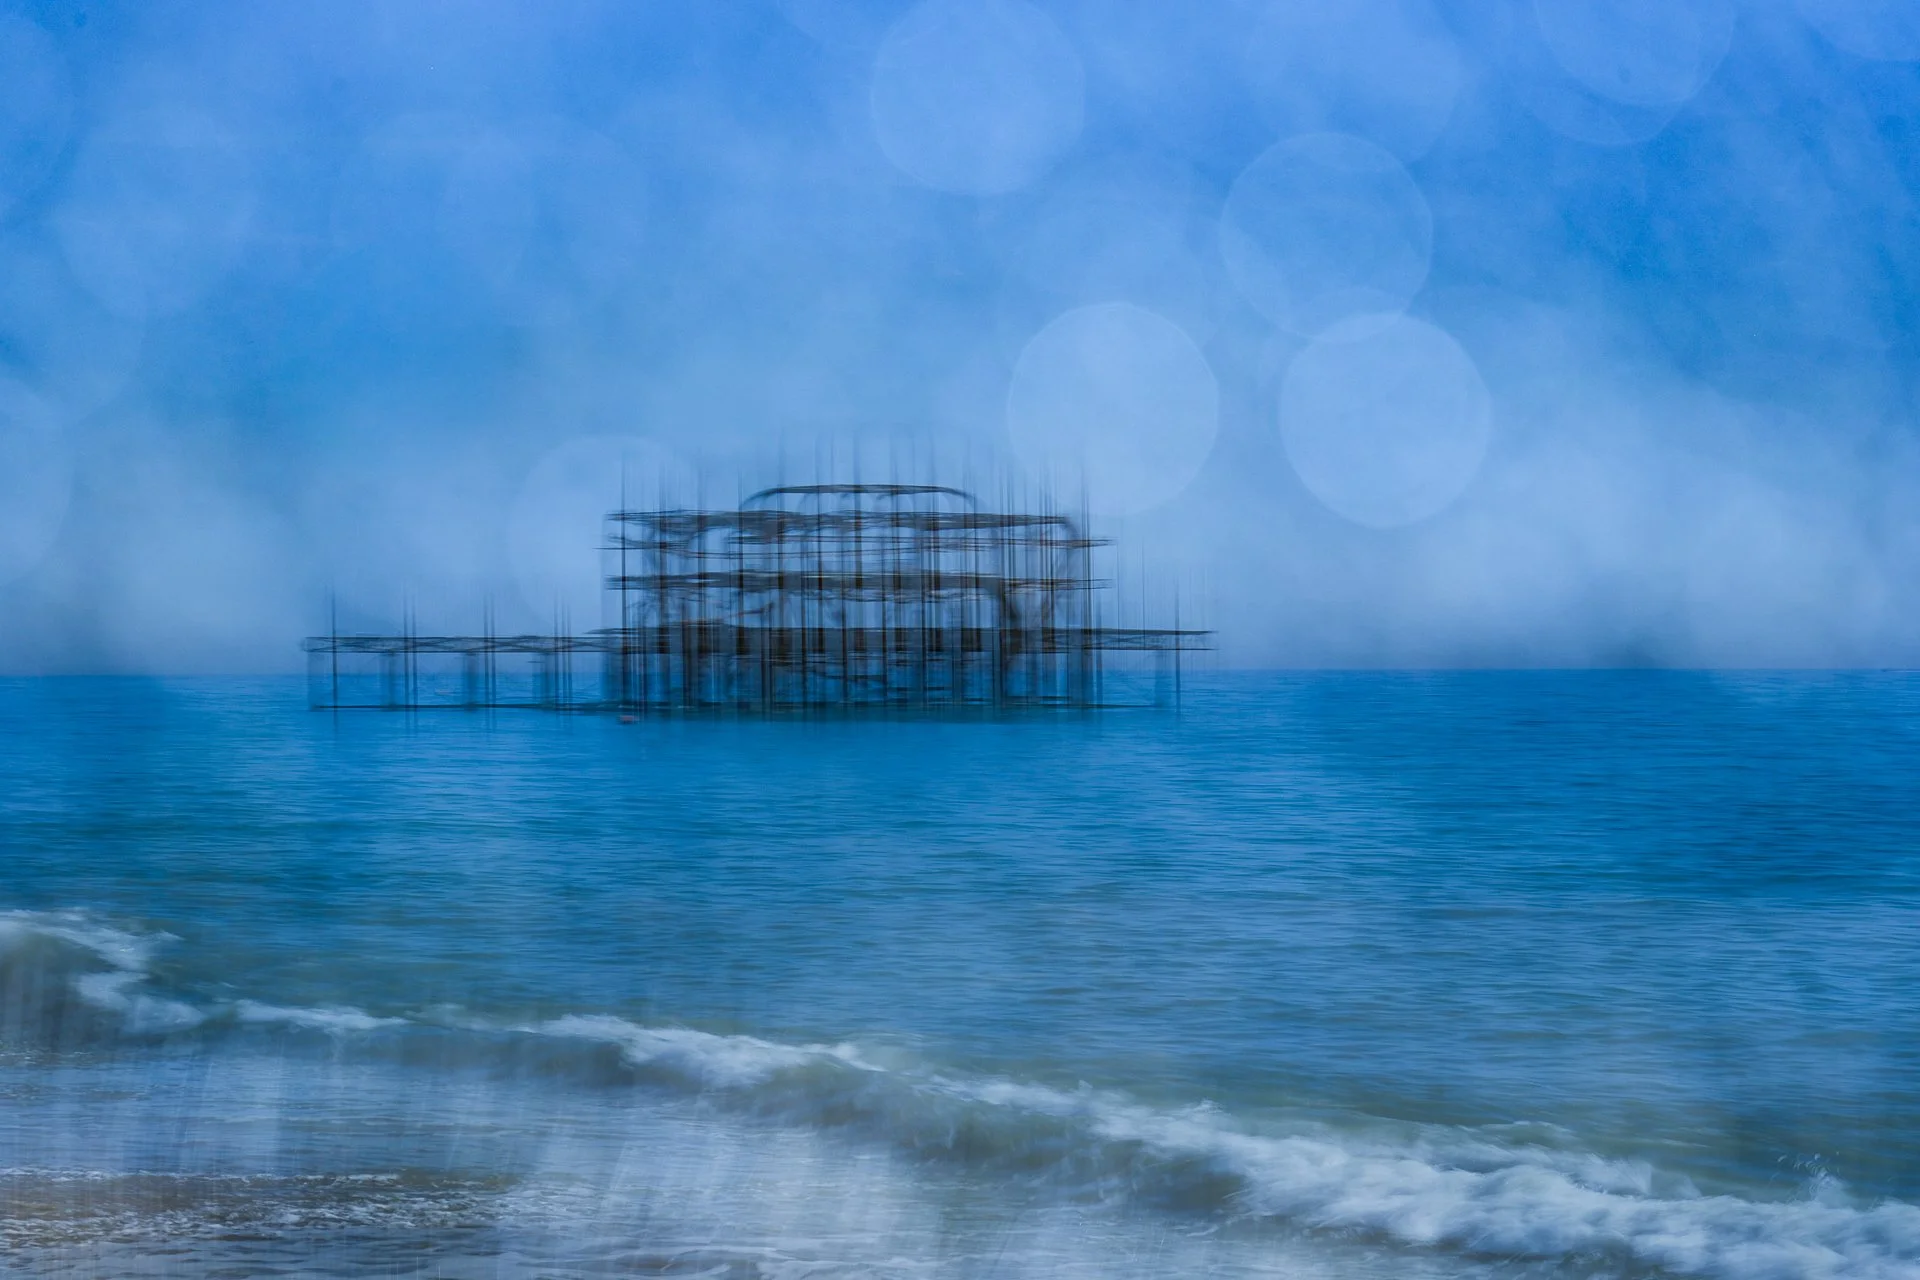
A multiple exposure image using bokeh as a texture
Start Seeing Textures Everywhere
The wonderful thing about using textures in in-camera multiple exposures is that it changes the way you look at the world around you. Instead of simply looking for the obvious photographic subject, you start noticing the surfaces, patterns, light and details that could become another layer in an image.
You don't necessarily need to go out specifically looking for textures. I tend to find them while I am already photographing something else, which is probably why my 'look down' approach works so well for me. At the beach, look at sand, shingle and reflections; in a woodland, notice bark, leaves and sunlight; in a city, look at paving, walls and windows. There are potential textures everywhere once you start looking for them.
Most importantly, don't worry about whether a texture looks beautiful on its own. Its job is to add something to another photograph, whether that is atmosphere, colour, context, contrast or simply another layer of visual interest. That rather ordinary photograph of a pavement might just turn out to be exactly what your next multiple exposure needs.
My biggest piece of advice is to experiment rather than trying to work out exactly what should happen before you press the shutter. Try different blend modes, change your white balance, alter the order in which you take your exposures and combine textures with subjects that you wouldn't normally put together. After all - the wonderful nature of digital photography allows us all this playing without the cost of extra film!
You may find that Dark mode works beautifully with sand but not with your particular pavement texture, or that Average gives you the soft, dreamy effect you were looking for with a wall. You might discover that your favourite bokeh comes from somewhere completely unexpected. This is the beauty of multiple exposure photography: there isn't one correct answer.
So next time you are out with your camera, remember to look around you for those extra layers. Look down at the path, notice the walls and reflections, and pay attention to what the light is doing. Take photographs even if you don't know what you are going to use them for. You might just find that they become some of the most useful images in your creative collection.
And if you don't already have that texture folder on your computer, I really do recommend making one. Floors, ceilings, carpets, peeling paint, walls, sand and all those other slightly random photographs that you couldn't resist taking will eventually come in very handy!

Bokeh from shingle in a multiple exposure blue hour image
Keep Exploring Multiple Exposure Photography
I would love to know what textures you have used in your own multiple exposures, particularly if you have found something that I haven't mentioned here. Leave a comment below and share your ideas, because you might give someone else (and me!!) an idea for a texture they have never considered.
If you would like somewhere to share your images, ask questions and be inspired by other photographers experimenting with multiple exposures, come and join the Multiple Exposure Hub on Facebook. It is a lovely place to share ideas, discover new techniques and see what other photographers are creating.
And, if this has made you want to explore multiple exposure photography further, do have a look at the Wilde Academy’s courses and workshops. Whether you are just starting to explore in-camera multiple exposures or want to develop your creative skills further, there are lots of opportunities to learn, experiment and create alongside other photographers.