How Good Is the Fujifilm X-E5 for Multiple Exposure Photography?
Introduction
When I got my hands on the Fujifilm X-E5, I was immediately interested in finding out how it would perform for multiple exposure (obviously!)
The X-E5 is a beautifully compact mirrorless camera with a 40.2-megapixel X-Trans CMOS 5 HR APS-C sensor, X-Processor 5 and, for the first time in the X-E series, five-axis in-body image stabilisation offering up to 7 stops of compensation in the centre of the frame. It weighs approximately 445g including the battery and memory card, making it a remarkably small package for a camera with this level of specification.
You can find a full review of all the camera's functions on the SheClicks website HERE, but I want to concentrate on how it worked for me when using it specifically for multiple exposure photography.
My first impression?
It's tiny.
I don't just mean small; it is teeny tiny! I tested it with the Fujifilm 23mm lens, which is also beautifully compact, and the whole setup could easily sit in my pocket. That immediately made me think about how handy this could be as an everyday creative camera.
My phone does have a multiple exposure function, but it doesn't give me anywhere near as many controls to change between exposures. The X-E5 therefore feels like an excellent option to take on an ad hoc walk or out for the evening when I don't necessarily want to carry a larger camera.
So, how did it perform with some of my usual multiple exposure techniques?
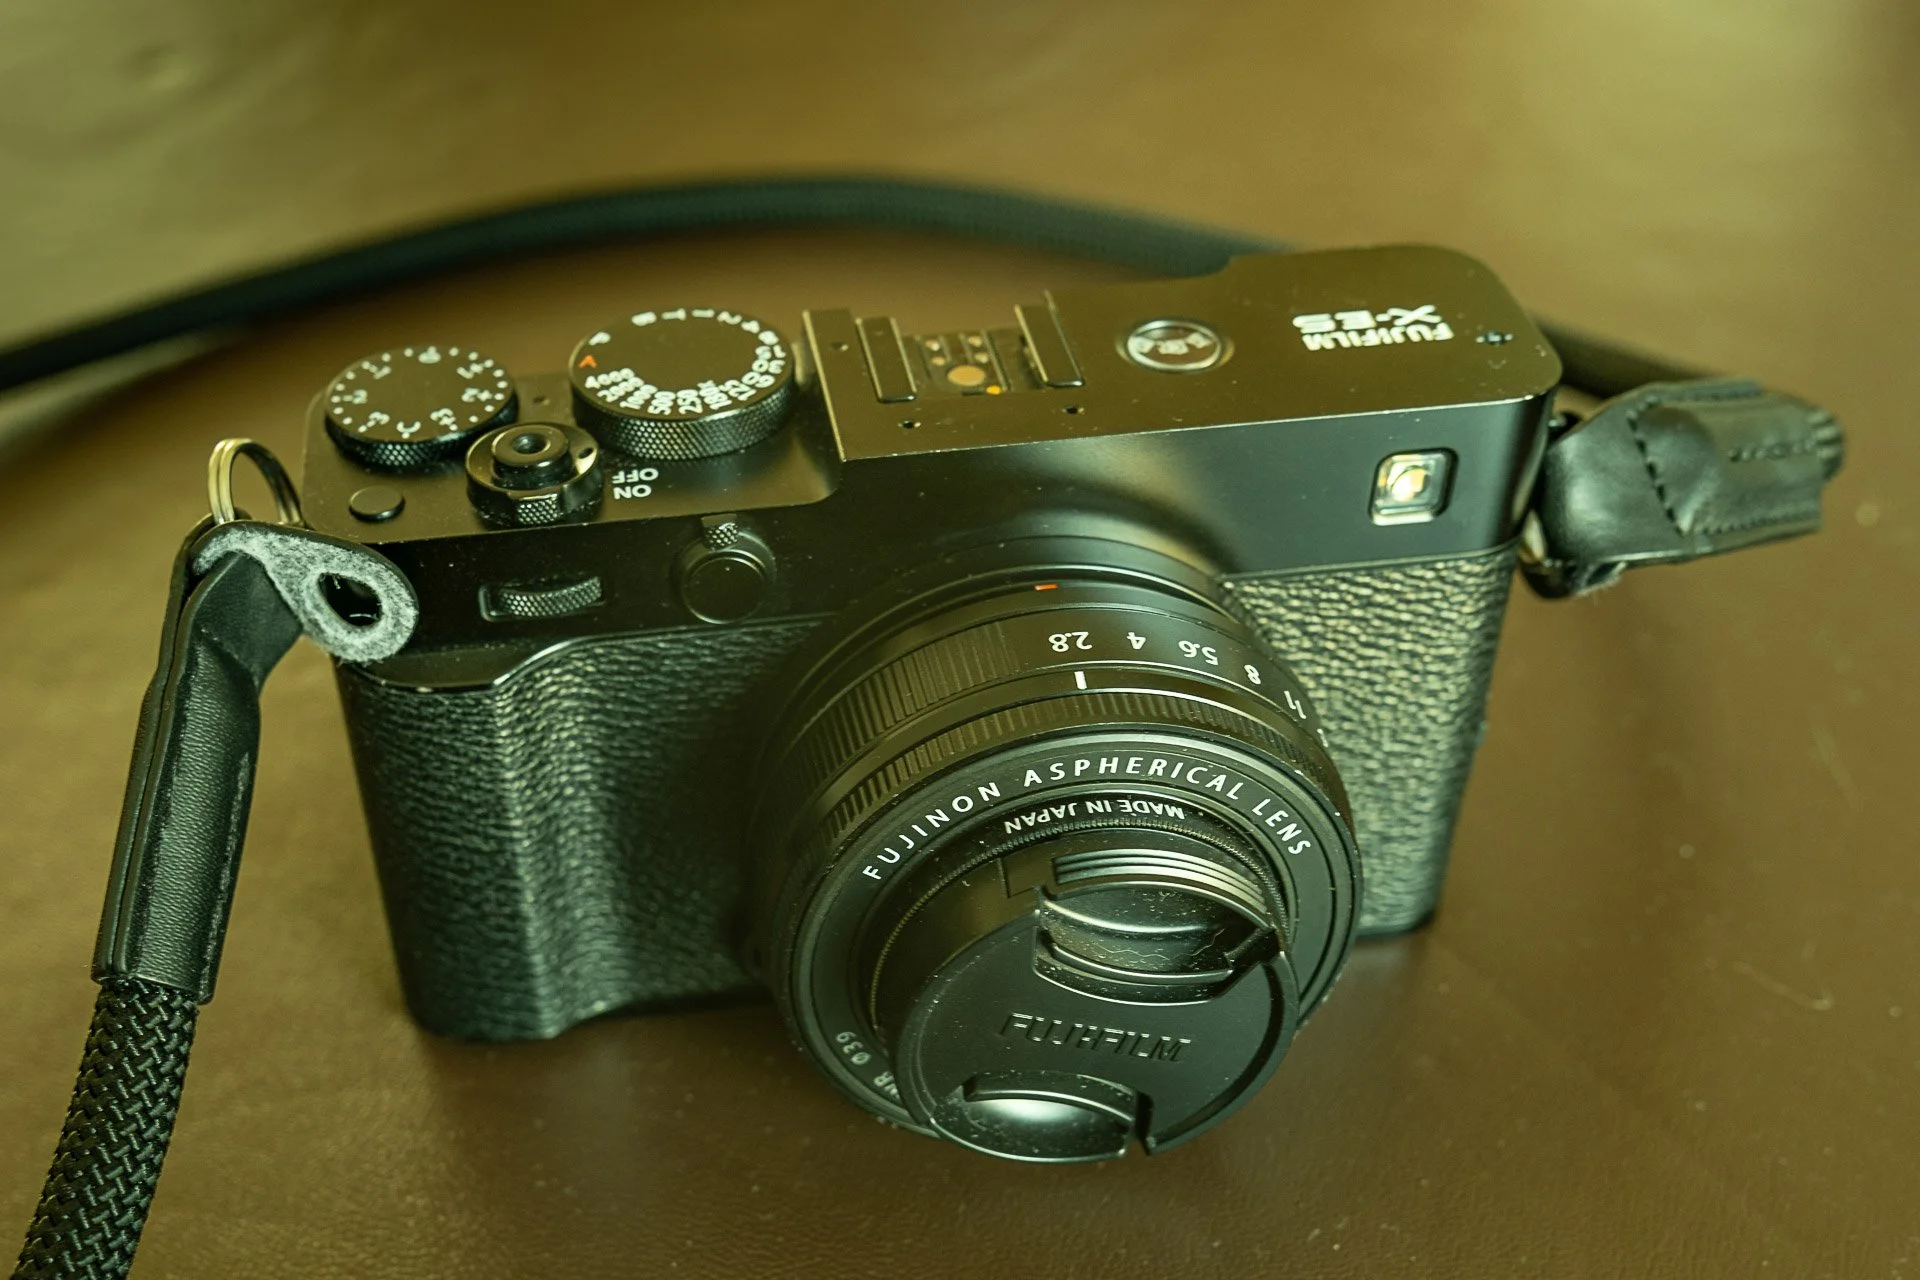
Fujifilm X-E5
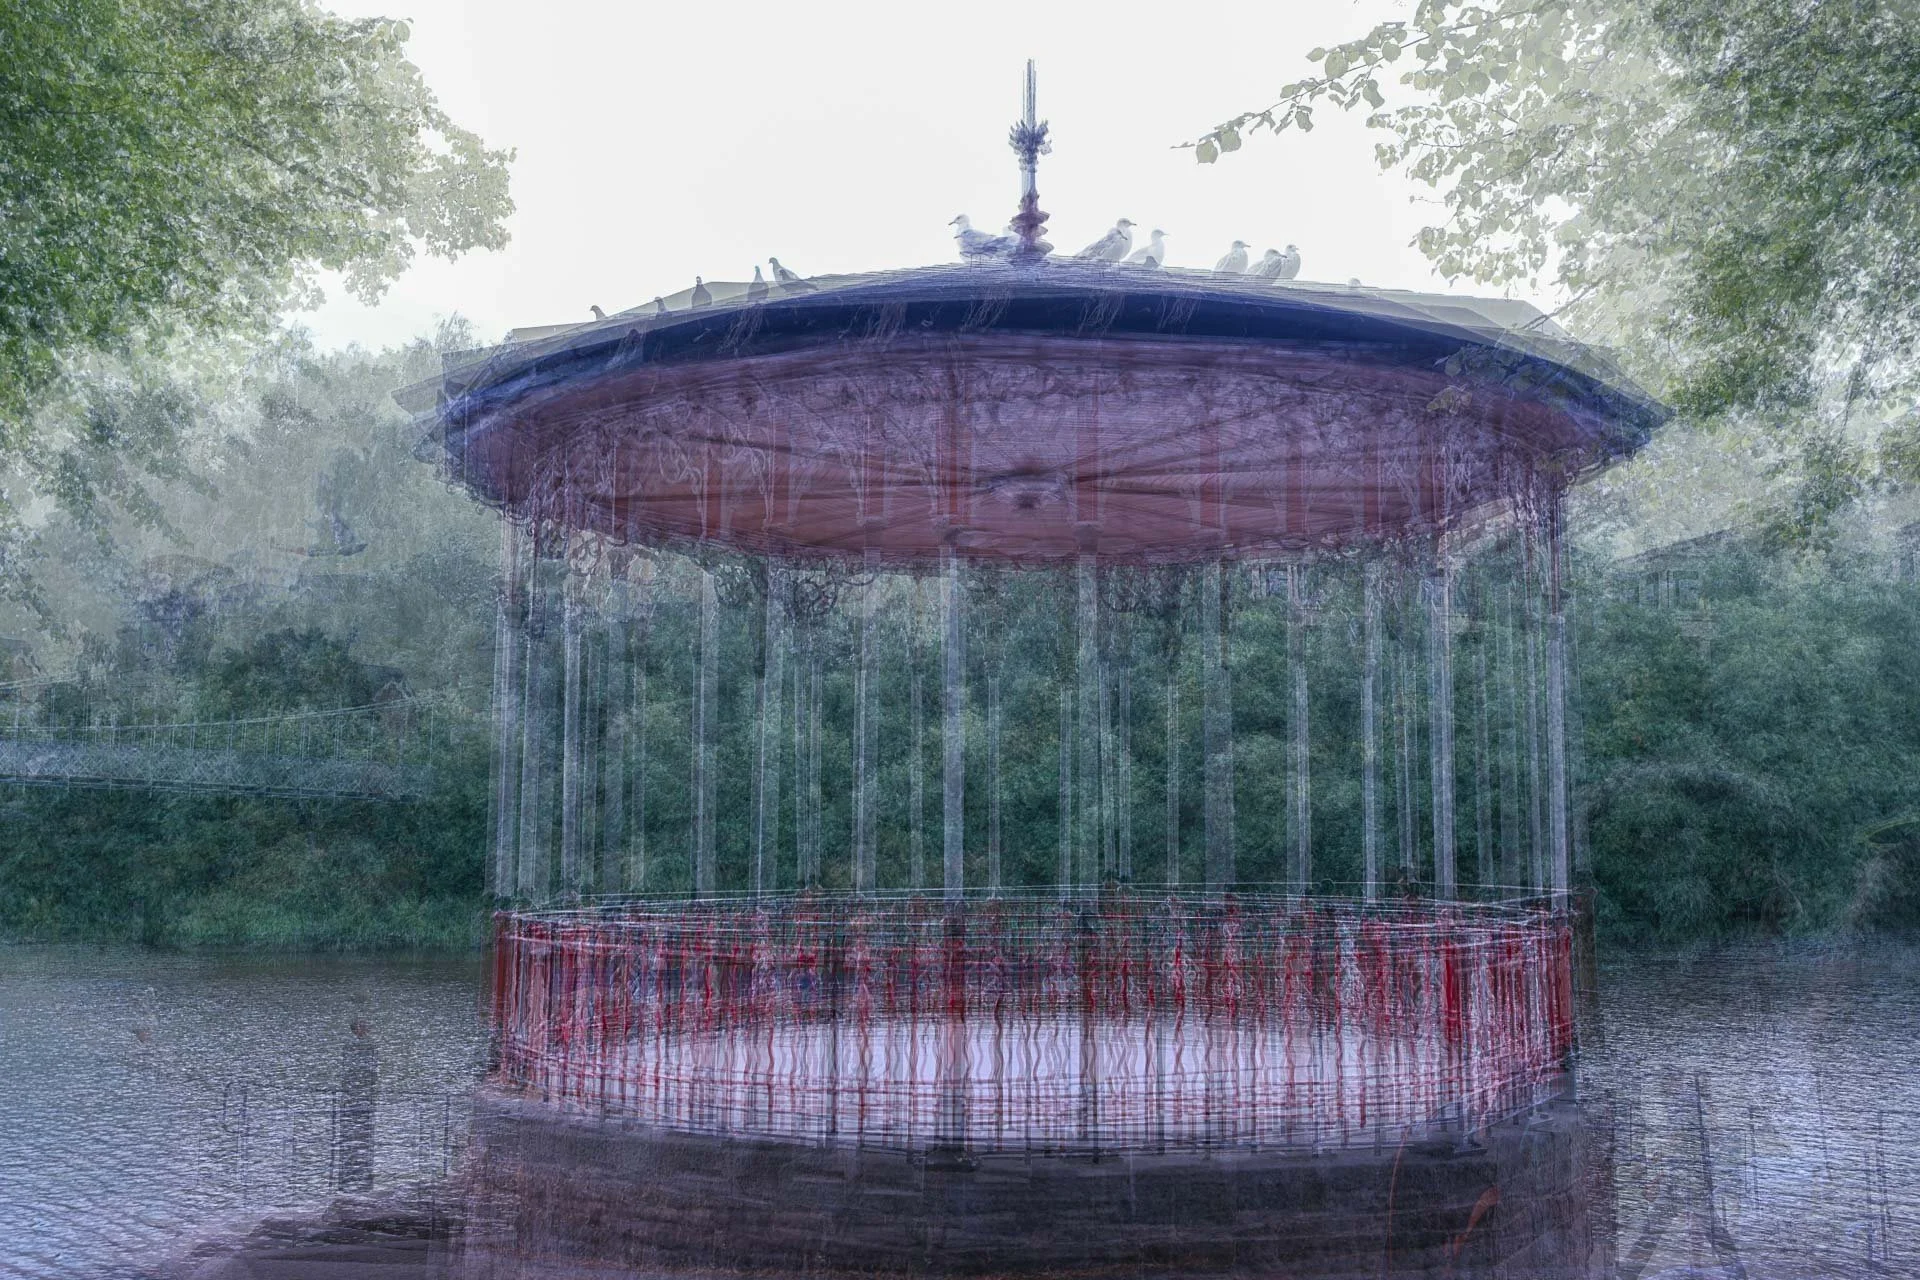
A Multiple Exposure Image of a bandstand taken with the fujifilm X-E5
Impressionistic in the round
Inspired by the incredible photographer Pep Ventosa, this technique involves moving around a subject and lining up one aspect of the picture in each exposure. It works particularly well with subjects such as trees, especially where the subject is fairly symmetrical and has a reasonably uniform background.
For the image above, I used the bandstand, with a line of trees behind the river, these worked really well as a backdrop.
The X-E5's viewfinder is very small and positioned on the right-hand side of the camera, so I wondered how easy it would be to line up each exposure. However, because the camera is so light, it doesn't feel unbalanced, and I found it surprisingly easy to use.
This image was created entirely in camera, with no Photoshop intervention afterwards, and lining up the individual exposures wasn't a problem at all.
That was a very encouraging start!
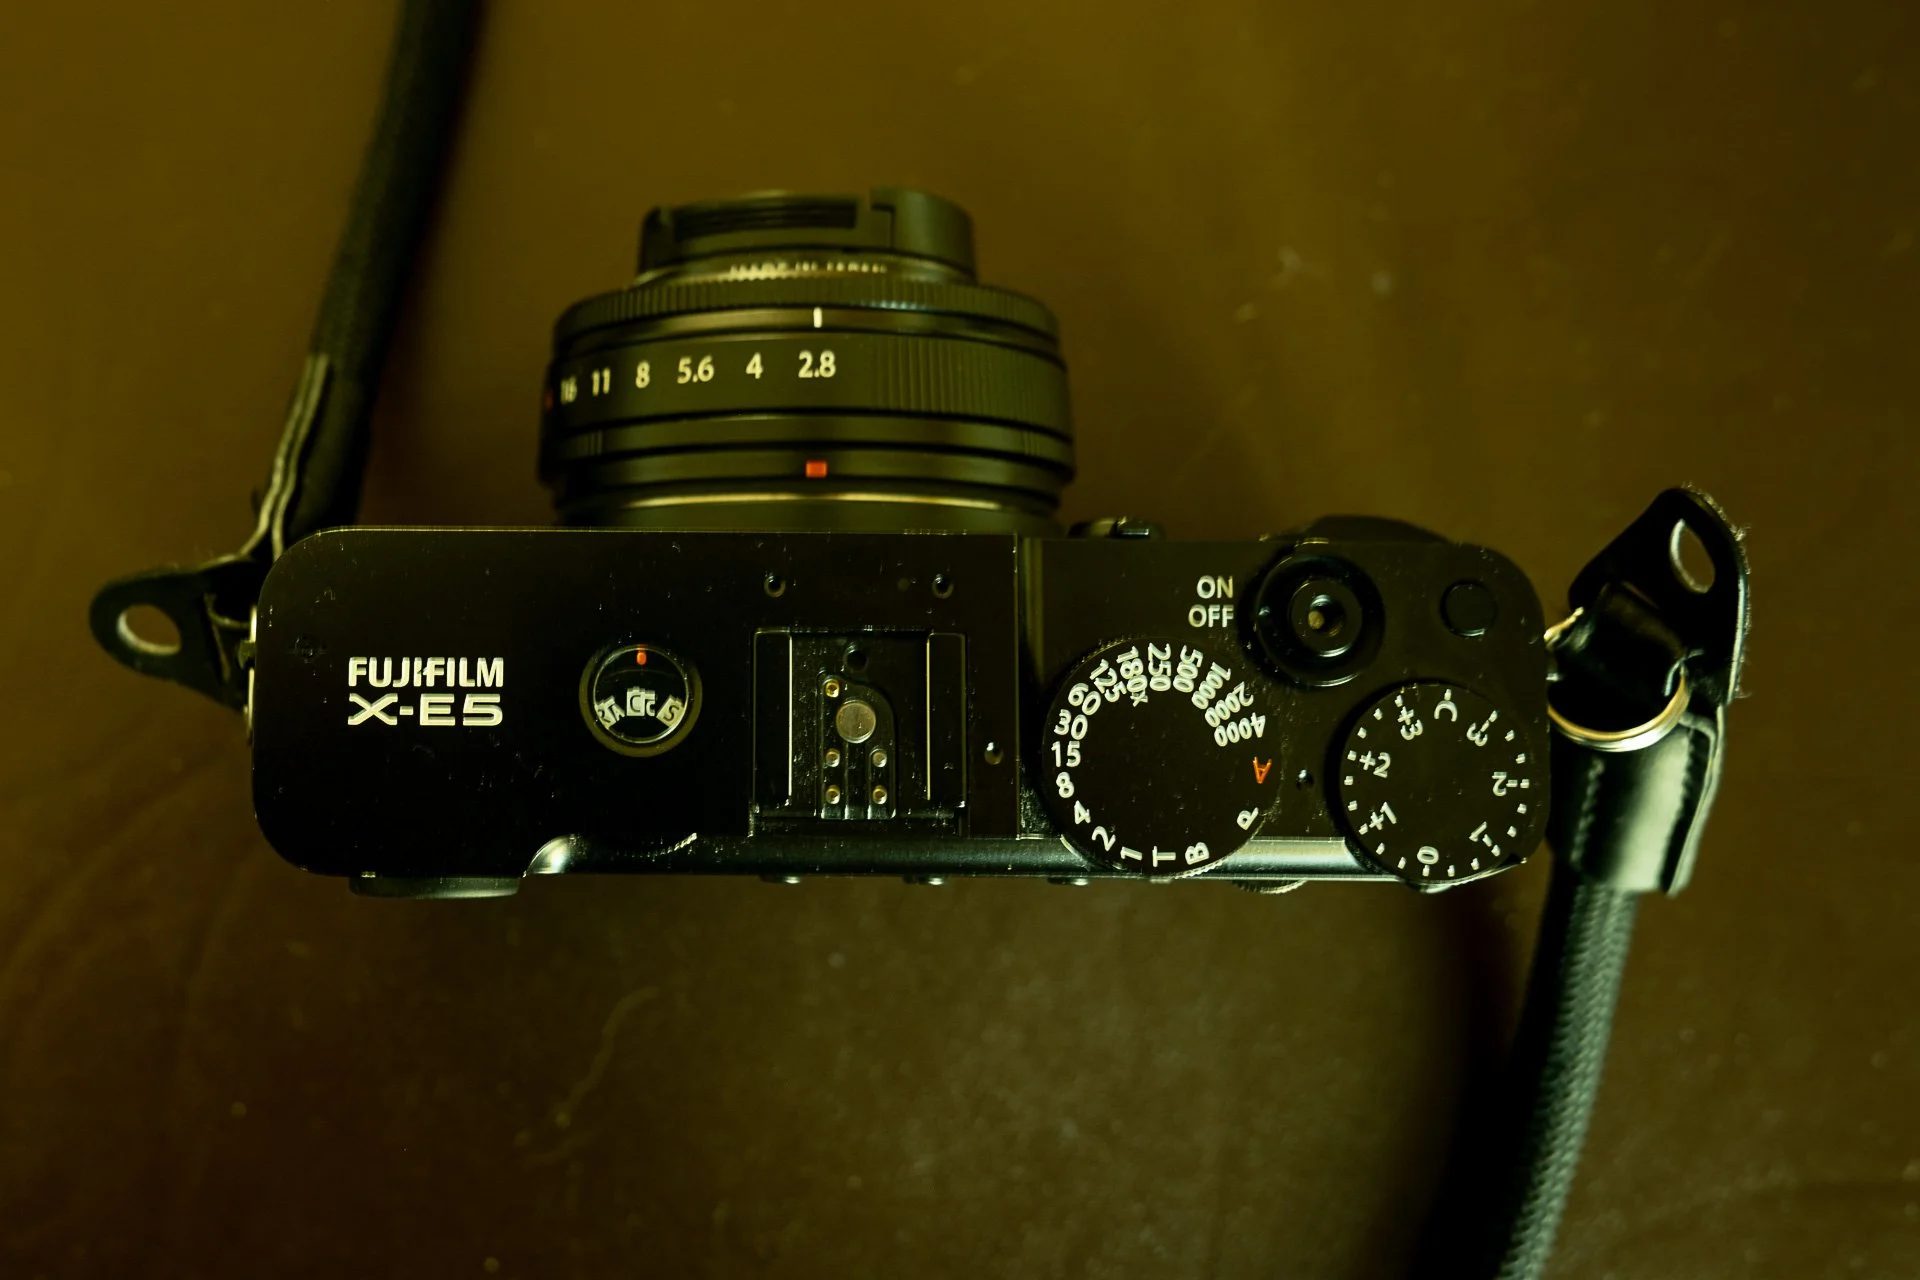
The film simulation dial on the Fujifilm X-E5
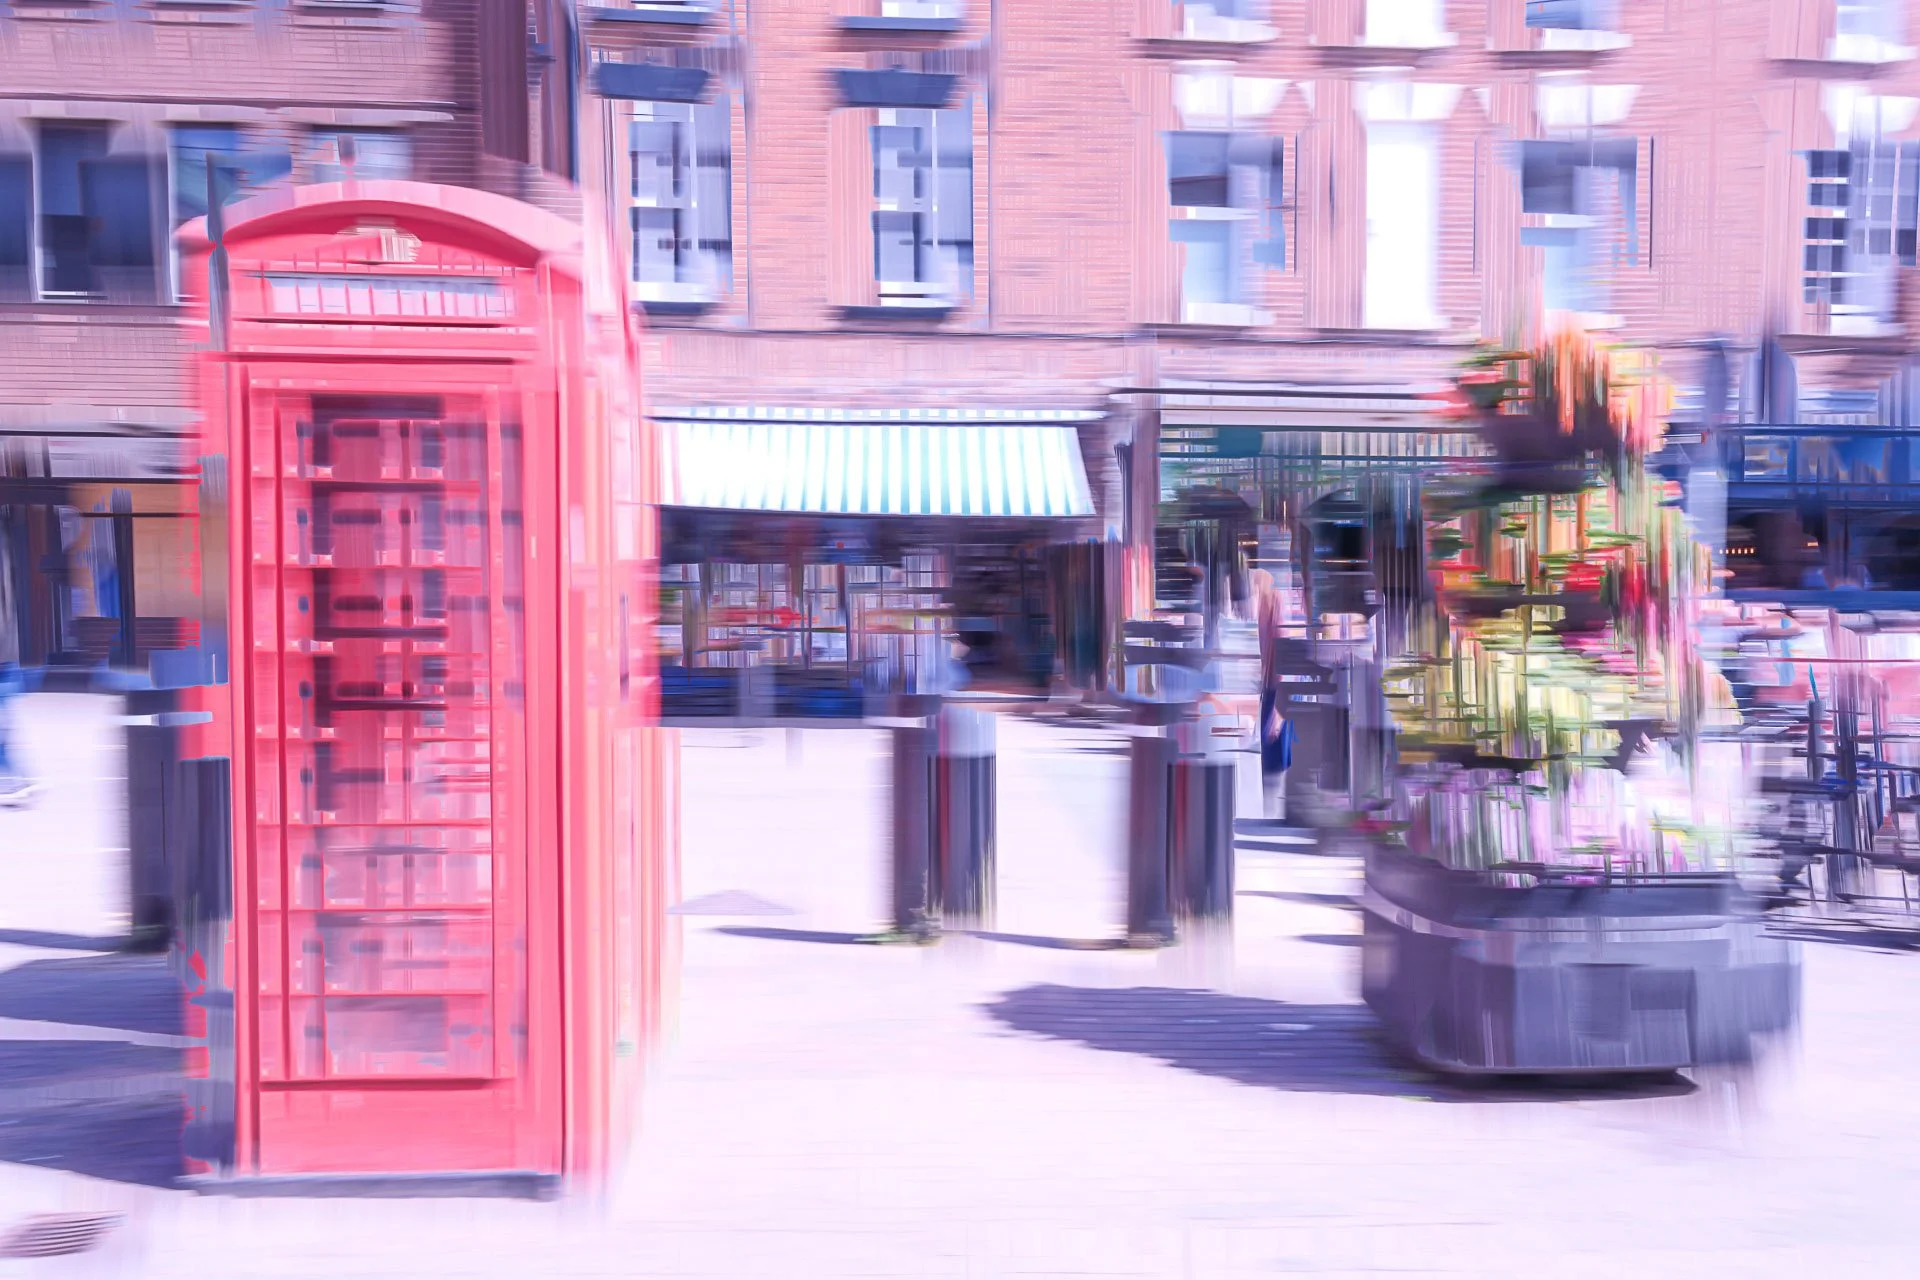
The effect of dark mode on a street scene in Chester. Taken with the Fujifilm X-E5.
Blend modes
The X-E5 has four different blend modes: Additive, Average, Bright and Dark. This gives you lots of opportunities to experiment with different subjects, colours and movement. The image above was created using Dark mode.
One of the things I particularly liked about the X-E5 is the way the controls are arranged. The drive mode button is separate from the main menu, so once you've set the camera to multiple exposure, it is very easy to access the blend mode options. This makes experimenting really straightforward when you're out photographing. You can try a subject in one blend mode, change it and immediately see what happens in another without having to dig through complicated menus.
The same applies to Fujifilm's Film Simulation system. Film Simulations are Fujifilm's in-camera colour profiles, inspired by the company's long history of photographic film, and they allow you to change the colour and tonal character of your images. These are accessed via a dial on the top of the camera, so changing between Film Simulations halfway through a multiple exposure is incredibly easy. I often combine black and white and colour exposures, and being able to make that change so quickly is a real advantage.
It encourages experimentation, which is exactly what I want from a camera for creative photography.
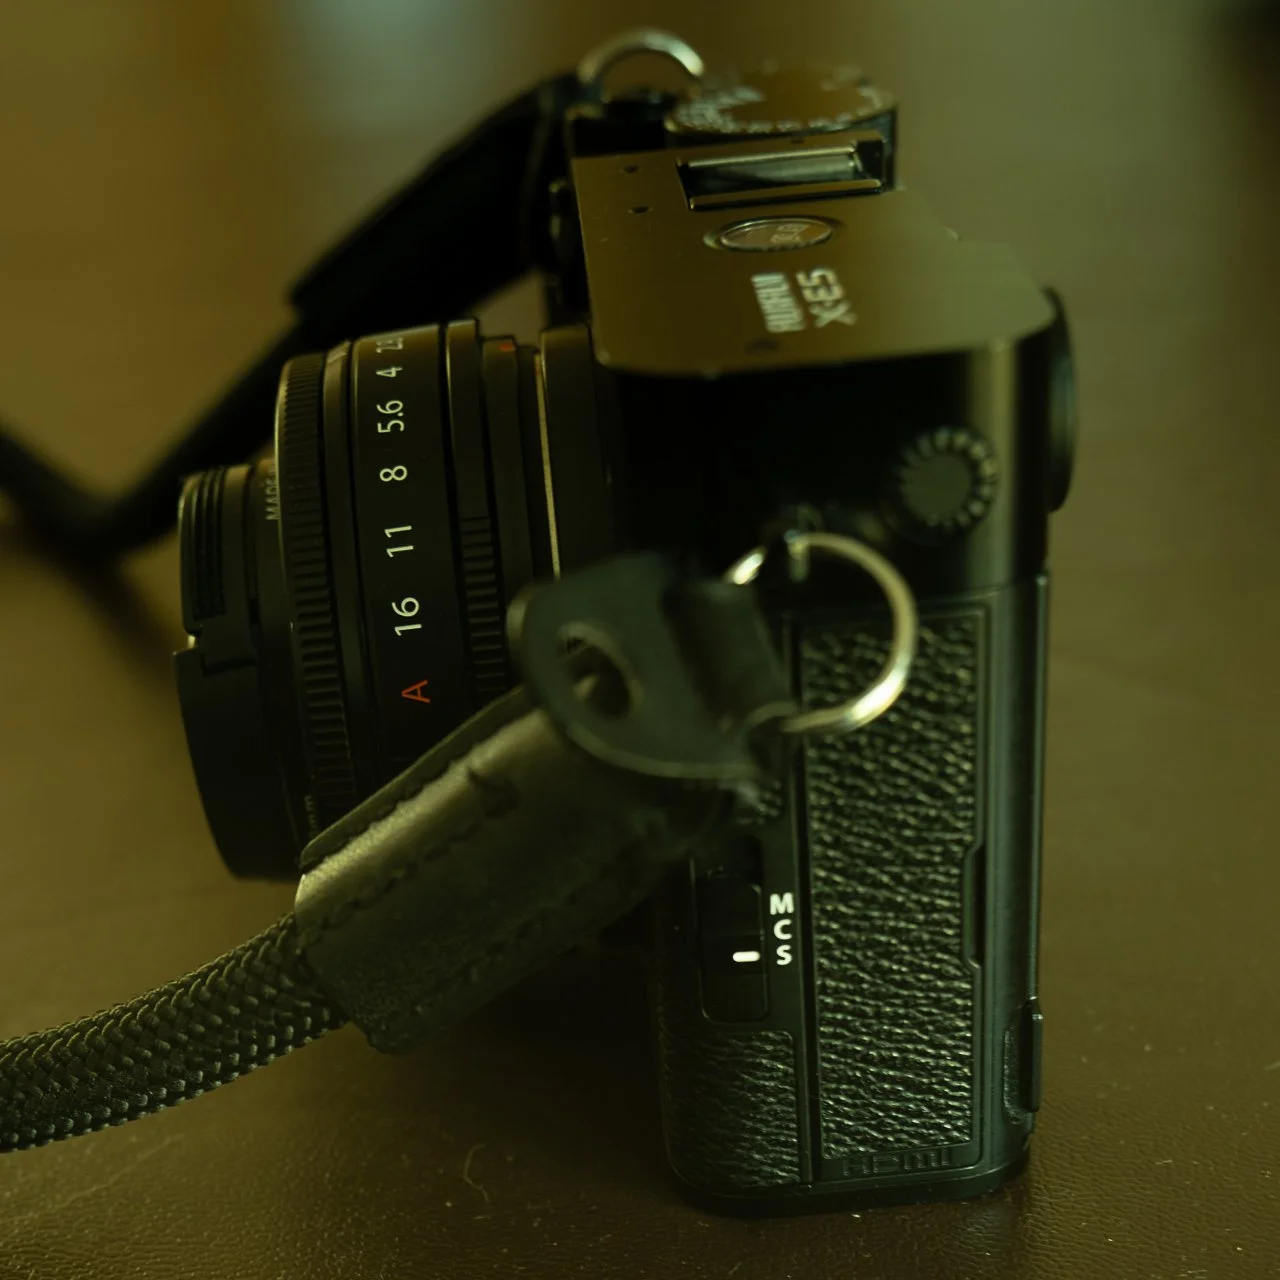
The focus slider on the Fujifilm X-E5

A Multiple Exposure image of St Pauls Cathedral using in focus and out of focus on the Fujifilm X-E5
Focus
I often change the focus between exposures, particularly when combining an in-focus exposure with one that is deliberately out of focus.
The switch between automatic and manual focus on the X-E5 is on the side of the camera and is very easy to reach. I could even find it without taking the viewfinder away from my eye, which I really liked.
The image above combines St Paul's Cathedral with out-of-focus water sparkles from the Thames, creating a bokeh effect. It is a technique I use a lot and one that can sometimes be surprisingly fiddly when changing between autofocus and manual focus.
On the X-E5, it was simple.
For multiple exposure photography, where you are often changing something between every exposure, having controls that are quick and intuitive makes a big difference.
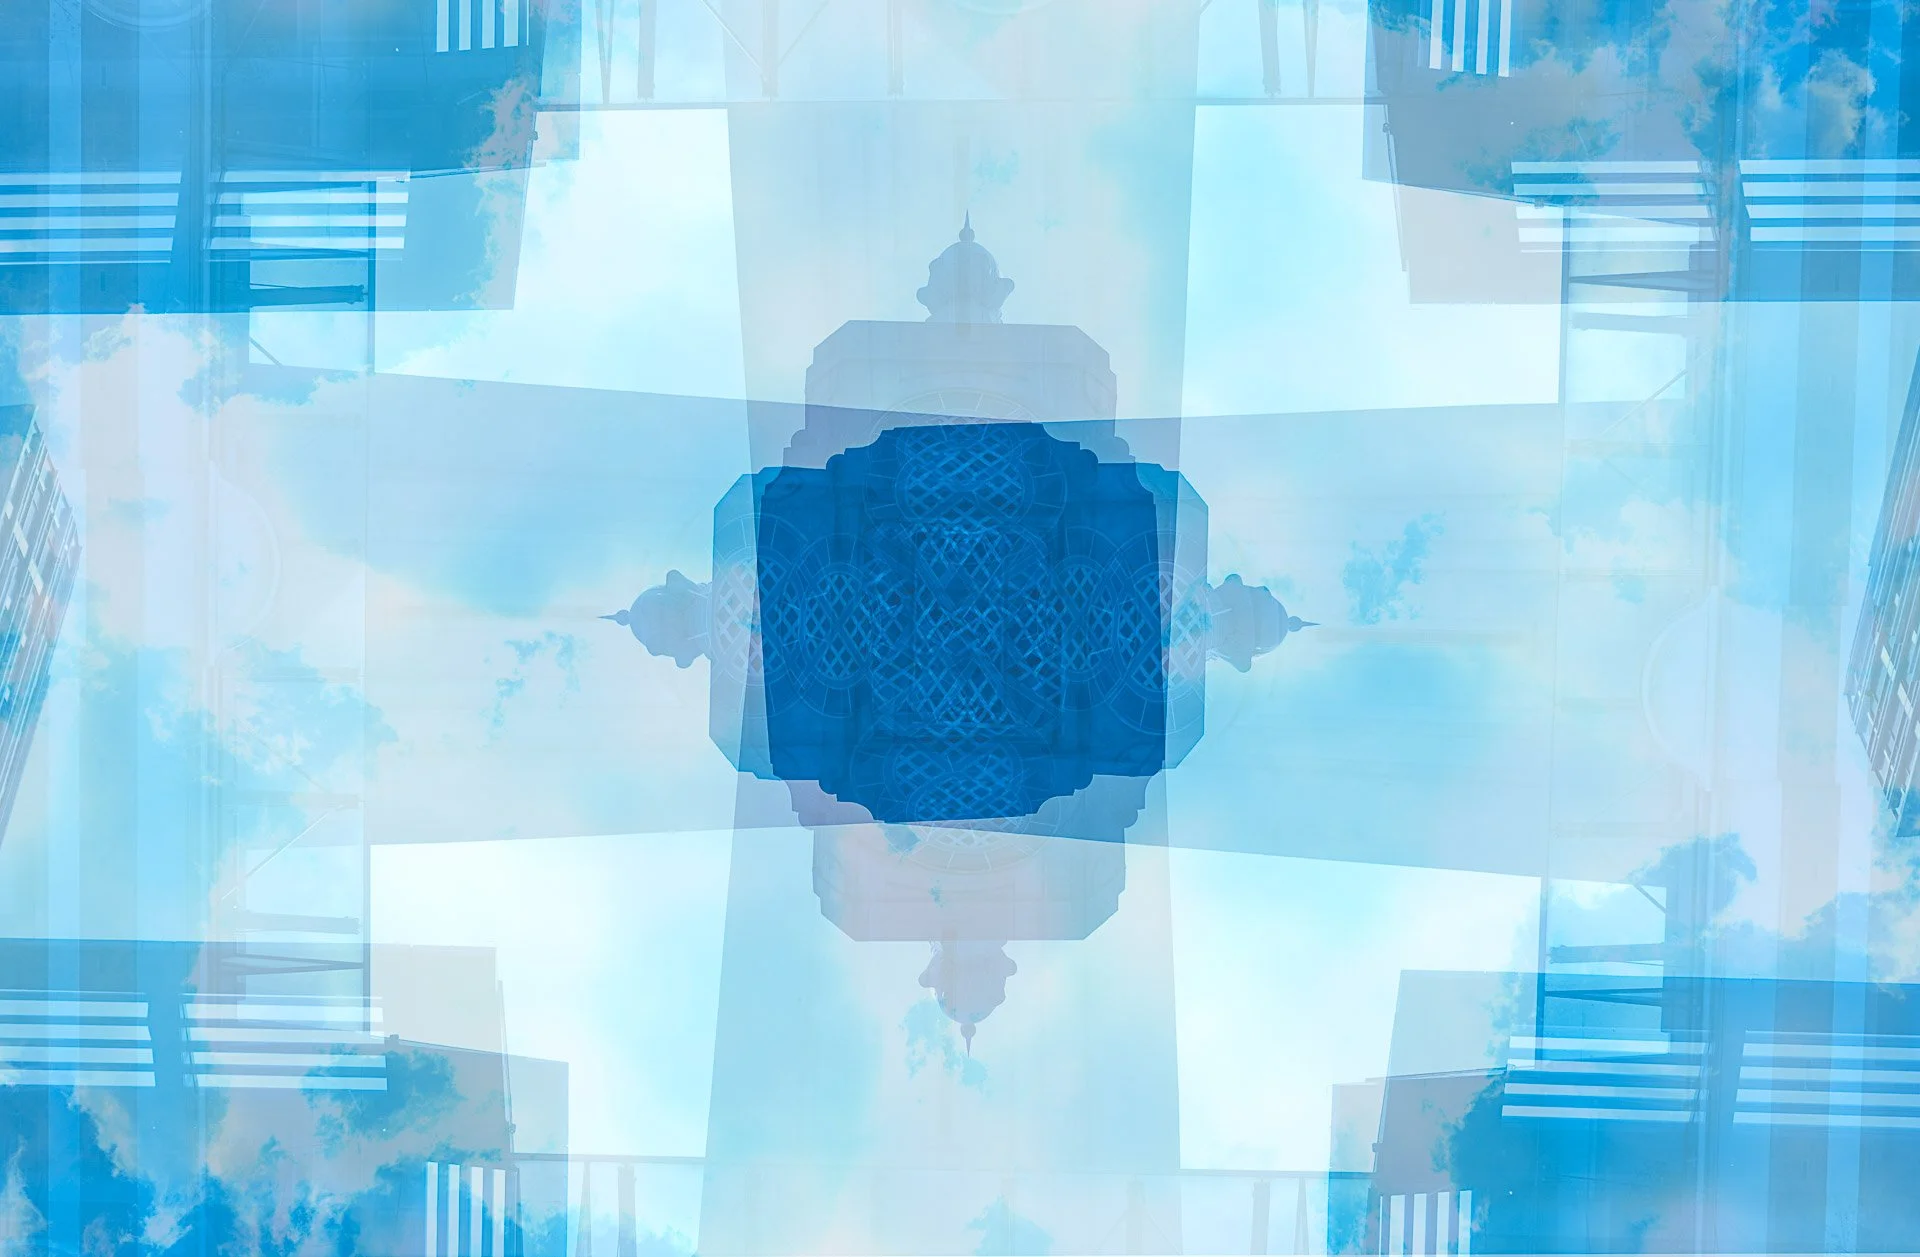
Multiple Exposure image of the Oxo tower on London’s South Bank. Taken with the Fujifilm X-E5.
Taking different angles
Another technique I use frequently involves turning the camera upside down or rotating it through 90 degrees between exposures, creating an image from four different viewpoints.
With the X-E5 being so small and light, this was really easy to do. Again, I had wondered whether the small viewfinder or its position on the right-hand side might make this more difficult, but it was surprisingly straightforward.
The only challenge was finding the shutter button when shooting upside down - but that is something I struggle with on other camera models too!
The image above of the Oxo Tower on London's South Bank was created using all four angles.
I also like the Fujifilm's system of asking after each exposure whether you want to retake, take another or save and exit. This is particularly useful for creative work because you can change your mind halfway through a composition. Perhaps you decide that you need another exposure, or maybe the image is already finished and you don't want to risk adding anything else.
Having that choice at every stage makes the process feel very flexible.

A multiple exposure image of London’s skyscrapers taken with the Fujifilm X-E5
Crosshatch
I couldn't finish testing the camera without trying my favourite technique: crosshatching.
For this I used my Fujifilm 16-55mm lens because I didn't have ND filters small enough for the 23mm lens. I did wonder whether the X-E5 might be too light to control the movement required for the technique, but actually it was very easy to control. I was able to vary the speed of movement quite easily, allowing me to change the amount of movement and therefore the final appearance of each ICM exposure.
This was another reminder that the small size of the camera isn't necessarily a disadvantage for creative photography. In some ways, being lightweight actually makes moving the camera easier.
For a more in-depth explanation of how I create crosshatch multiple exposures, please click HERE.
Are there any downsides?
Overall, I think the X-E5 performs extremely well for multiple exposure photography, but there are a few things worth considering.
Firstly, the camera body isn't weather sealed. This isn't a problem for most everyday photography, but as someone who is quite happy to photograph in a downpour - yes, I really do photograph in them! - it is something I would need to bear in mind.
It also uses a different battery from the X-T series, so if you already own an X-T5, for example, you'll need to buy a separate battery set for the X-E5.
Finally, it doesn't have the facility to take an image from your SD card and use that as the starting image for a multiple exposure. For the way I normally work this isn't a major issue, but it is worth knowing if this is an important part of your workflow.
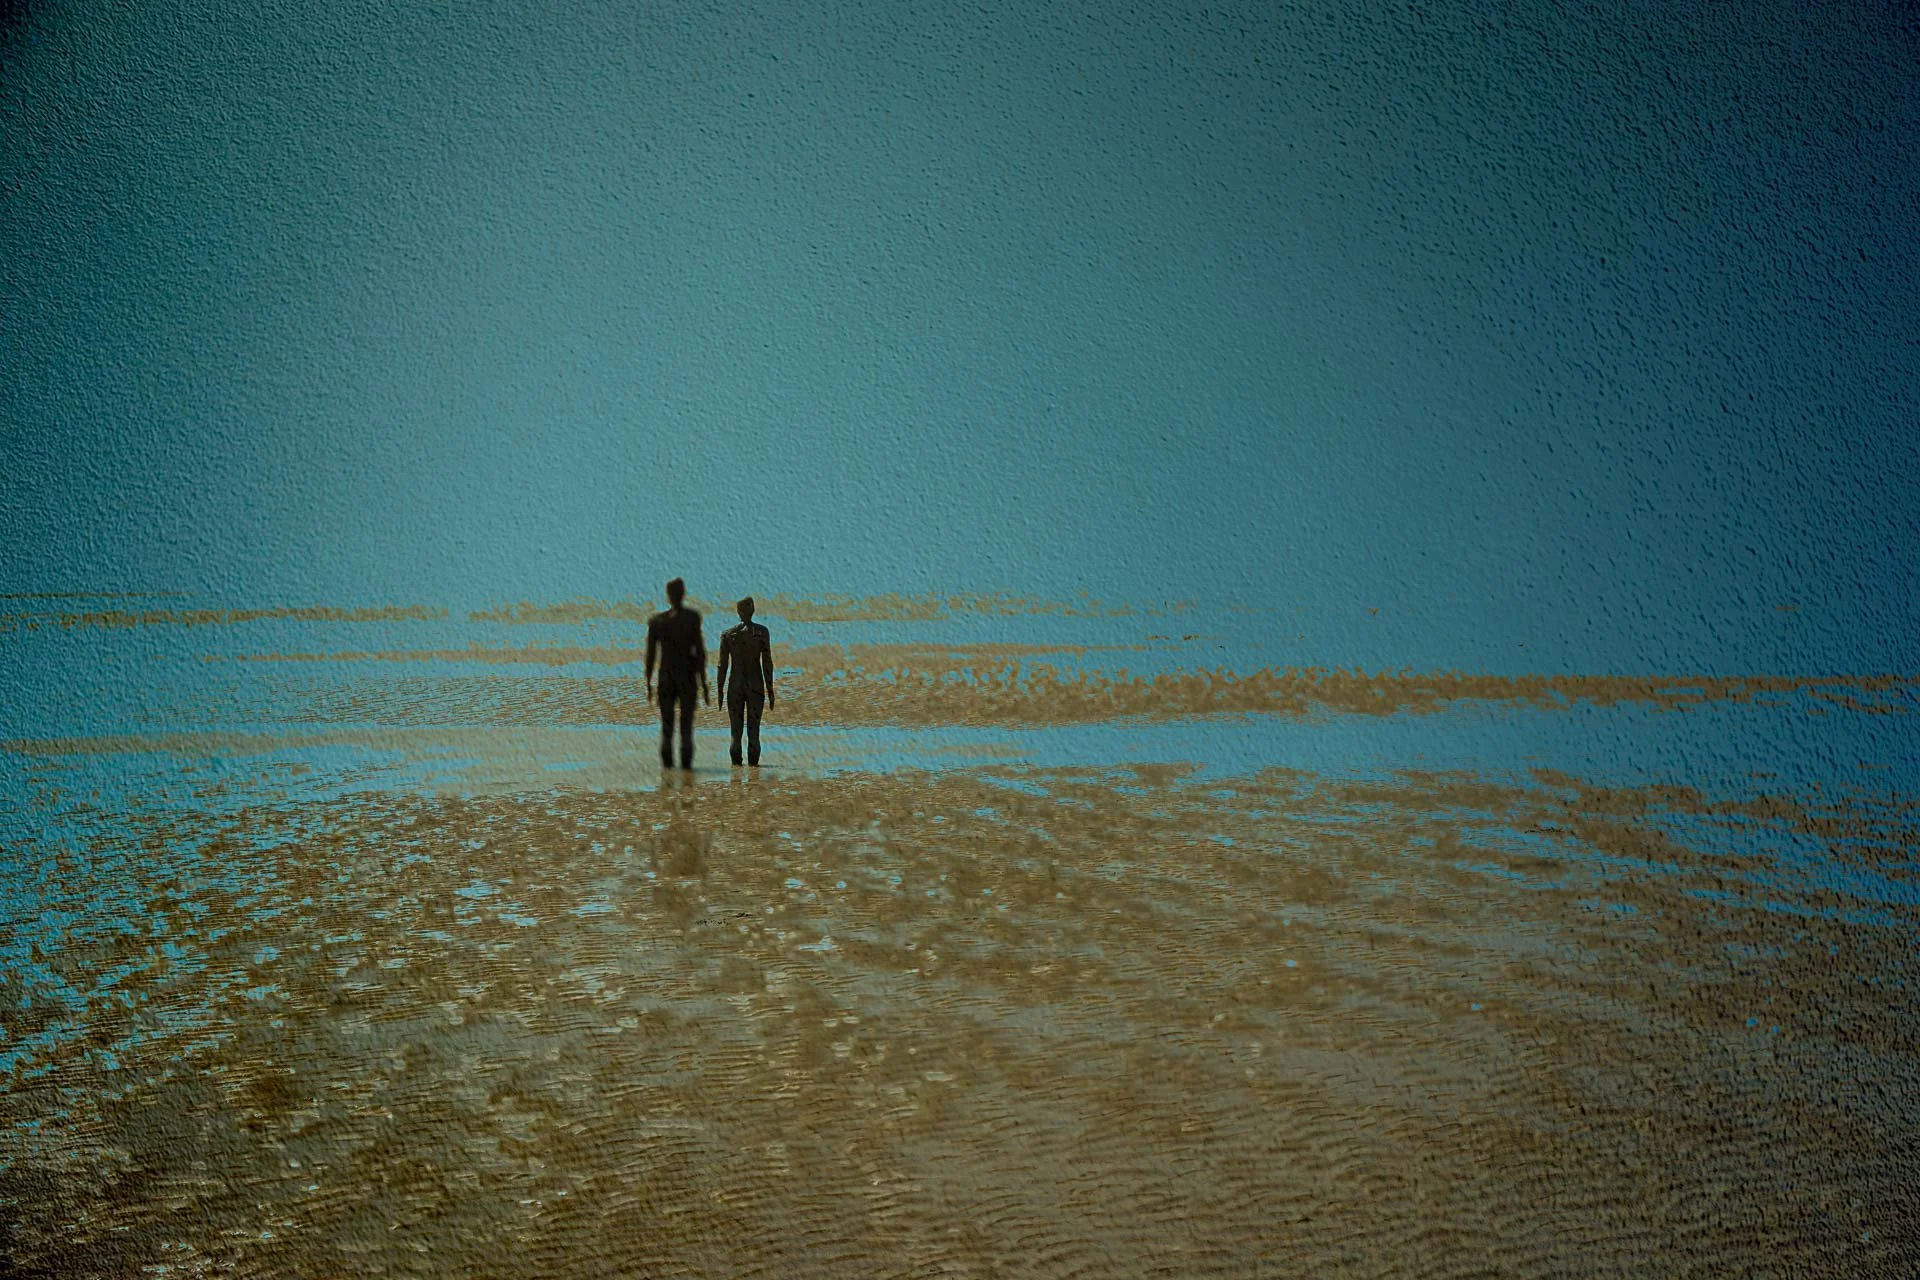
Multiple Exposure on Crosby beach - taken with the Fujifilm X-E5
Conclusion
So, would I use the Fujifilm X-E5 for multiple exposure photography?
Yes, absolutely.
I was actually rather surprised by just how much I liked it.
The combination of the tiny X-E5 and the equally compact 23mm lens is particularly appealing. It creates a genuinely portable creative camera that I could see myself taking with me when I wouldn't necessarily take one of my larger camera systems. Despite its size, I didn't feel that I was compromising on the controls I need for multiple exposure photography. The four blend modes, easy focus switching, Film Simulation dial and simple workflow between exposures all make it a really enjoyable camera to experiment with. The lightweight body also worked particularly well for techniques involving movement and changing the orientation of the camera. Most importantly, it made me want to take the camera with me, and that can only be a good thing.
I can see the X-E5 getting a lot of use in my own collection, particularly in combination with that gorgeous little 23mm lens.
If you'd like to find out more about the Fujifilm X-E5, please visit the Fujifilm website HERE.
And if you'd like to try one for yourself, come along to one of my Fujifilm walks or masterclasses, where you can try a Fujifilm camera for free. Click HERE to find out more.
I'd love to know what you think. Have you tried the X-E5? And if you use Fujifilm for multiple exposure photography, which techniques do you enjoy using most? Let me know in the comments!